– 15 –
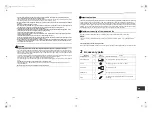
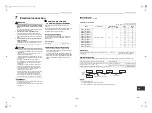
CAUTION
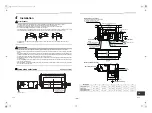
The remote control wire (Communication line) and AC208 / 230 V wires cannot be parallel to contact each other and
cannot be stored in the same conduits. If doing so, a trouble may be caused on the control system due to noise or other
factor.
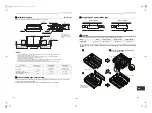
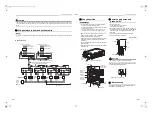
Wiring between indoor and outdoor units
NOTE
An outdoor unit connected with control wiring between indoor and outdoor units wire becomes automatically the header
unit.
▼
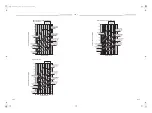
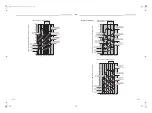
Wiring example
U1U2
U1U2U3U4
L1 L2 L3 N
U5U6
L1L2
A B
U1U2
L1L2
A B
U1U2
L1L2
A B
U1U2
L1L2
A B
A B
U1U2U3U4
L1 L2 L3 N
U5U6
A B
A B
Outdoor Power supply
Ground
terminal
Ground
terminal
Outdoor Power supply
Circuit breaker
Circuit breaker
Header outdoor unit
Follower outdoor unit
Control wiring between outdoor units
Control wiring between indoor and outdoor units
Control wiring between indoor units
Indoor unit
Indoor unit
Indoor unit
Indoor unit
Ground
Ground
Ground
Ground
Remote
control
Remote
control
Remote
control
Indoor
power
supply
Circuit
breaker
208 /
230-1-60
Disconnect
switch per NEC
Disconnect
switch per
NEC
Disconnect
switch per
NEC
Disconnect
switch per
NEC
Group control
208/230-3-60
460 V -3 - 60 Hz
208/230-3-60
460 V -3 - 60 Hz
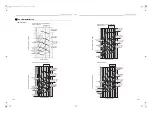
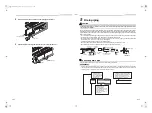
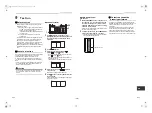
Wire connection
REQUIREMENT
• Connect the wires matching the terminal numbers.
Incorrect connection causes a trouble.
• Pass the wires through the bushing of wire connection
holes of the indoor unit.
• The low-voltage circuit is provided for the remote
control. (Do not connect the high-voltage circuit)
• Remove the cover of the electrical control box by
taking off the mounting screws (3 positions).
• Attach the conduit pipe with a lock nut.
• Tighten the screws of the terminal block, and fix the
wires with cord clamp attached to the electrical
control box.
(Do not apply tension to the connecting section of the
terminal block.)
• Mount the cover of the electrical control box without
pinching wires.
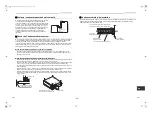
Power supply wires and
ground wire
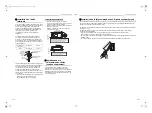
1. Strip the wire ends.
Power supply wire: 0.4” (10 mm)
Ground wire: 0.8” (20 mm)
2. Match the wire colors with the terminal numbers on
the indoor units’ and circuit breakers’ terminal blocks
and firmly screw the wires to the corresponding
terminals.
3. Secure the ground wire with the ground screw.
4. Fix the wires with a cord clamp.
Unit: in (mm)
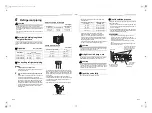
CAUTION
Firmly tighten the screws of the terminal block.
Keep the wire length as shown in figure below when it
is connected to the terminal block.
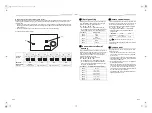
Address setup
Set up the addresses as per the Installation Manual
supplied with the outdoor unit.
Control wire hole
Electrical control box cover
Screw
Screw
Conduit
connection
hole
B
A
L
L
Ground screw
Cord clamp
Conduit pipe
Control wire /
Remote control
terminal block
Power supply
wires and
ground wire
Control wire
(2-core
shielded wire)
Power supply
terminal block
Remote
control wire
Cord
clamp
Lock nut
L
1
L
2
0.8” (20)
1.2” (30)
0.4” (10)
Ground wire
0.
08
” (2
) or
le
ss
Power supply wires and control
wire
29-EN
30-EN
+00EB99808801_01EN.book Page 15 Monday, April 11, 2016 2:30 PM

