


Remote controller with weekly timer
Owner’s Manual
– 20 –
5
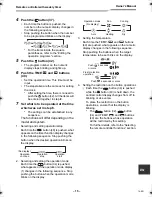
Push the button (42).
• Enter the number of the program to be
cleared.
• The program number on the numeric
display blinks.
6
Push the button (41).
• The settings for the program number on
the numeric display are cleared (deleted),
and the no program set status blinks on the
screen.
* Bear in mind that cleared settings
cannot be restored.
7
To continue clearing, repeat steps
2
to
6
.
8
Finally, push the
button (46) to
return to the original screen.
Editing the operation programs
(instructions for special
holidays)
• A “special holiday” is a day of the week on
which the scheduled operations set for
that day of the week can be temporarily
canceled. (The program remains stored in
the memory.)
• When the day of the week set as a special
holiday has passed, the special holiday
setting is released, and the air conditioner
operates as per the original program
starting from the following week.
• Special holiday settings can be
established for any day up to a week
ahead starting from the current day of the
week. When a special holiday has been
set for the current day of the week, the
setting starting from the next program time
after the set time will be canceled.
• The special holiday setting cannot be
established for any day of the week which
has no program settings.
* The special holiday setting can be
established whether the air conditioner
is running or shut down.
How to establish the special holiday setting
1
Push the
button (46).
• The display transfers to the program input
screen.
• The entire LCD screen blinks.
2
Push the button (45).
• Repeatedly push the button until the day
arrow moves to the day of the week
which is to be set as a special holiday.
3
Push the button (42).
• Enter the day of the week which is to be set
as a special holiday.
• The days of the week display and day
arrow stop blinking and light up.
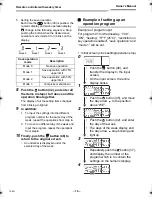
4
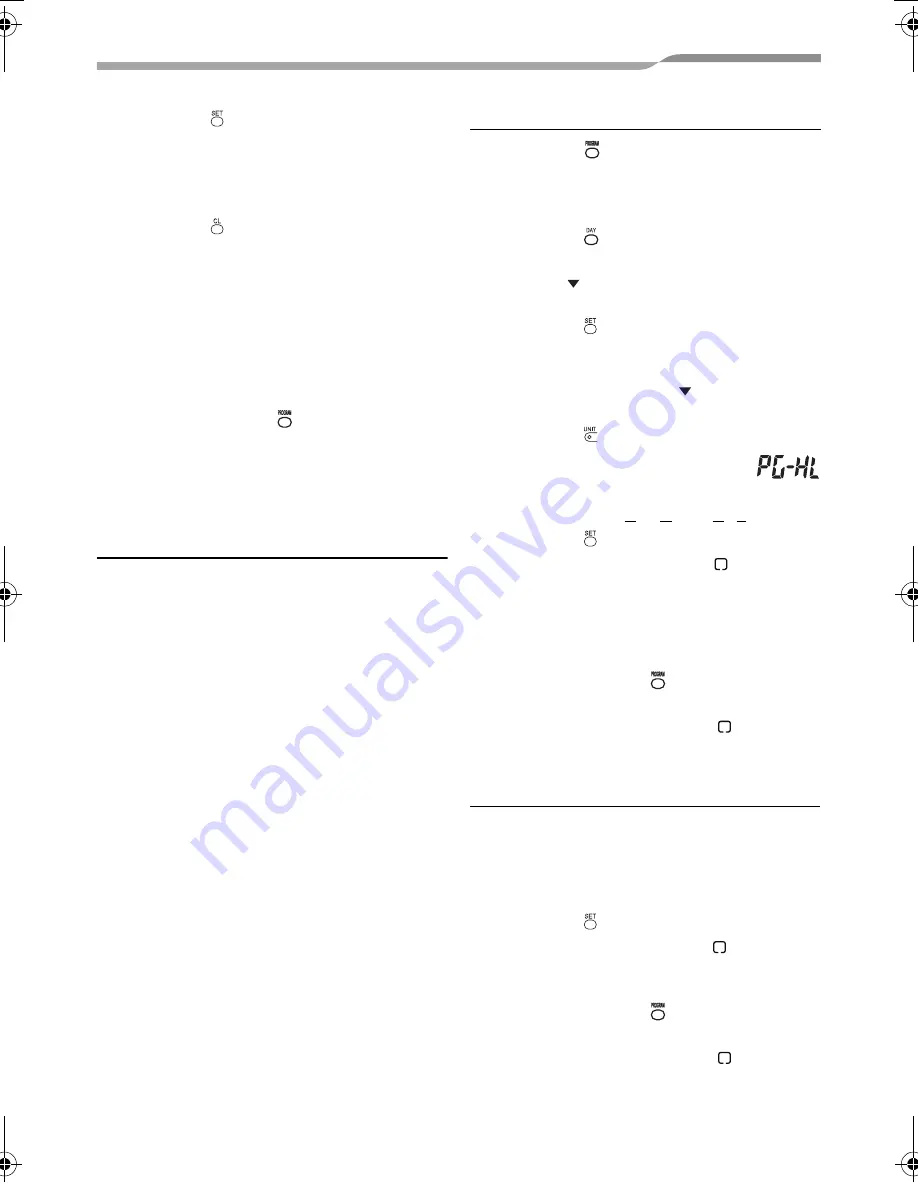
Push the button (37).
• Repeatedly push this button
until “PG-HL” (shown right)
appears on the numeric display.
* PG-HL ...... PROGRAM-HOLIDAY
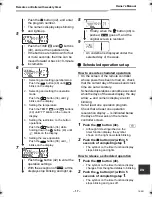
5
Push the button (42).
• The special holiday display
blinks at the
day of the week which has now been set as
a special holiday.
6
To continue with another setting,
repeat steps
2
to
5
.
7
Finally, push the
button (46) to
return to the original screen.
• The special holiday display
above the
day of the week set stops blinking and
lights up.
How to cancel the special holiday setting
1
Perform steps
1
to
4
in “How to
establish the special holiday setting”
for the day of the week whose special
holiday setting is to be canceled.
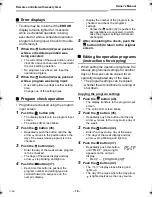
2
Push the button (42).
• The special holiday display
over the day
of the week set changes from lighted to
blinking.
3
Finally, push the
button (46) to
return to the original screen.
• The special holiday display
above the
day of the week set stops blinking and goes
off.
19-EN
+00EH99677901_01EN_OM_Remo_Weekly_UL.book Page 20 Thursday, October 8, 2009 2:03 PM
Summary of Contents for Carrier RBC-AMS41UL
Page 26: ...EH99677901 ...


