
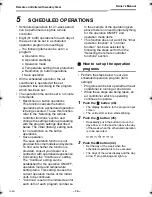
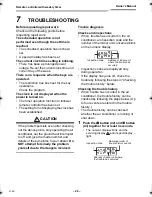


Remote controller with weekly timer
Owner’s Manual
– 23 –
EN
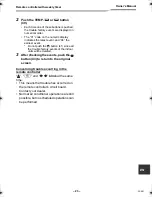
2
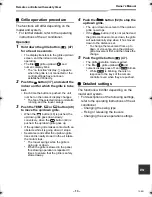
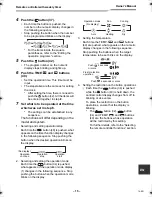
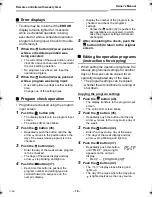
Push the TEMP.
or
button
(49).
• Each time one of these buttons is pushed,
the trouble history events are displayed in
numerical order.
• The “01” code on the numeric display
indicates the latest event, and “04” the
earliest event.
* Do not push the
button (41) since all
the trouble history events of the indoor
units will be deleted.
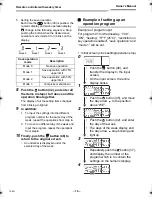
3
After checking the events, push the
button (43) to return to the original
screen.
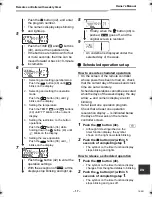
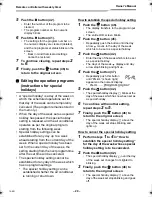
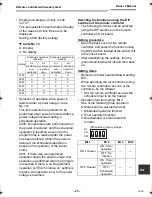
Concerning trouble occurring in the
remote controller
“ ”, “
” and “
”
blink
at the same
time.
• This means that trouble has occurred on
the remote controller’s circuit board.
Contact your dealer.
• Normal air conditioner operations are still
possible, but no scheduled operations can
be performed.
22-EN
+00EH99677901_01EN_OM_Remo_Weekly_UL.book Page 23 Thursday, October 8, 2009 2:03 PM
Summary of Contents for Carrier RBC-AMS41UL
Page 26: ...EH99677901 ...


