2.SETTING ITEMS (ADMIN)
GENERAL 59
2 SETTING ITEMS (ADMIN)
3
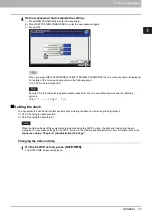
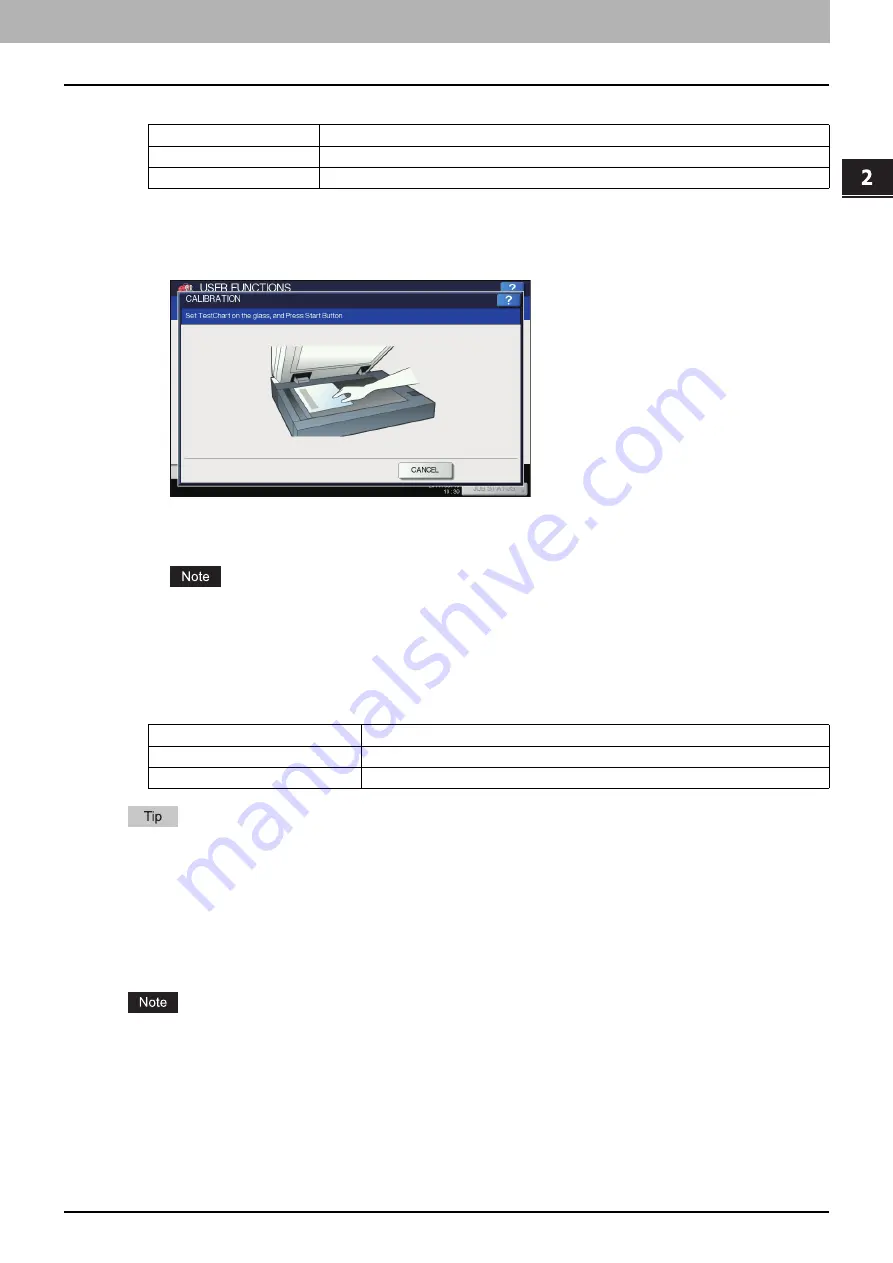
Select the calibration settings.
4
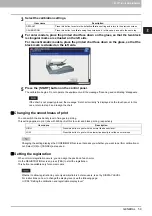
For color models, place the printed chart face down on the glass, so that the two black
rectangular marks are situated on the left side.
For monochromatic models, place the printed chart face down on the glass, so that the
black mark is situated on the left side.
5
Press the [START] button on the control panel.
The calibration begins. Do not operate the equipment until the message “Scanning and calibrating” disappears.
If the chart is not properly placed, the message “Set chart correctly” is displayed on the touch panel. In this
case, return to step 3 and realign the chart.
Changing the smoothness of print
You can switch the line density level of images in printing.
This setting applies to print jobs with 600 dpi. Set this to color and black printing, respectively.
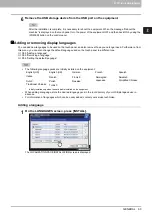
Changing the setting displays the CONFIRMATION screen that asks you whether you want to perform calibration or
not. Select [OK] or [CANCEL] as required.
Setting the registration
When color misregistration occurs, you can align the position of each color.
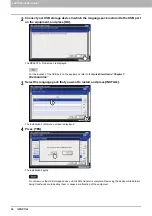
On the REGISTRATION screen, press [YES] to start the registration.
This button is available only for some models.
Whether to allow registration by not only administrators but also users, is set by DISPLAY LEVEL.
For instructions on how to change the display level, see the following page:
P.58 “Setting the calibration and registration display level”
Item name
Description
DEFAULT
Press this button to restore the default calibration setting and return to the previous screen.
CALIBRATION
Press this button to calibrate using the printed chart. In this case, proceed to the next step.
Item name
Description
HIGH
Press this button to print with the normal line density level.
LOW
Press this button to print with the lower line density level than a normal one.
Summary of Contents for DIGITAL Series
Page 1: ...MULTIFUNCTIONAL DIGITAL COLOR SYSTEMS MULTIFUNCTIONAL DIGITAL SYSTEMS MFP Management Guide ...
Page 8: ...6 CONTENTS ...
Page 34: ...1 SETTING ITEMS USER 32 ADDRESS 6 The new group is created and it appears on the touch panel ...
Page 114: ...2 SETTING ITEMS ADMIN 112 SECURITY 4 Press OK to reboot the equipment The equipment reboots ...
Page 130: ......
Page 154: ......
Page 184: ...4 APPENDIX 182 List Print Format PS3 font list Output example of the PS3 Font List ...
Page 185: ...4 APPENDIX List Print Format 183 4 APPENDIX PCL font list Output example of the PCL Font List ...
Page 186: ......
Page 190: ...188 INDEX ...


