3 INSTALLING PRINTER DRIVERS FOR WINDOWS
82 Installing the Printer Drivers
Installing the printer drivers from the equipment’s shared folder
Perform installation corresponding to your Windows computer.
The following is necessary to use this option:
- The hard disk is installed in the equipment.
- The SMB protocol is enabled, and the print share function is not restricted.
For details, ask your administrator.
To perform installation, you must log onto Windows with the “Administrator” account; this enables the
installation and uninstallation of client software.
If Windows Vista / Windows 7 / Windows 8 / Windows Server 2008 / Windows Server 2012 is used, you
can perform the installation by temporarily changing the user account following the procedure below.
- Click the file name link for the printer driver.
- When the [User Account Control] dialog box is displayed, enter an administrator password, and then
click [Yes] ([OK]).
Even when you have logged on Windows with the “Administrator” account, the [User Account Control]
dialog box may appear. In this case, click a button for allowing the operation, such as [Continue], and
then continue.
1
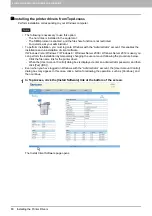
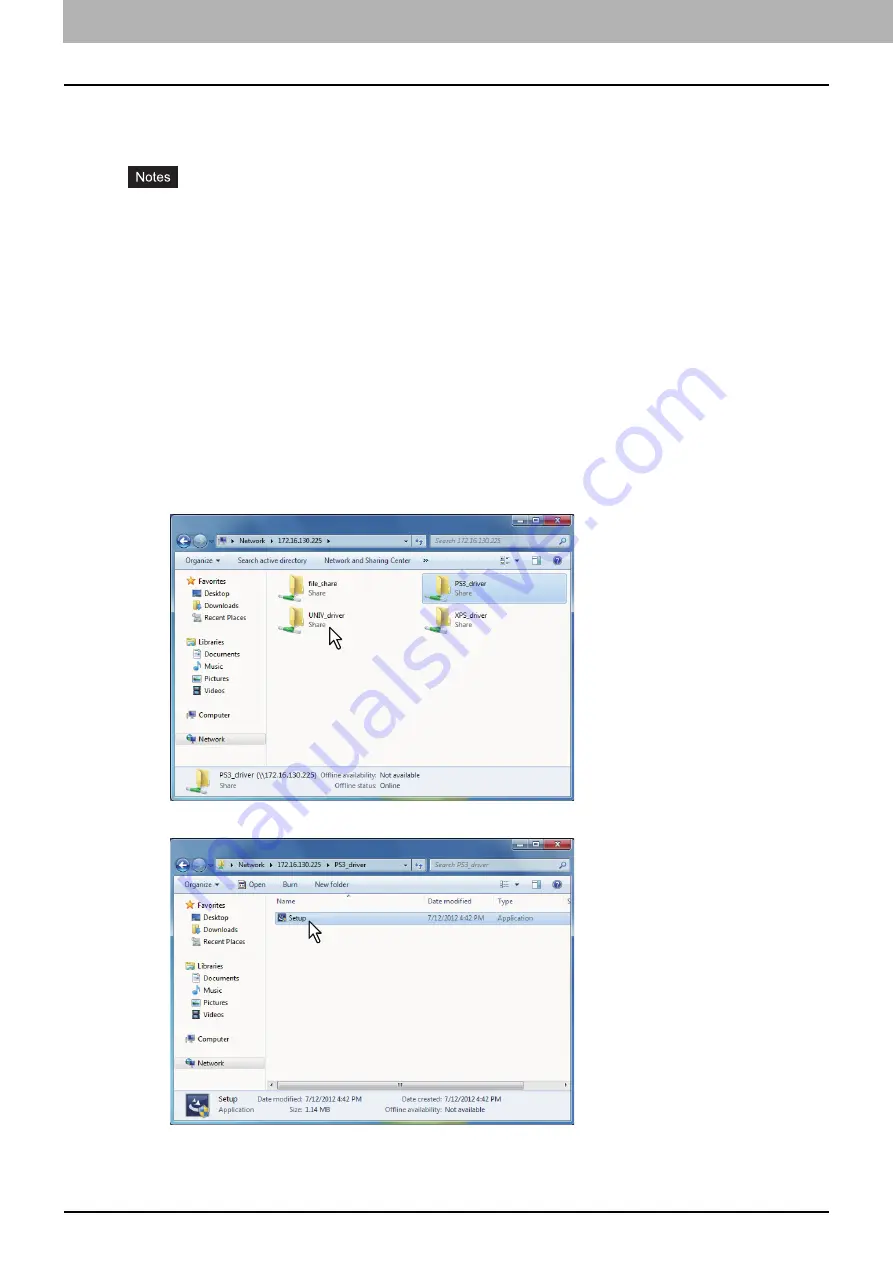
Use the Explorer to open the equipment’s shared folder (MFP Local).
2
Open the folder containing the preferred printer driver.
3
Double-click “Setup.exe”.
The installation begins, and the TCP/IP (IPv4) port is created automatically.

