


45
EN
45
EN
Disc
Management
Recording
Playback
Introduction
Connections
Basic Setup
Editing
Function Setup
Others
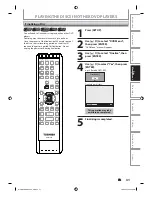
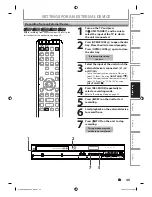
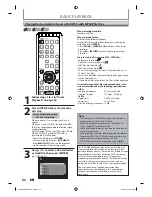
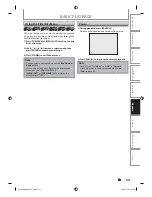
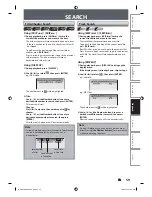
SETTINGS FOR AN EXTERNAL DEVICE
Recording from an External Device
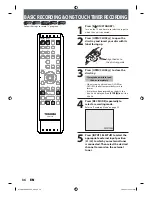
1
Turn on the TV and press
[I/
y
y
ON/STANDBY], and be sure to
select the input of the TV to which
the unit is connected.
2
Press [OPEN/CLOSE
A
] to open the disc
tray. Place the disc to record properly.
Press [OPEN/CLOSE
A
] again to close
the disc tray.
It takes awhile to load
the disc.
3
Select the input of the unit which the
external device is connected. (L1, L2
or DV(L3))
• To use the input jacks on the rear of this unit;
Select “L1 (Rear)” by using
[INPUT SELECT
]
.
• To use the input jacks on the front of this unit;
Select “L2 (Front)” or “L3 (DV-IN)“ by using
[INPUT SELECT
]
.
4
Press [REC MODE] repeatedly to
select a recording mode.
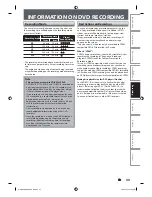
Refer to “Recording Mode” on page 33.
5
Press [
I
REC] on the unit to start
recording.
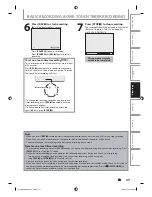
6
Start playback on the external device
to record from.
7
Press [
C
STOP] on the unit to stop
recording.
This operation may take
awhile to be completed.
Before recording from an external device, refer to the
instructions for the connection on page 44.
I/
y
ON/STANDBY
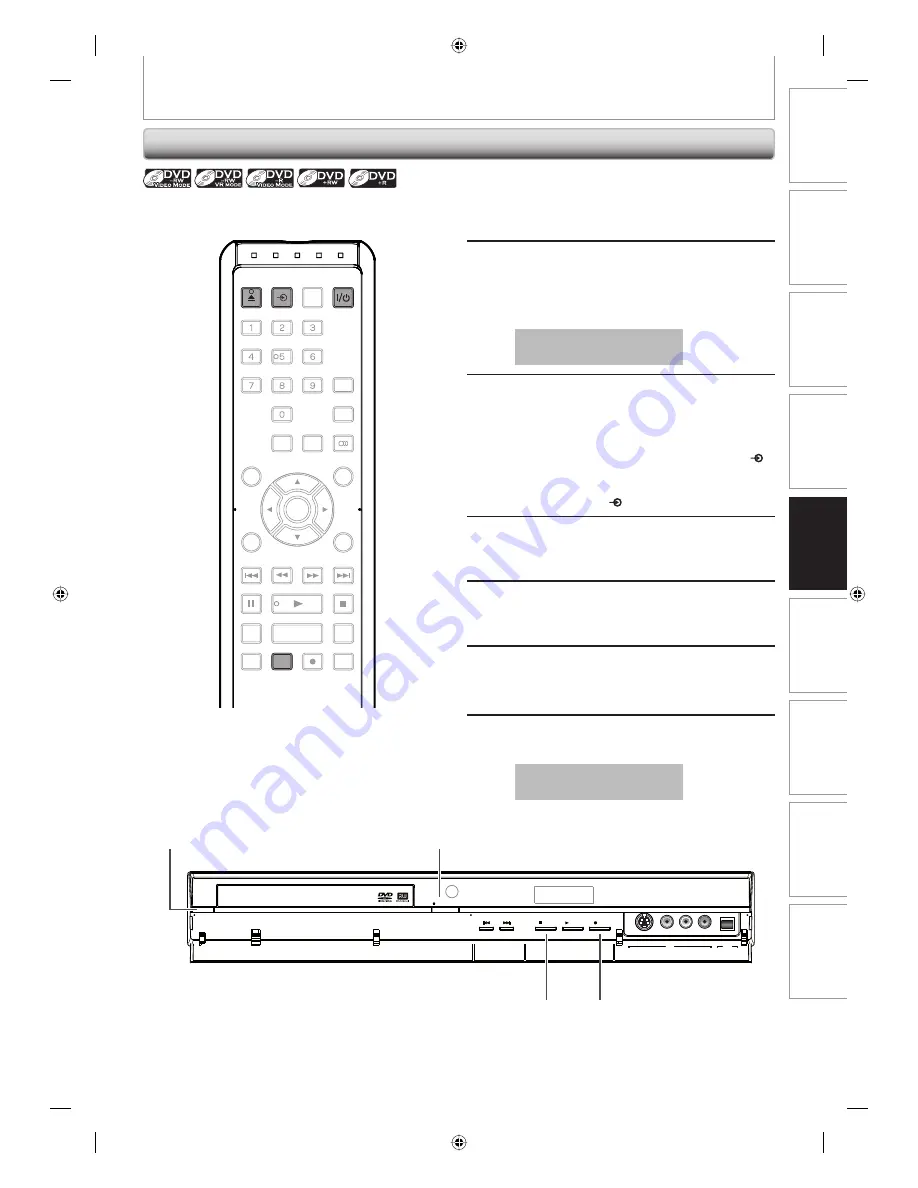
DVD VIDEO RECORDER DKR40
SKIP
STOP
PLAY
REC
S-VIDEO VIDEO
L
R
DV IN
L2
L3
1080p
1080i
720p
480p
OPEN/CLOSE
2
1
7
5
OPEN/
CLOSE
INPUT
SELECT
HDMI
.@/:
ABC
GHI
PQRS
TUV
SPACE
SETUP
DISPLAY
AUDIO
TOP MENU
CLEAR
RETURN
MENU/LIST
WXYZ
JKL
MNO
DEF
ENTER
SKIP
REV
PLAY
REC MODE
ZOOM
REC
REPEAT
PAUSE
TIME SLIP
1.3x / 0.8x PLAY
INSTANT SKIP
STOP
FWD
SKIP
TIMER
PROG.
SATELLITE
LINK
INPUT
SELECT
OPEN/
CLOSE
REC MODE
E7PCBUD_DKR40KU_EN.indd 45
E7PCBUD_DKR40KU_EN.indd 45
2/5/2009 10:32:56 AM
2/5/2009 10:32:56 AM


