


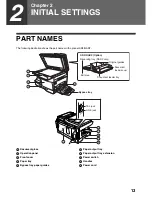


5
BROAD-
CAST
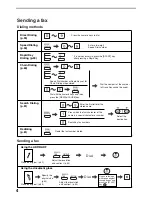
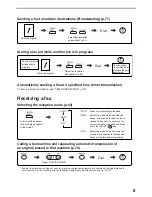
Sending a fax to multiple destinations (Broadcasting) (p.71)
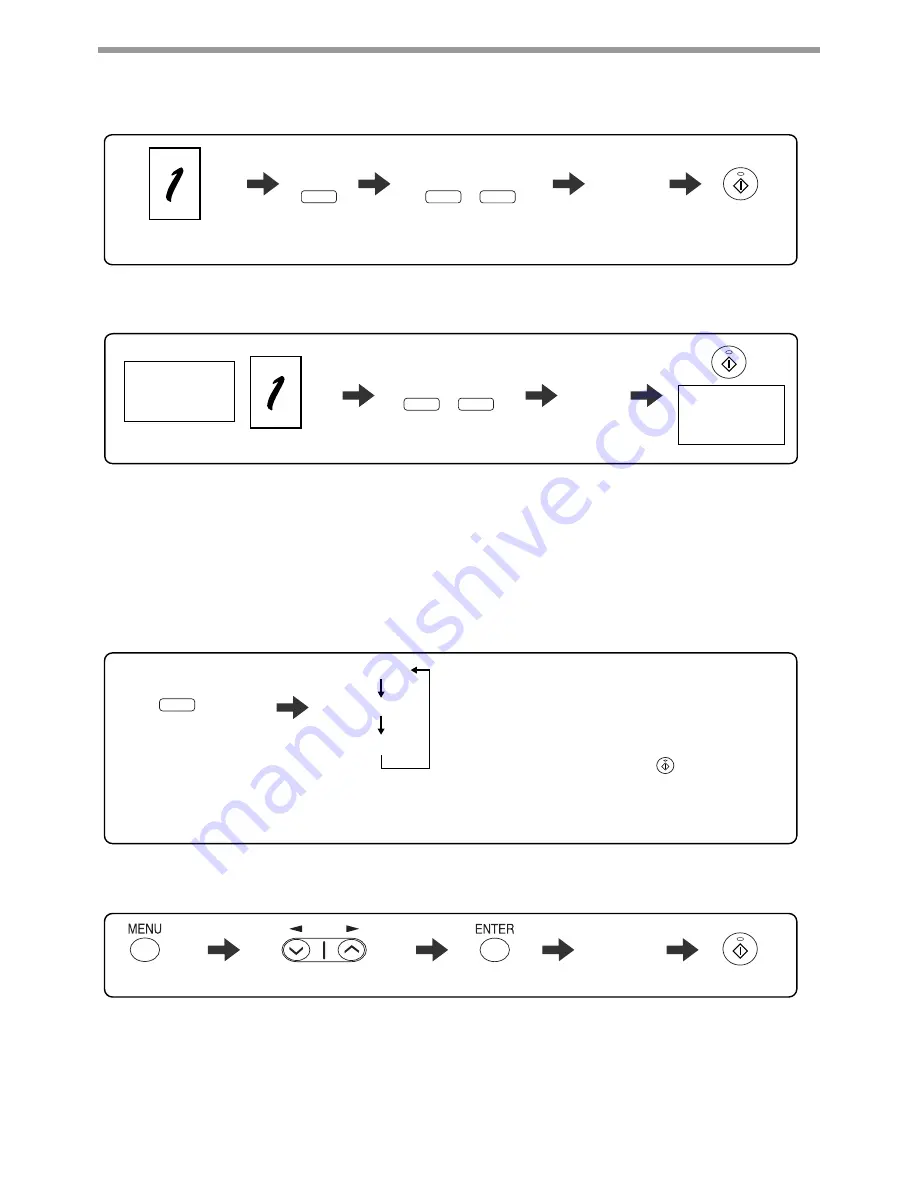
Place the original.
Dial.
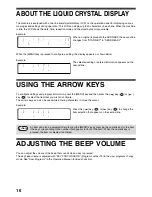
Adjust the resolution
and contrast. (p.55)
CONTRAST
RESOLU-
TION
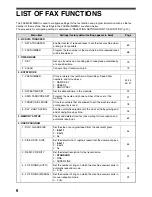
Automatically sending a fax at a specified time (timer transmission)
To set up a timer transmission, see "TIMER OPERATIONS" (p.79).
Storing a fax job while another job is in progress
Place the original.
Fax transmission
or reception in
progress
Dial.
Adjust the resolution
and contrast. (p.55)
CONTRAST
RESOLU-
TION
The fax will be
transmitted after
previous jobs are
completed.
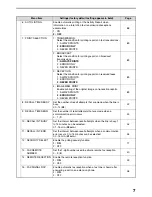
Receiving a fax
Select "POLLING MODE".
Press until the desired
reception mode appears
in the display.
* Another fax machine can also call your fax machine and request automatic transmission of a original placed in
your machine. For this to take place, the reception mode of your machine must be set to "AUTO".
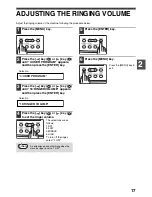
Selecting the reception mode (p.63)
RECEPTION
MODE
"AUTO" :
"MAN." :
"A.M." :
Select this mode when an extension
phone is connected to the machine to
receive phone calls. To receive a fax,
answer the call on the phone and then
press the [START] ( ) key.
Select this mode when an answering
machine is connected to the machine.
Faxes will be received automatically.
Faxes are automatically received.
"AUTO"
"MAN."
"A.M."
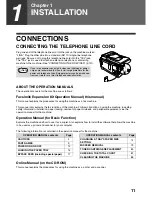
Calling a fax machine and requesting automatic transmission of
an original placed in that machine (p.73)
Dial.


