6-9
e-STUDIO161 ADJUSTMENTS
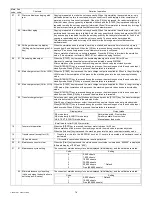
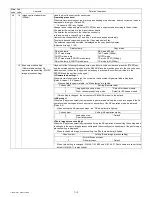
b. ADF original off-center adjustment (SIM50-12)
Note:Before performing this adjustment, be sure to check that the paper
off center is properly adjusted.
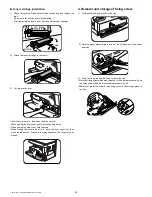
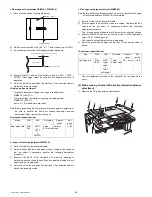
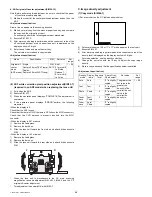
1) Make a test chart for the center position adjustment and set it on the
ADF.
<Adjustment specification>
Draw a line on a paper in the scanning direction.
2) Make a normal copy from the manual paper feed tray, and compare
the copy and the original test chart.
If necessary, perform the following adjustment procedures.
3) Execute SIM 50-12.
4) After warm-up, shading is performed and the current set value of the
off center adjustment at each paper feed port is displayed on the
display section in 2 digits.
5) Enter the set value and press the start key.
The set value is stored and a copy is made.
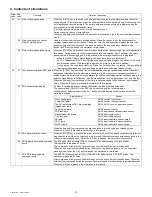
<Adjustment specification>
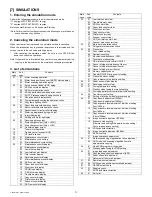
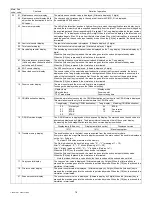
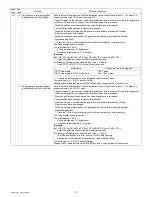
(8) ADF white correction pixel position adjustment(SIM63-7)
(required in an ADF model when replacing the lens unit)
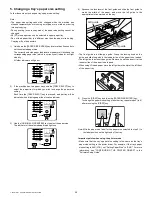
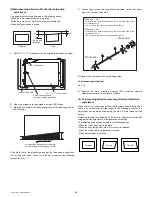
1) Fully open the ADF.
2) Execute SIM 63-7.
3) When the operation panel displays "COMPLETE,"the adjustment is
completed.
4) If the operation panel displays "ERROR,"perform the following
measures.
•When the display is 0:
Check that the ADF is open.
Check that the lamp is ON.(If the lamp is OFF,check the MCU connector.)
Check that the CCD harness is properly inserted into the MCU
connector.
•When the display is 281 or above:
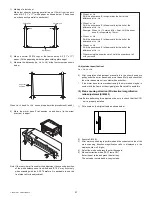
1) Remove the table glass.
2) Remove the dark box.
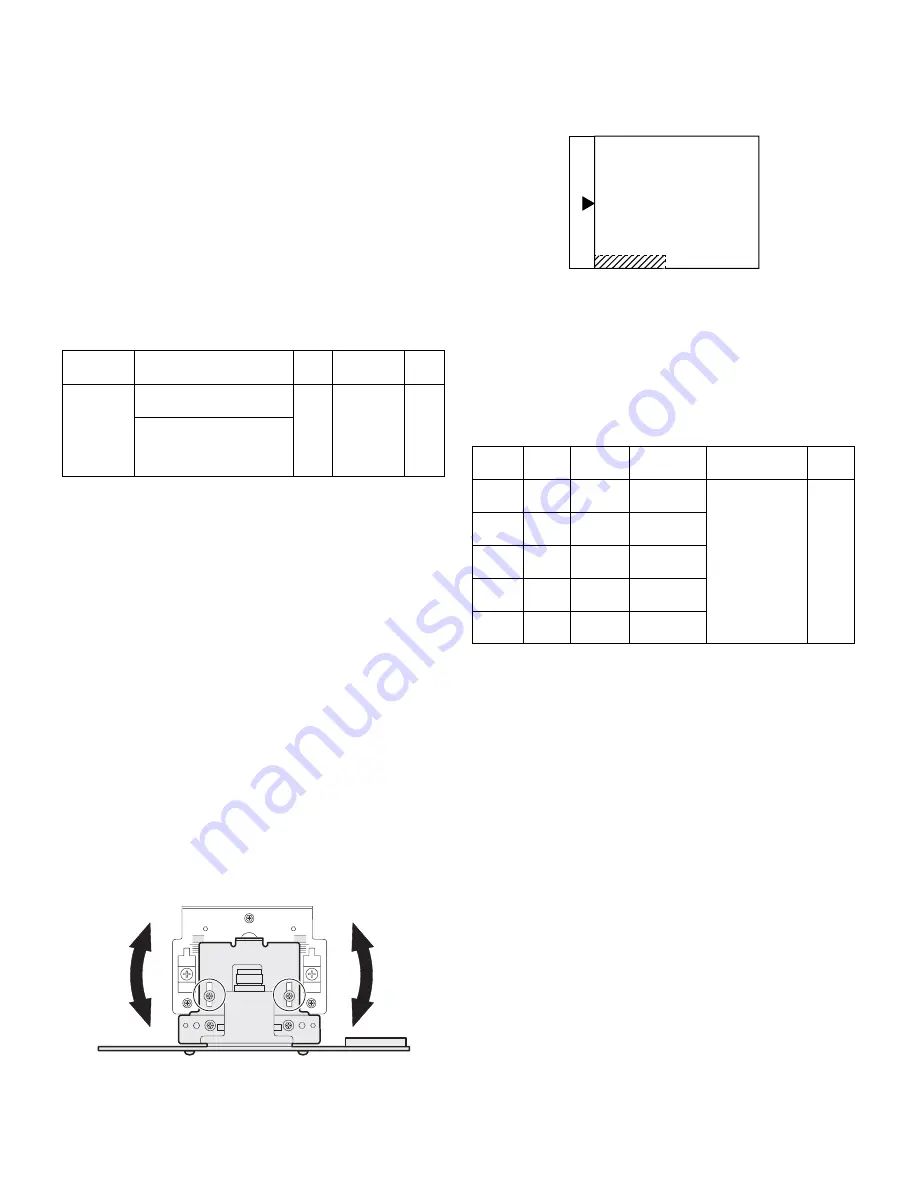
3) Slide the lens unit toward the front side and attach it,then execute
SIM.
•When the display is 143 or below:
1) Remove the table glass.
2) Remove the dark box.
3) Slide the lens unit toward the rear side and attach it,then execute
SIM.
*
When the lens unit is moved,execute the OC main scanning
magnification ratio auto adjustment,SIM 48-1-1,IM48-3 and the PF
original off-center adjustment.
*
This adjustment is basically O.K.with IM 63-7.
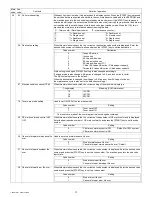
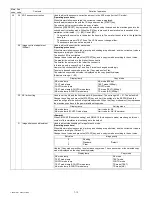
C.Image density adjustment
(1)Copy mode (SIM 46-1)
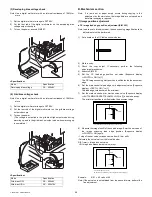
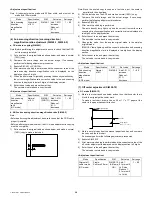
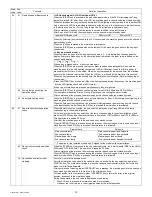
1)Set a test chart on the OC table as shown below.
2) Put several sheets of A3 or 11" x 17" white paper on the test chart.
3) Execute SIM 46-1.
4) After warm-up, shading is performed and the current set value of the
density level is displayed on the display section in 2 digits.
For mode selection, use the density select key.
5) Change the set value with the 10-key to adjust the copy image
density.
6) Make a copy and check that the specification below is satisfied.
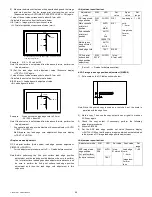
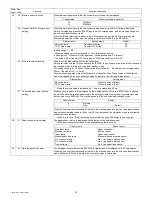
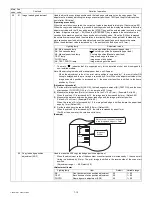
<Adjustment specification>
Mode
Specification
SIM
Set value
Set
range
Original off
center
mode
(ADF mode)
Single:
Center ±3.0mm(TEXT lamp)
SIM
50-12
Add 1:
0.1mm shift
to R side
Reduce 1:
0.1mm shift
to L side
1 ~ 99
Duplex:
Center ±3.5mm(PHOTO lamp)
R
F
Density
mode
Display
lamp
Exposure
level
Sharp Gray
Chart output
Set value
Set
range
Auto
Auto
-
"2" is slightly
copied.
The greater the
set value is the
greater the
density is The
smaller the set
value is the
smaller the
density is.
1 ~ 99
Text
Text
3
"3" is slightly
copied.
Photo
Photo
3
"2" is slightly
copied.
Toner
save
Text/
Photo
3
"3" is slightly
copied
Toner
save
Auto/
Photo
-
"2" is slightly
copied
[06]ADJUSTMENT.fm 9 ページ 2004年1月9日 金曜日 午後1時19分

