7-15
e-STUDIO161 SIMULATIONS
50
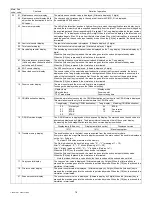
01
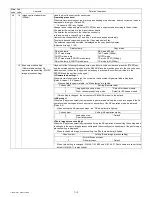
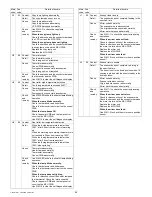
Image lead edge adjustment
Used to adjust the copy image position and the lead edge void amount on the copy paper. This
adjustment is made by adjusting the image scan start position at 100% and the print start position
(resist roller ON timing).
(Operating procedure)
When this simulation is executed, the current set value is displayed in two digits. (Center value: 50)
When the copy mode select key is pressed, the setting mode and the display are switched. Enter the
adjustment value with the 10-key and press the [START] key, and the entered value is set and a copy
is made. (Adjustment range 1 ~ 99) When the [INTERRUPT] key is pressed, the entered value is
saved and the machine goes into the sub code entry standby mode. When the [CA] key is pressed,
the entered value is saved and the simulation is terminated. When the adjustment is made with the
main cassette paper feed, all the adjustment values at the paper feed ports become the same.
(When the adjustment value is increased by 1, the position is shifted by about 0.1mm.)
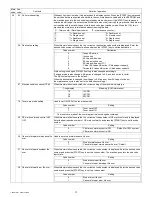
*
The mark, "
", indicates that it is supported only for the installed model, and it is skipped for
non-installed models.
Note: When printing is made with manual paper feed, use A3 paper.
When the adjustment value of the print start position is increased by 1, the resist roller ON
timing is delayed and the print image is reduced by 0.1mm. When the adjustment value of the
image scan start position is increased by 1, the scan start position is shifted to the home
position by 0.1mm.
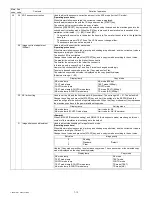
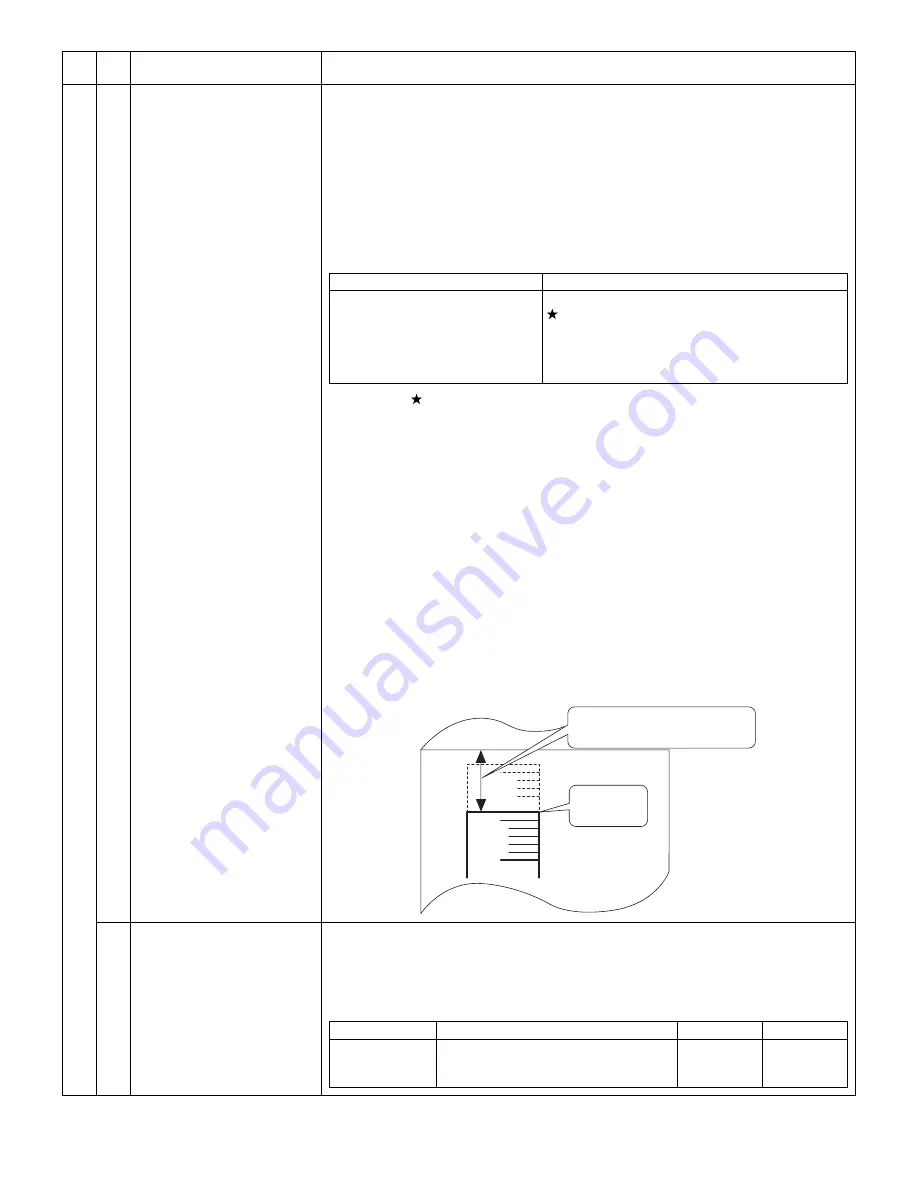
[Adjustment procedure]
(1) Set the print start position (A) (AE ON), the lead edge void amount (B) (TEXT ON), and the scan
start position (C) (PHOTO ON) to <1>, and make a 100% copy.
(2) Measure the image loss (R mm) of the scale. Set as C=10 x R (mm). (Example: Set to 40.)
When the value of C is increased by 10, the image loss is decreased by 1mm. (Default: 50)
(3) Measure the distance between the paper lead edge and the image print start position.
Set as A=10 x H (mm). (Example: Set to 50.)
When the value of A is increased by 10, the image lead edge is shifted toward the paper lead
edge by 1mm. (Default: 50)
(4) Set the lead edge void area as B=50 (2.5mm). (Default: 50)
When the value of B is increased by 10, the void is increased by about 1mm.
(For 25 or less, however, the void amount is zero.)
(Example)
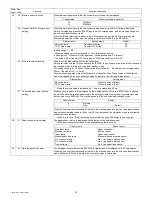
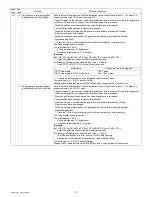
06
Copy lead edge position
adjustment (ADF)
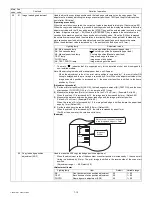
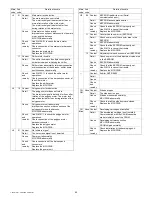
Used to make the ADF copy lead edge position adjustment.
*
When the adjustment value of the document scan start position is increased by 1, the scan start
timing is advanced by 0.1mm. The print image is shifted to the reverse side of the scan start
position.
(Adjustment range: 1 ~ 99, Default: 50)
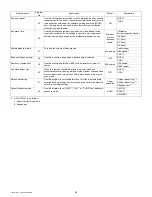
<Adjustment items>
Main
code
Sub
code
Contents
Details of operation
Lighting lamp
Adjustment mode
AE, Main cassette lamp
AE, 2nd cassette lamp
AE, Manual paper feed lamp
TEXT lamp
PHOTO lamp
AE, TEXT, PHOTO lamp
Print start position (Main cassette paper feed)
Print start position (2nd cassette paper feed)
Print start position (Manual paper feed)
Image lead edge void amount
Image scan start position
Image rear edge void amount
5mm
10mm
Image loss
R=4mm
Distance from the paper lead edge
to the image lead edge H = 5mm
Lighting lamp
Item
Default
Variable range
AE
TEXT
PHOTO
Front document scan position adjustment
Back document scan position adjustment
Rear edge void adjustment (ADF)
50
50
50
1 ~ 99
1 ~ 99
1 ~ 99
[07]SIMULATIONS.fm 15 ページ 2004年1月9日 金曜日 午後1時20分

