e-STUDIO202S DISASSEMBLY AND ASSEMBLY 8 - 13
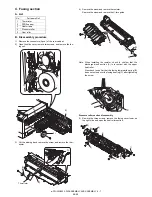
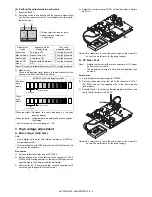
14) Remove five screws and remove the main drive plate and the
belt.
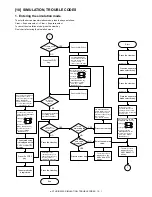
15) Remove the parts as shown below, and remove the pressure
release solenoid and the paper feed solenoid.
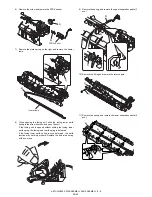
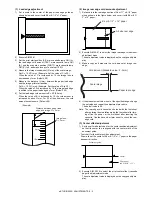
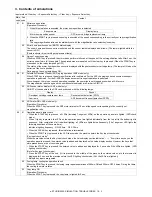
16) Remove four screws, and remove the paper guide unit.
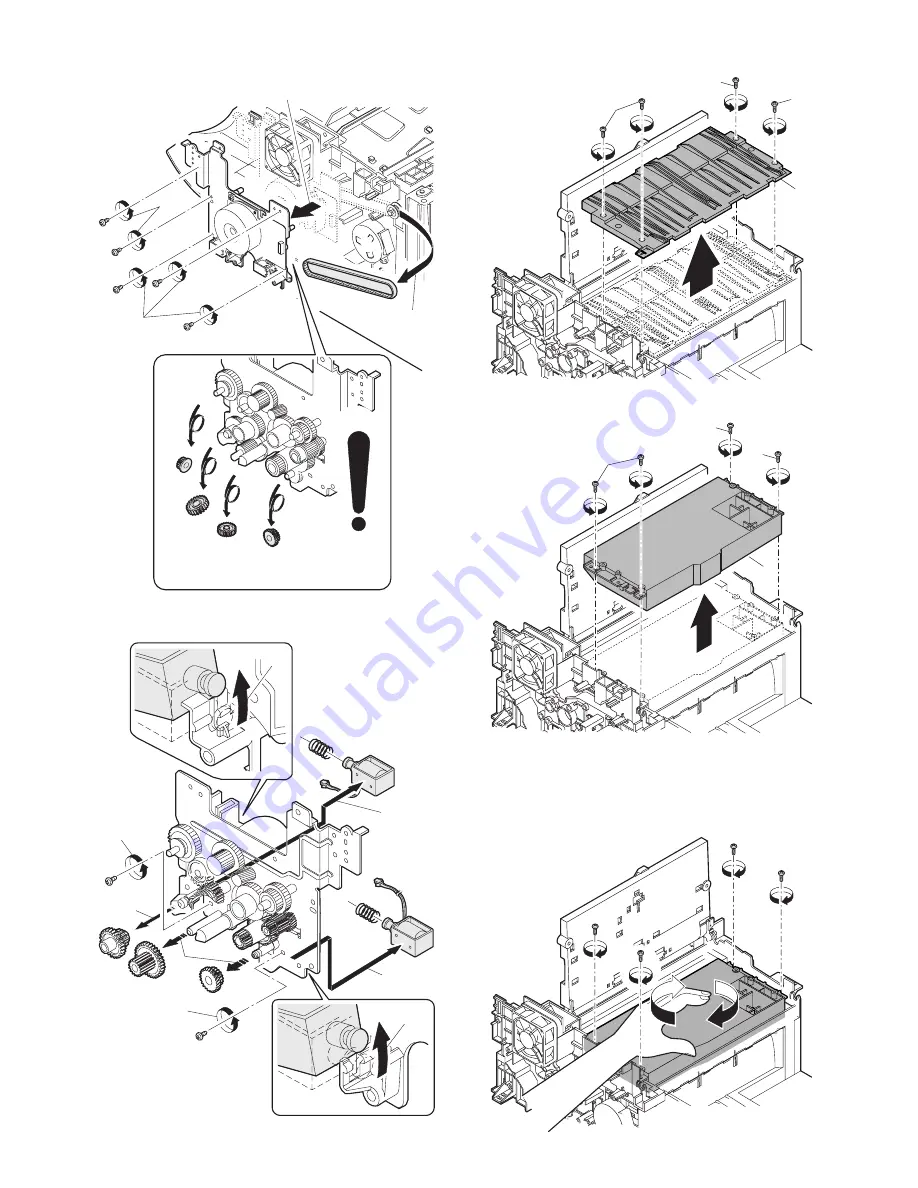
17) Remove four screws, and remove the LSU unit.
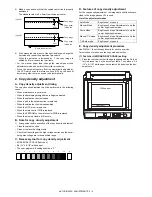
[Note for assembling the LSU]
When installing the LSU, turn the LSU clockwise and fix with
screws in order to provide an attachment backlash in the
proper direction.
Observe the following sequence of fixing screws.
1)
3)
2)
1)
CAUTION:Attach the gears securely
3)
3)
1)
1)
2)
2)
4)
4)
2)
1)
1)
1)
1)
1)
1)
2)


