e-STUDIO202S DISASSEMBLY AND ASSEMBLY 8 - 17
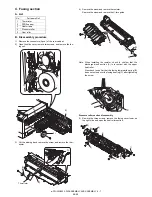
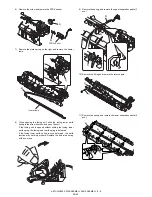
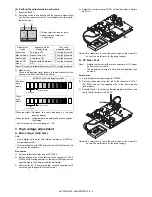
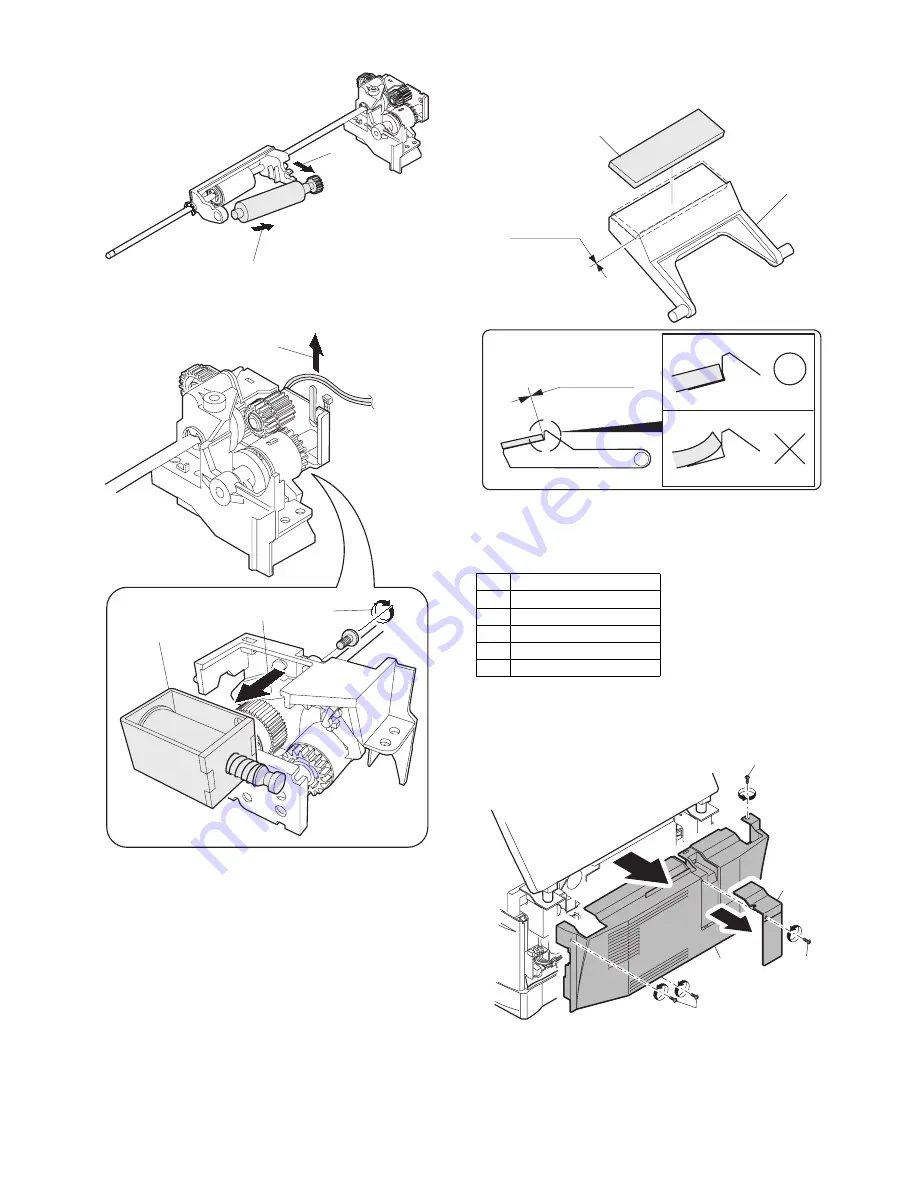
6) Remove the pick-up roller.
7) Cut the binding band and remove the multi paper feed sole-
noid.
C. Assembly procedure
For assembly, reverse the disassembly procedure.
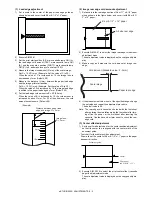
D. Pressure plate holder attachment
1) Attach the pressure plate holder so that the resin section is not
covered with the seal M1-N.
7. Rear frame section
A. List
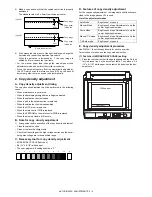
B. Disassembly procedure
1) Remove four screws, and remove the rear cabinet and the rear
cabinet cover.
2)
1)
1)
2)
3)
Multi paper feed
solenoid
No.
Part name Ref.
1
Scanner motor
2
Main motor
3
Exhaust fan motor
4
NIC PWB
5
Main PWB
Pressure plate
holder
Seal M1-N
Attachment
reference
Attachment
reference
1)
1)
2)
2)
1)


