e-STUDIO202S SIMULATION, TROUBLE CODES 10 - 3
3. Contents of simulations
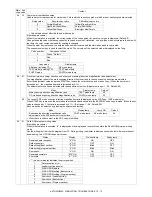
Input method: Clear key
→
Exposure Select key
→
Clear key
→
Exposure Select key
Main
code
Sub
code
Content
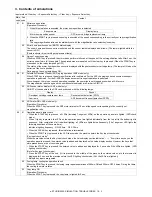
01
01
Mirror scan operation
(Operation/Procedure)
1. When this simulation is executed, the mirror home position is detected.
2. When the START key is pressed, scanning is executed at the speed corresponding to the currently set copy magnification
ratio.
The copy magnification ratio can be arbitrarily set with the magnification ratio select key/zoom key.
02
Mirror home position sensor (MHPS) status display
The mirror home position sensor is monitored, and the sensor status is displayed as follows: (The lamp is lighted while the
sensor is ON.)
[Photoconductor drum cartridge replacement lamp]
06
Aging of mirror scanning
When the START key is pressed, the mirror base performs full scan at the speed of the set magnification ratio. After 3 sec, the
mirror case performs full scan again. These procedures are repeated until the clear key is pressed. (When the START key is
pressed once, the ready lamp keeps OFF.)
The status of the mirror home position sensor is displayed with the photoconductor cartridge lamp. (The lamp is ON when the
mirror is at the home position.)
During aging, the copy lamp keeps ON.
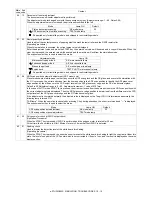
02
01
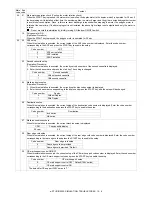
Automatic Document Feeder (ADF) aging operation <ADF model only>
When START key is pressed, the set magnification ratio is obtained. For the ADF, the single surface document transport
operation is performed. For the R-ADF, the duplex document transport operation is performed.
Since, however, there is no required operating condition, the operation is not stopped even when a JAM occurs.
The magnification ratio change and the operation status display are Similar to SIM 1-01.
02
ADF sensor status display <ADF model only>
ON/OFF of the sensors in the ADF can be checked with the following lamps.
03
ADF motor ON <ADF model only>
(Operation/Procedure)
When the START key is pressed, the ADF motor rotates for 10 sec at the speed corresponding to the currently set
magnification ratio.
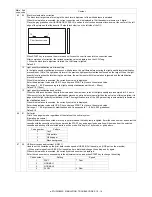
05
01
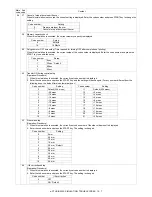
Operation panel display check
• When the START key is pressed, all LEDs (including 7-segment LEDs) on the operation panel are lighted. (LED check
mode)
• When 1Up key is pressed, the LEDs on the operation panel are lighted individually from the top left to the bottom right in
sequence. After completion of all individual lighting, all LEDs are lighted simultaneously. (The 7-segment LED lights the
three-digit sections at the same time.)
Individual lighting frequency
ON: 300ms,
OFF: 20ms
• When the CLEAR key is pressed, this simulation is terminated.
• When the START key is pressed in the LED check mode, the machine enters the Key input check mode.
“Key input check mode”
When the machine enters the Key input check mode, the value display section indicates “– – –.” Every time any key on the
operation panel is pressed, the entered value is added and displayed on the value display section. However, the keys that
were pressed once are not counted again.
• When the START key is pressed, the entered value is added and displayed for 3 sec and all the LEDs are lighted. (LED
lighting check mode)
(Note for Key input check mode)
• Press the START key at the end. (If it is pressed in the middle of the process, the entered value up to that moment is
displayed for 3 sec and the machine enters the LED lighting check mode. (ALL the LEDs are lighted.))
• Multiple key inputs are ignored.
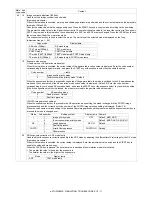
02
Fusing lamp, cooling fan operation check
When the START key is pressed, the fusing lamp repeats operations of 500ms-ON and 500ms-OFF 5 times. During that time,
the cooling fan motor rotates.
03
Copy lamp ON
(Operation/Procedure)
When the START key is pressed, the copy lamp is lighted for 5 sec.
Sensor name
Display lamp
Mirror home position sensor
OPC drum cartridge replacement lamp
Display
Sensor
Developer cartridge replacement lamp
Document set detection (SPID)
Jam lamp
ADF document transport detection (SPPD)


