1
2
3
4
5
6
7
8
9
10
11
12
6-24
USING THE SPECIAL FUNCTIONS
2
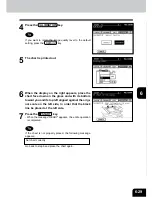
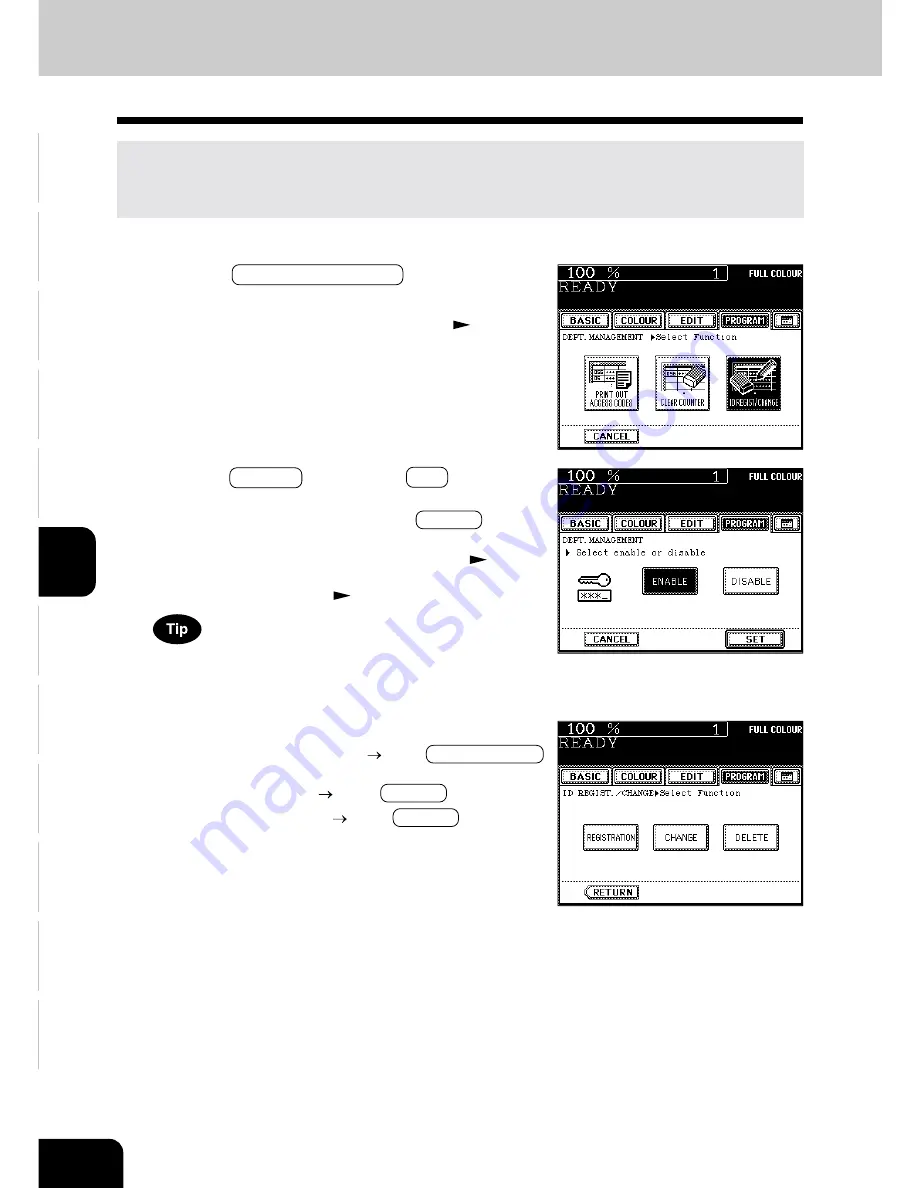
Press the ENABLE key, then the SET key.
- The default setting is ‘disable’. If you administer the depart-
ments with the access code, press the ENABLE key.
- Selecting ‘enable’ has the copier go into the department man-
agement mode. The access code input screen (
Page 1-
9) appears when the power switch is turned ON or the auto-
matic function clear mode(
Page 1-5) works.
As long as ‘disable’ is selected, the number of outputs for
each department is not counted. As a result, it will not affect
the counter of the access code list.
10. DEPARTMENT MANAGEMENT (Cont.)
Setting Access Codes (Registration/Change/Deletion)
1
Press the ID REGIST/CHANGE key in the depart-
ment management menu.
- Procedure to display the screen on the right
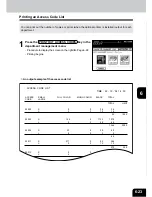
Page 6-22
This function registers, changes and deletes the access codes. You can also restrict the number of
copies for each department.
* This setting is available when the administrator password has been entered in step 2 on page 6-22.
3
Press the key of the desired function.
- To register a new access code
press REGISTRATION
- To change an access code or to change the limit number of
copies by access code
press CHANGE
- To delete an access code
press DELETE
Summary of Contents for e-studio 210c
Page 1: ...OPERATOR S MANUAL FOR COPYING FUNCTIONS DIGITAL COLOUR PLAIN PAPER COPIER ...
Page 26: ...1 2 3 4 5 6 7 8 9 10 11 12 1 12 BEFORE MAKING COPIES ...
Page 60: ...1 2 3 4 5 6 7 8 9 10 11 12 3 16 SETTING OF BASIC COPY MODES ...
Page 70: ...1 2 3 4 5 6 7 8 9 10 11 12 4 10 COLOUR EDITING AND ADJUSTMENT ...
Page 92: ...1 2 3 4 5 6 7 8 9 10 11 12 USING THE EDITING FUNCTIONS 5 22 ...
Page 172: ...1 2 3 4 5 6 7 8 9 10 11 12 9 30 WHENTHE GRAPHIC SYMBOLS FLASH ONTHETOUCH PANEL ...


