1
2
3
4
5
6
7
8
9
10
11
12
USING THE EDITING FUNCTIONS
5-14
3
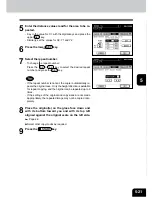
Press the TRIM (or MASK ) key.
2
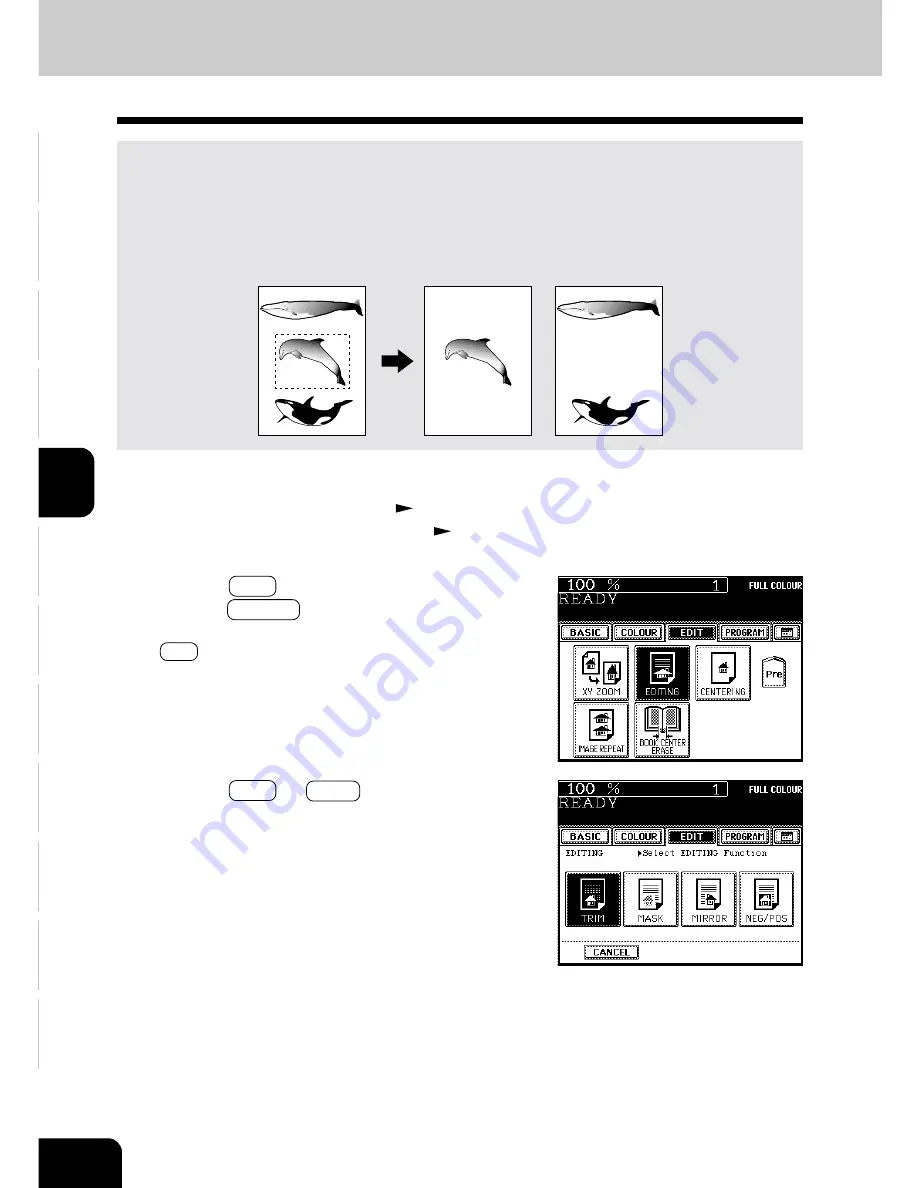
Press the EDIT key to enter the editing menu, and
press the EDITING key.
- If the key for the desired function is not shown, press the
Next key to switch the screen.
9. IMAGE EDITING
Trimming/Masking
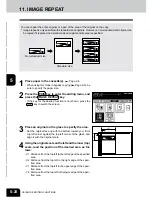
You can select an area on an original and copy it with the area trimmed (only the inside of the area
copied) or masked (only the outside of the area copied). One rectangular area can be specified on an
original.
* Image editing is only possible with standard sized originals.
* If the settings of the original and copy sizes are not made appropriately, the image may not be copied
completely.
1
Place paper in the cassette(s).
Page 2-4
- When using this mode in bypass copying (
Page 6-5), be
sure to specify the paper size.
Trimming
Masking
Summary of Contents for e-studio 210c
Page 1: ...OPERATOR S MANUAL FOR COPYING FUNCTIONS DIGITAL COLOUR PLAIN PAPER COPIER ...
Page 26: ...1 2 3 4 5 6 7 8 9 10 11 12 1 12 BEFORE MAKING COPIES ...
Page 60: ...1 2 3 4 5 6 7 8 9 10 11 12 3 16 SETTING OF BASIC COPY MODES ...
Page 70: ...1 2 3 4 5 6 7 8 9 10 11 12 4 10 COLOUR EDITING AND ADJUSTMENT ...
Page 92: ...1 2 3 4 5 6 7 8 9 10 11 12 USING THE EDITING FUNCTIONS 5 22 ...
Page 172: ...1 2 3 4 5 6 7 8 9 10 11 12 9 30 WHENTHE GRAPHIC SYMBOLS FLASH ONTHETOUCH PANEL ...


