1
2
3
4
5
6
7
8
9
10
11
12
3-14
SETTING OF BASIC COPY MODES
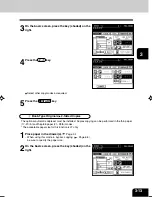
8
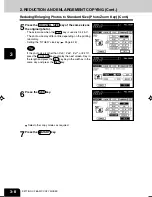
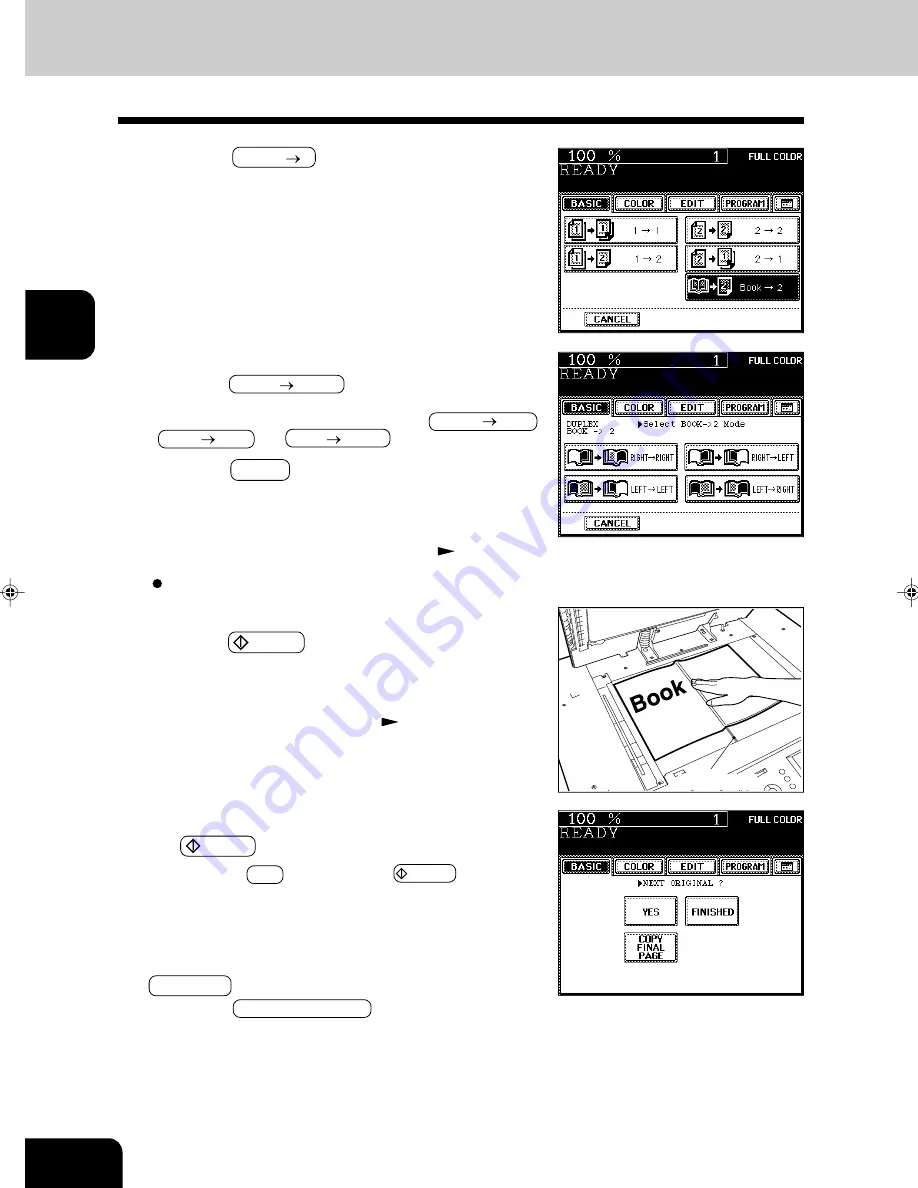
Turn to the next page, set the book again and press
the START key.
- Pressing the YES key and then the START key also con-
tinues copying.
- Repeat the procedure above until all your originals have been
scanned.
9
After all your originals have been scanned, press the
FINISHED key.
- Press the COPY FINAL PAGE key if the last original has
only one page.
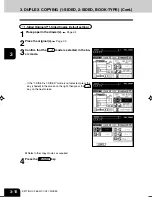
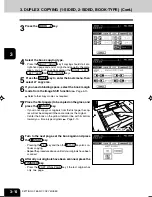
7
Place the first page(s) to be copied on the glass, and
press the
START key.
- If you do not copy your originals from the first page, the cop-
ies will not be arranged in the same order as the original.
- Center the book on the yellow indicator line with its bottom
toward you. Book-type originals
Page 2-10
3. DUPLEX COPYING (1-SIDED, 2-SIDED, BOOK-TYPE) (Cont.)
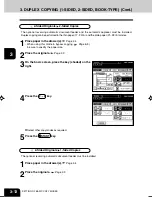
5
Press the BASIC key to enter the basic menu, then
select LT copy size.
4
Select the book copying type.
- Press the RIGHT
RIGHT key if copying should start at a
right-hand page and end at a right-hand page. By the same
token, you can choose from among the RIGHT
LEFT ,
LEFT
LEFT and LEFT
RIGHT keys.
3
Press the BOOK 2 key.
Indicator line
6
If you need a binding space, select the book margin
mode from the Image Shift function
(
Page
5-3
)
.
Select other copy modes as required.
Summary of Contents for e-studio 211c
Page 1: ......
Page 2: ......
Page 61: ...1 2 3 4 5 6 7 8 9 10 11 12 3 18 SETTING OF BASIC COPY MODES ...
Page 71: ...1 2 3 4 5 6 7 8 9 10 11 12 4 10 COLOR EDITING AND ADJUSTMENT ...
Page 93: ...1 2 3 4 5 6 7 8 9 10 11 12 USING THE EDITING FUNCTIONS 5 22 ...
Page 129: ...1 2 3 4 5 6 7 8 9 10 11 12 6 36 USING THE SPECIAL FUNCTIONS ...
Page 199: ...1 2 3 4 5 6 7 8 9 10 11 12 9 30 WHENTHE GRAPHIC SYMBOLS FLASH ONTHETOUCH PANEL ...
Page 222: ...1 2 3 4 5 6 7 8 9 10 11 12 11 17 MEMO ...
Page 223: ...1 2 3 4 5 6 7 8 9 10 11 12 11 18 SPECIFICATIONS OPTIONS MEMO ...
Page 224: ......
Page 225: ......


