4.Using the IP Fax Function
Using the IP Fax Function from the Touch Panel 37
Usi
n
g th
e IP Fa
x
F
u
nc
ti
on
4
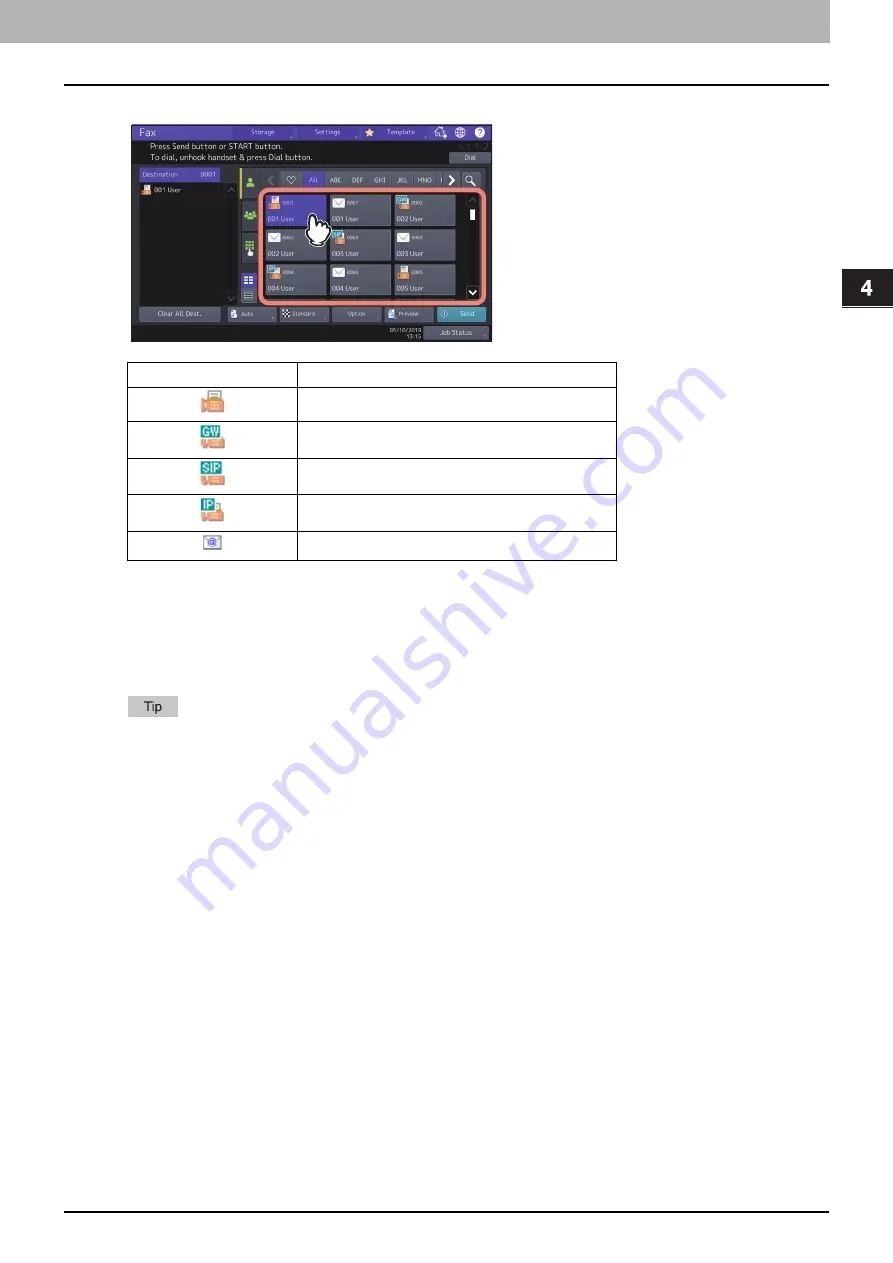
Specify the IP Fax recipient.
There are multiple methods to specify the recipients. For details, see the following page.
P.38 “Specifying the recipient”
You can check the contents from the touch panel before sending an IP Fax. For details about the operation of
[Preview], refer to the
Fax Guide
.
5
Press [Send].
The IP Fax is sent or reserved.
Alternatively, you can press the [START] button on the control panel to send a fax.
[Direct Tx] on the [Fax Setting] screen accessing from [Option] > [Fax Setting] is not available for IP Fax.
[Memory Tx] is selected if IP Fax recipients are registered in the address list.
In the IP Fax transmission mode, the original is scanned into the memory. Once a connection has been made,
this equipment automatically starts sending the scanned document. (Transmission conditions can be set in
the transmission condition setting screen.)
If the memory becomes full during scanning, that original will not be stored in the memory. When that
happens, reduce the number of originals you are sending.
You can check the status of the current sending. You can also cancel the transmission (deletes the job).
Refer to “Checking reserved transmissions” or “Canceling reserved transmissions” in the
Fax Guide
.
For details about [Redial function] and [Sending the next original], refer to the
Fax Guide
.
Icon
Fax Type
G3 Fax
IP Fax gateway
IP Fax SIP
IP Fax direct
Summary of Contents for e-STUDIO A Series
Page 6: ...6 CONTENTS ...
Page 7: ...1 IP Fax Function Overviews About IP Fax 8 ...
Page 10: ...1 IP Fax Function Overviews 10 About IP Fax ...
Page 11: ...2 Installing the license Checking the license 12 Installing the license 13 ...
Page 14: ...2 Installing the license 14 Installing the license ...
Page 97: ...5 Troubleshooting Transmission Reception Trouble 98 Error Codes for IP Faxing 99 ...
Page 100: ...5 Troubleshooting 100 Error Codes for IP Faxing ...
Page 106: ...106 INDEX ...


