4.SCAN FUNCTIONS
Setting Up Scan Options 103
4 SCAN FUNCTIONS
2
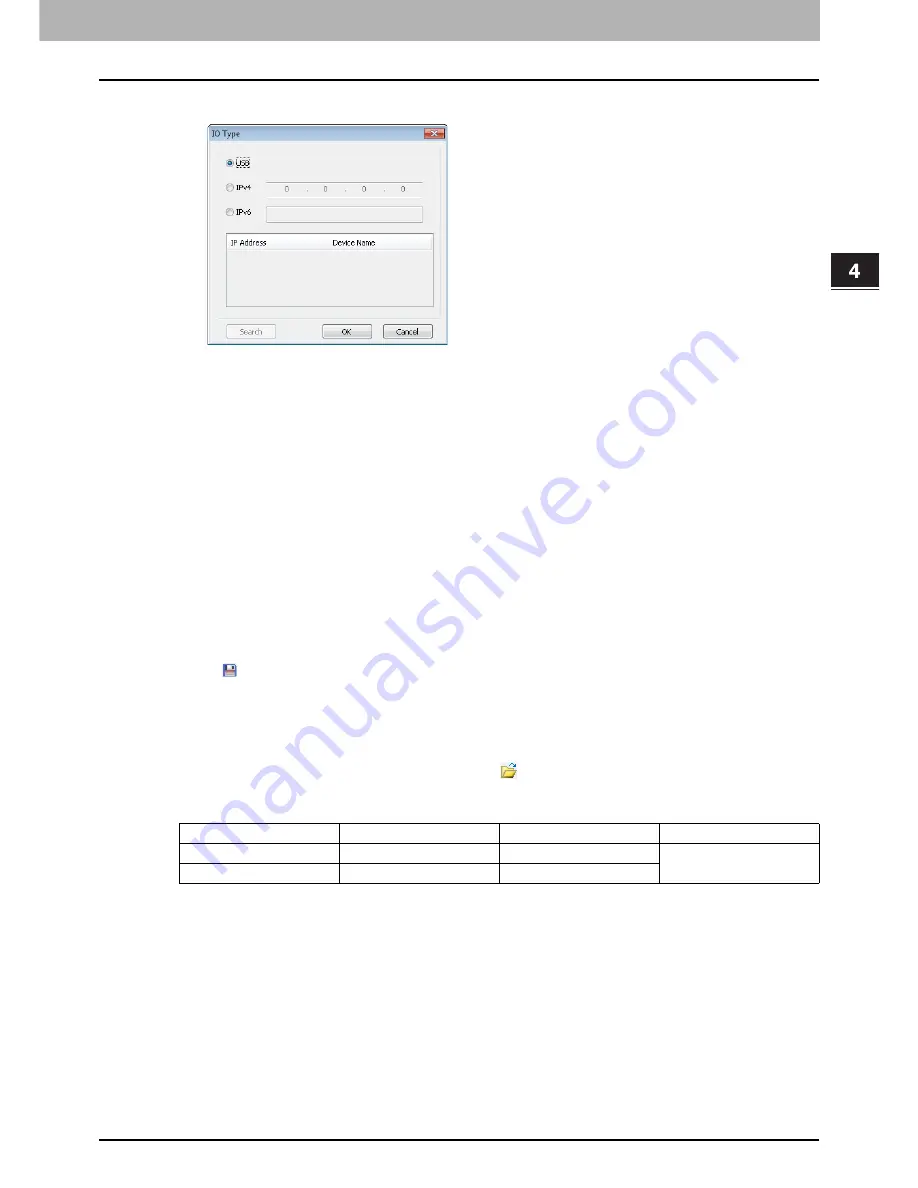
The [IO Type] dialog box appears, select [USB].
3
Click [OK].
Using the Easy Set feature
When you have made scan settings, you can save them as an Easy Set file. This allows you to load a specific batch of
settings without changing the scan settings each time.
P.103 “Saving the Easy Set file”
P.103 “Using the Easy Set file”
Saving the Easy Set file
You can save multiple Easy Set files.
1
Open the advanced scan dialog from within your application.
P.98 “How to scan”
2
Set the scan options as you like.
P.100 “Scan options”
3
Click
next to the Easy Set menu.
4
Enter a file name, select a folder where you save the file, and then click [Save].
Using the Easy Set file
1
Select the pre-defined Easy Set file, or click
next to the Easy Set menu to select your
Easy Set file.
The following two pre-defined files are available.
When the Open dialog box appears, select the folder, select the target Easy Set file, and then click [Open].
2
Click [Pre-Scan].
Deleting the Easy Set files
You can delete the Easy Set files in the same way as for normal files. Locate the folder where you have saved the Easy
Set file, right-click the file, and then click [Delete] from the menu. Click [Yes] to delete the file. When you are working in the
preview window, click the folder icon next to the Easy Set menu so that you can delete the file in the same way. After
deleting the file, click [CANCEL] to close the dialog box.
Pre-defined File
Resolution
Original Mode
Other Scan Options
Picture
150 x 150 dpi
Text/Photo
Default settings
Text
600 x 600 dpi
Text
Summary of Contents for e-studio2007
Page 1: ...MULTIFUNCTIONAL DIGITAL SYSTEMS User s Guide ...
Page 6: ......
Page 10: ...8 CONTENTS ...
Page 155: ...7 MAINTENANCE AND INSPECTION Regular Cleaning 154 Cleaning Charger 155 ...
Page 158: ......
Page 168: ...166 INDEX ...
Page 169: ...DP 2007 2307 2507 OME13001000 ...


