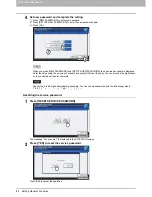
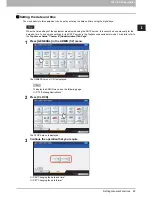
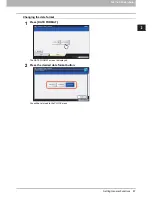
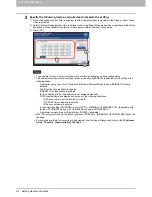
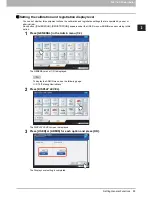
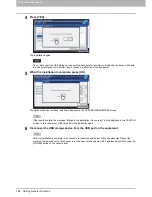

2 SETTING ITEMS (ADMIN)
98 Setting General Functions
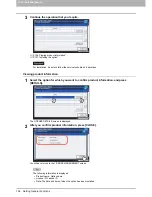
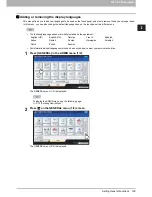
3
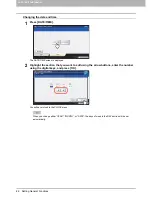
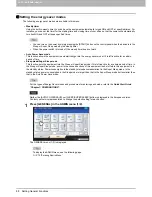
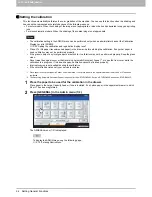
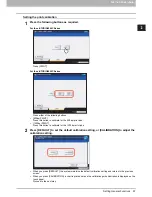
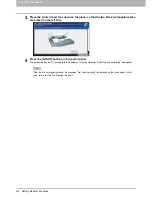
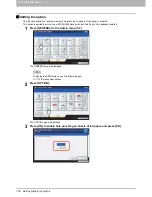
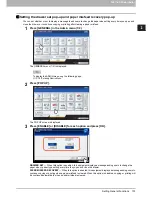
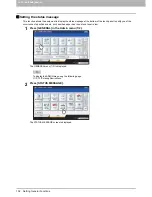
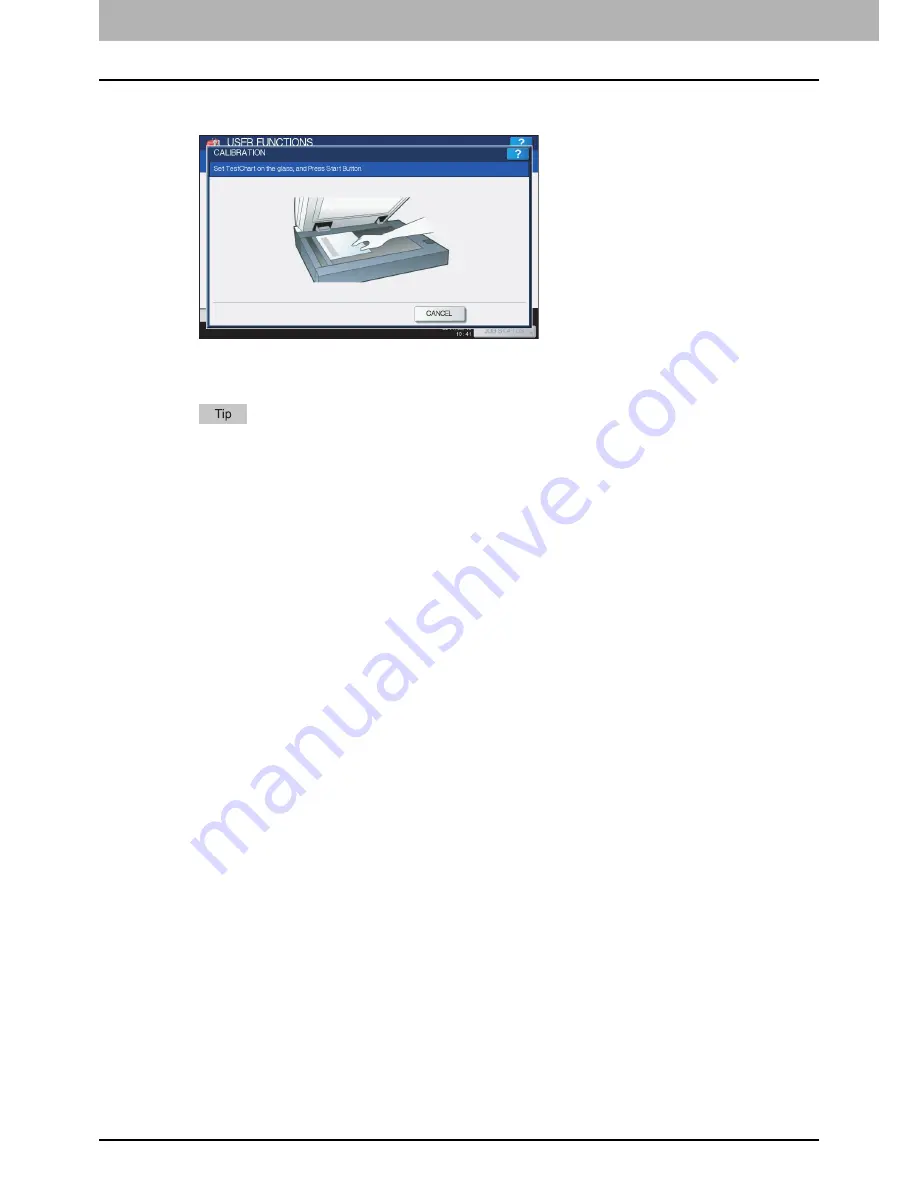
Place the printed chart face down on the glass, so that the two black rectangular marks
are placed on the left side.
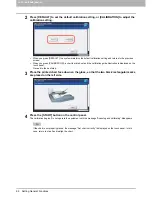
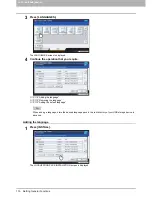
4
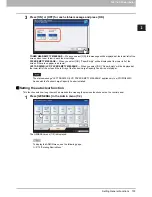
Press the [START] button on the control panel.
The calibration begins. Do not operate the equipment until the message “Scanning and calibrating” disappears.
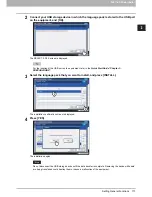
If the chart is not properly placed, the message “Set chart correctly” is displayed on the touch panel. In this
case, return to step 3 and realign the chart.
Summary of Contents for E-studio2040c
Page 1: ...MULTIFUNCTIONAL DIGITAL COLOR SYSTEMS MULTIFUNCTIONAL DIGITAL SYSTEMS MFP Management Guide ...
Page 8: ...6 CONTENTS ...
Page 176: ...2 SETTING ITEMS ADMIN 174 Setting E mail Functions panel to enter numerals ...
Page 246: ......
Page 274: ...4 APPENDIX 272 List Print Format PS3 font list Output example of the PS3 Font List ...
Page 275: ...4 APPENDIX List Print Format 273 4 APPENDIX PCL font list Output example of the PCL Font List ...
Page 276: ......


