
1 SETTING ITEMS (USER)
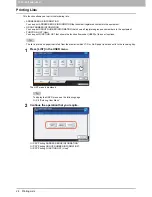
30 Printing Lists
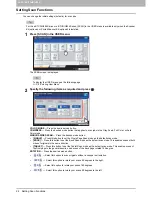
Printing GROUP NUMBER INFORMATION
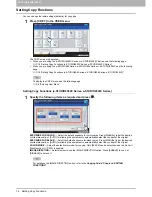
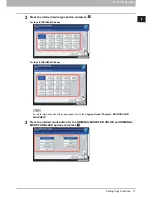
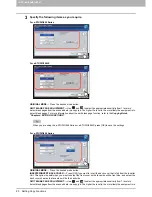
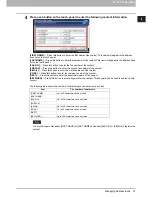
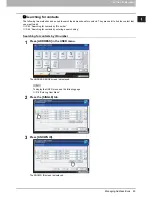
1
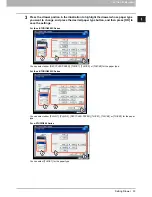
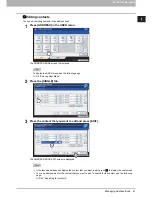
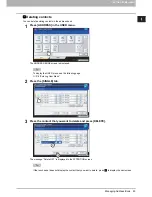
Press [GROUP NUMBERS].
y
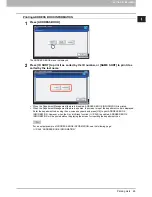
When the Department Management feature is disabled, GROUP NUMBER INFORMATION is printed.
y
When the Department Management feature is enabled, the screen to input the department code is displayed.
Enter the department code using the on-screen keyboard and press [OK] to print GROUP NUMBER
INFORMATION. However, when the No Limit Black function (
P.240) is enabled, GROUP NUMBER
INFORMATION will be printed without displaying the screen for inputting the department code.
For an output example of GROUP NUMBER INFORMATION, see the following page:
P.249 “GROUP NUMBER INFORMATION”
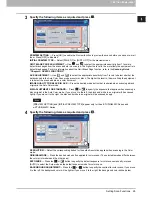
Printing FUNCTION LIST (User)
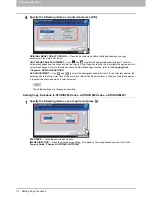
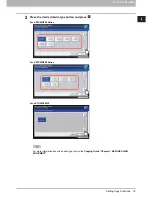
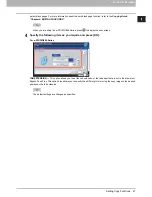
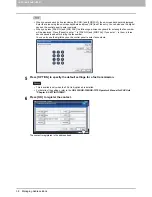
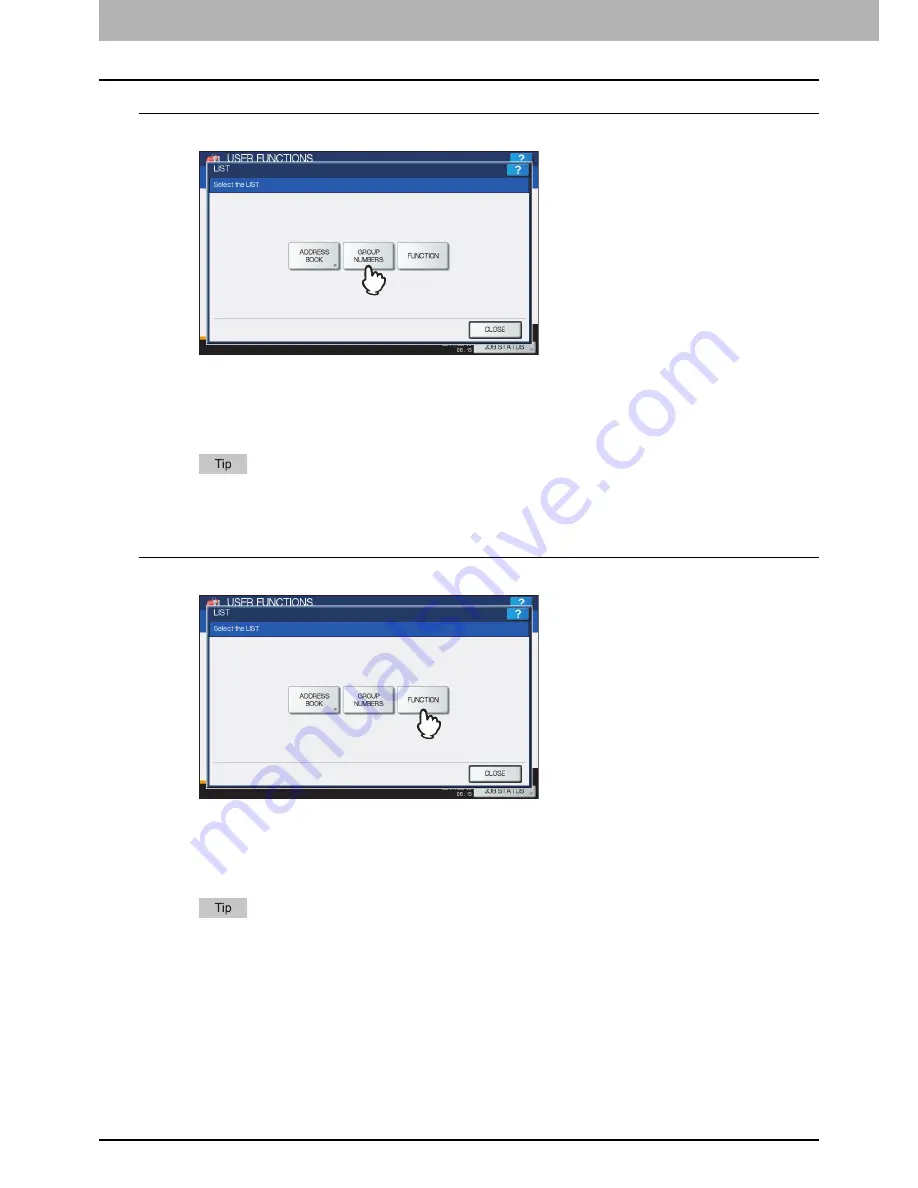
1
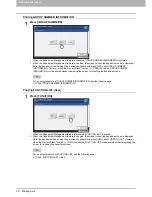
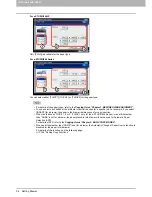
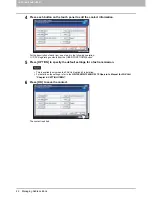
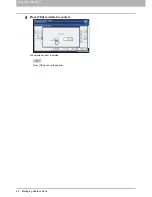
Press [FUNCTION].
y
When the Department Management feature is disabled, FUNCTION LIST is printed.
y
When the Department Management feature is enabled, the screen to input the department code is displayed.
Enter the department code using the on-screen keyboard and press [OK] to print FUNCTION LIST. However,
when the No Limit Black function (
P.240) is enabled, FUNCTION LIST will be printed without displaying the
screen for inputting the department code.
For an output example of FUNCTION LIST, see the following page:
P.250 “FUNCTION LIST (User)”
Summary of Contents for E-studio2040c
Page 1: ...MULTIFUNCTIONAL DIGITAL COLOR SYSTEMS MULTIFUNCTIONAL DIGITAL SYSTEMS MFP Management Guide ...
Page 8: ...6 CONTENTS ...
Page 176: ...2 SETTING ITEMS ADMIN 174 Setting E mail Functions panel to enter numerals ...
Page 246: ......
Page 274: ...4 APPENDIX 272 List Print Format PS3 font list Output example of the PS3 Font List ...
Page 275: ...4 APPENDIX List Print Format 273 4 APPENDIX PCL font list Output example of the PCL Font List ...
Page 276: ......


