6 TROUBLESHOOTING
162 Paper Misfeed
Paper Misfeed
Find the position of paper misfeeds
When a paper misfeed occurs in the equipment, the operation stops, the alert lamp blinks on the control
panel, and a message appears on the LCD screen to indicate the positions where the paper is misfed.
Press and [OK] to select [Help]. Check the message, remove any misfed paper, and then press [START] to
resume copying.
P.144 “User Functions Menu List”
When a paper misfeed occurs in the equipment, the instruction to remove the misfed paper appears on the
LCD screen. Press and to scroll up and down to read the instruction.
When paper misfeeds occur frequently
When paper misfeeds occur frequently, they may be due to one of the causes listed below:
Unacceptable paper is used.
P.22 “Paper types not acceptable”
The sizes of paper loaded in the drawer or on the bypass tray are not registered into the equipment
properly.
P.31 “Preparation 3 - Registering Paper Size and Type”
More misfed paper is still remaining after the release of a paper misfeed.
The side guides are aligned too tight or too loose to the paper.
The height of the stacked paper is exceeding the indicators in the drawer.
When removing misfed paper
Observe the following precautions when you remove misfed paper:
Do not tear misfed paper.
Remove misfed paper carefully with both hands. Do not pull the paper forcefully, otherwise the paper could
tear and cause a misfed paper. Make sure there are no torn pieces of paper left in the printer.
Do not touch the fuser unit or the metal part around the unit.
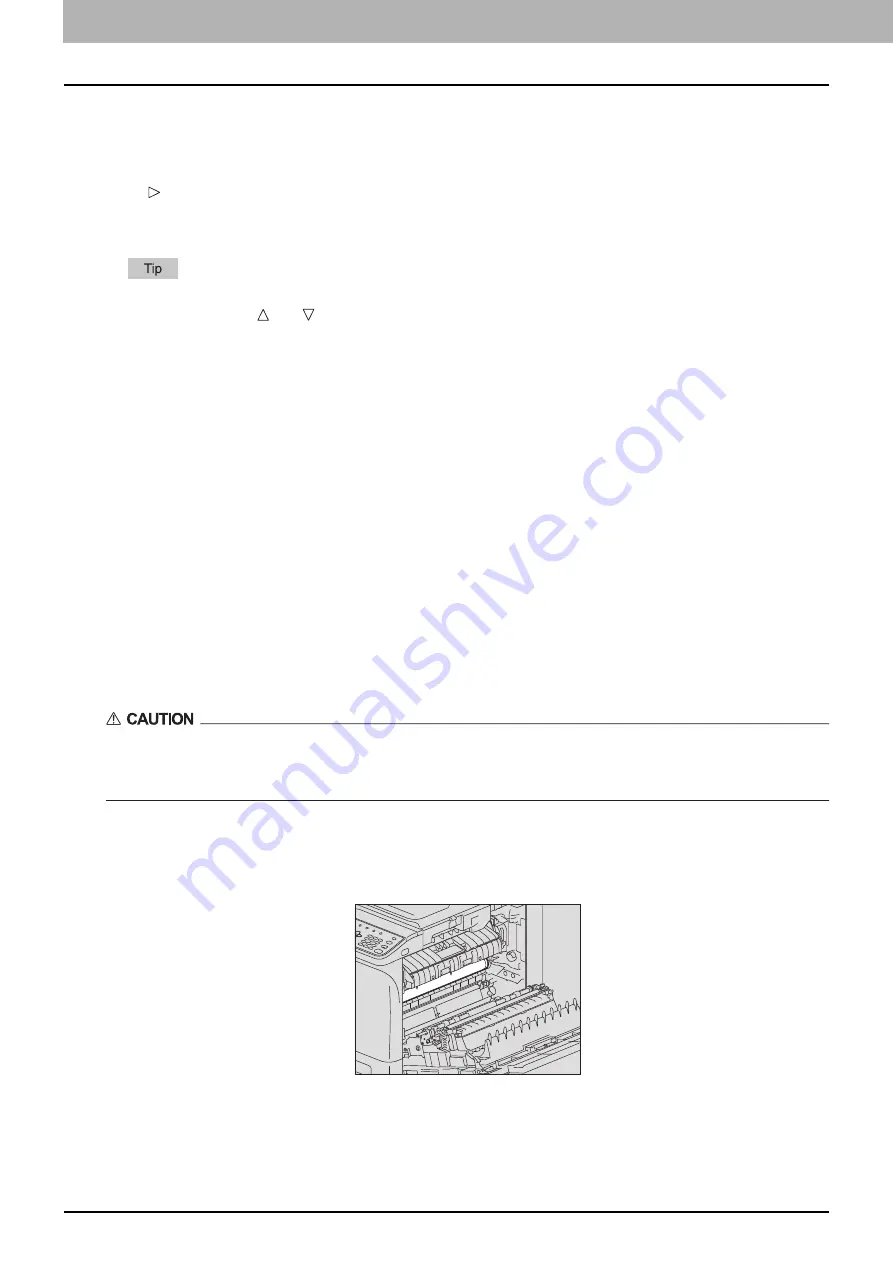
When you remove misfed paper within the fuser unit, do not touch the fuser unit or the metal part around the
unit. If you touch the inside of the equipment, this could cause burns or any injury to your hands.
Do not touch the photoconductive drum.
When you remove the misfed paper within the transfer unit or the fuser unit, be careful not to touch the
photoconductive drum. This could stain the copy images.
Summary of Contents for e-STUDIO2303AM
Page 1: ...MULTIFUNCTIONAL DIGITAL SYSTEMS User s Guide ...
Page 6: ......
Page 10: ...8 CONTENTS ...
Page 34: ......
Page 72: ......
Page 138: ......
Page 160: ......
Page 179: ...7 MAINTENANCE AND INSPECTION Regular Cleaning 178 Cleaning Charger 179 ...
Page 182: ......
Page 192: ...190 INDEX ...
Page 193: ...e STUDIO2303AM 2803AM ...


