2-80
Service Manual
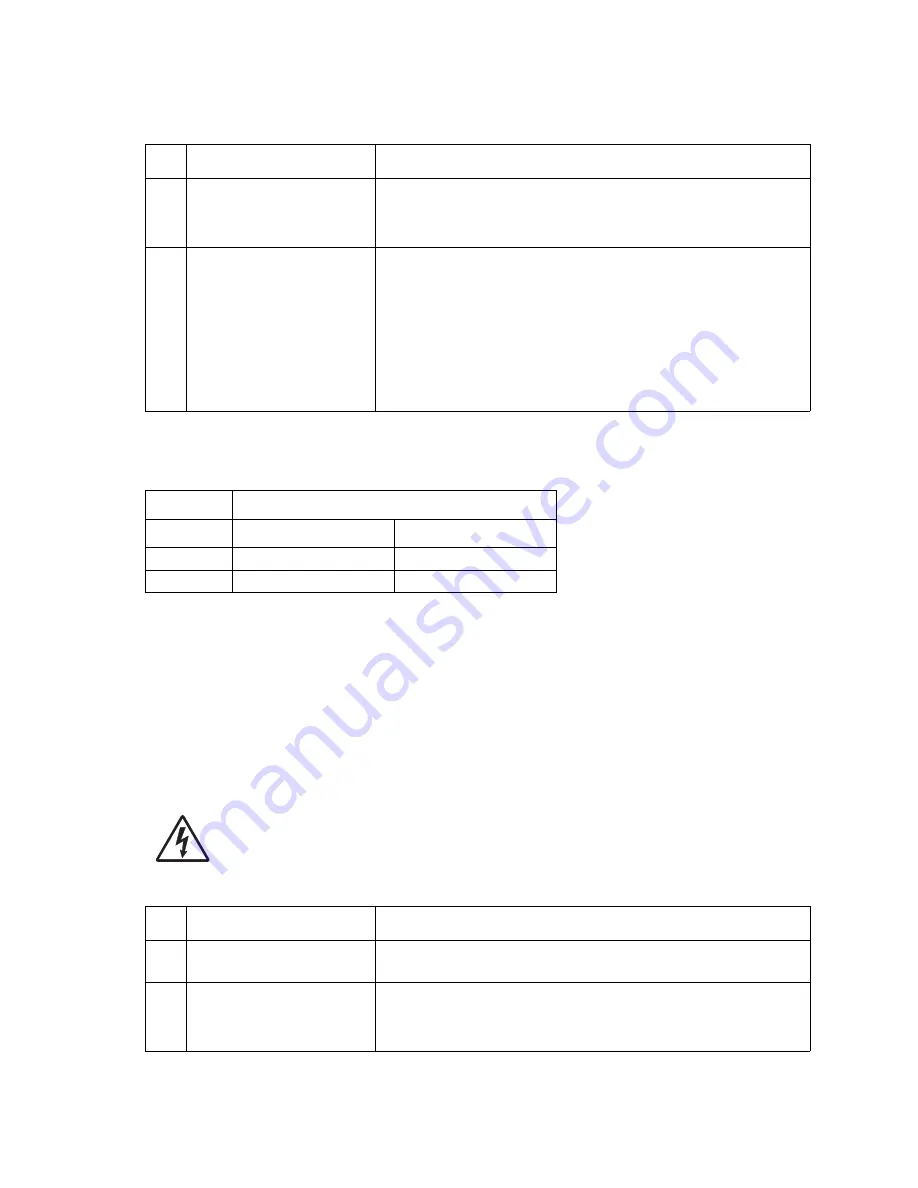
Cover closed switch/cable service check
Dead machine service check
A dead machine is a condition where the display is blank, the LED on the operator panel is off, no fans turn, no
motors turn, and the fuser lamp does not come on.
If a high-capacity input tray is installed, remove the option and check the base printer for correct operation. If the
base printer operates correctly, go to
“High-capacity feeder input tray service check” on page 2-95
. If the
base printer continues to not operate correctly, remove any other attached paper handling options.
Warning:
Observe all necessary ESD precautions when removing and handling the system board or any
installed option cards or assemblies. See
“Handling ESD-sensitive parts” on page 4-1
.
CAUTION:
When you see this symbol, there is a danger from hazardous voltage in the area of the
printer where you are working. Unplug the printer before you begin, or use caution if the printer must
receive power in order to perform the task.
Remove any input and output paper handling options from the printer.
FRU
Action
1
Toner cartridge
Make sure the toner cartridge is correctly installed and that the right
and left cartridge tracks are not loose or broken. Make sure the cover
closed switch activation tab on the toner cartridge is not broken and
that the tab correctly activates the cover closed switch spring.
2
Cover closed switch/cable
assembly
Check the cover closed switch for proper mechanical operation. If
incorrect, repair as necessary. Disconnect the cover closed switch
cable from J8 at the system board and measure the voltage at J8-3. It
measures approxi5 V dc. If the voltage is incorrect, replace
the system board. If the voltage is correct, check the voltage at J8-1.
If the voltage measures greater than +1.0 V dc, replace the system
board. If the voltage is correct, check the continuity between J8-1 and
J8-3 on the cable. If no change in continuity occurs as the switch is
activated, replace the cover open switch/cable assembly. If the
continuity changes as the switch is activated, replace the system
board.
Cover closed switch table
J8
Switch status
Pin number
Cover open
Cover closed
Pin 1-3
Open
Closed
Pin 1-2
Closed
Open
FRU
Action
1
Line voltage
Check the AC line voltage. If the line voltage is incorrect, inform the
customer.
2
AC line cord
Unplug the line cord from the wall outlet and check the line cord for
damage, such as, a damaged plug, or cut or damaged cord. If
incorrect, replace the cord. If incorrect, check the continuity of the line
cord and replace if necessary. If the cord is correct, go to step 3.
Summary of Contents for e-STUDIO500P
Page 1: ...PRINTER P N 12G9609 e STUDIO500P ...
Page 10: ...x Service Manual ...
Page 15: ...Laser notices xv Japanese Laser Notice ...
Page 16: ...xvi Service Manual Korean Laser Notice ...
Page 43: ...Diagnostic information 2 7 ...
Page 159: ...Diagnostic information 2 123 ...
Page 160: ...2 124 Service Manual ...
Page 161: ...Diagnostic information 2 125 ...
Page 181: ...Diagnostic aids 3 17 ...
Page 297: ...5 12 Service Manual ...
Page 298: ...Connector locations and connections 5 13 ...
Page 299: ...5 14 Service Manual ...
Page 301: ...6 2 Service Manual ...
Page 303: ...7 2 Service Manual Assembly 1 Covers ...
Page 305: ...7 4 Service Manual Assembly 2 Frame 1 ...
Page 307: ...7 6 Service Manual Assembly 3 Frame 2 ...
Page 309: ...7 8 Service Manual Assembly 4 Frame 3 ...
Page 311: ...7 10 Service Manual Assembly 5 Printhead ...
Page 313: ...7 12 Service Manual Assembly 6 Paper feed autocompensator ...
Page 315: ...7 14 Service Manual 4061 xx0 Assembly 7 Paper feed multipurpose feeder ...
Page 317: ...7 16 Service Manual Assembly 8 Paper feed alignment ...
Page 319: ...Page 7 19 has been removed from this document intentionally 7 18 Service Manual ...
Page 320: ...7 20 Service Manual Assembly 10 Integrated 500 sheet paper tray ...
Page 322: ...7 22 Service Manual Assembly 11 Drives Main drive and developer drive ...
Page 324: ...7 24 Service Manual Assembly 12 Hot roll fuser ...
Page 326: ...7 26 Service Manual Assembly 13 Transfer charging ...
Page 328: ...7 28 Service Manual Assembly 14 Electronics power supplies ...
Page 330: ...7 30 Service Manual Note ...
Page 332: ...7 32 Service Manual Assembly 16 Electronics shields ...
Page 336: ...7 36 Service Manual Assembly 19 Cabling diagrams 3 ...
Page 338: ...7 38 Service Manual Assembly 20 Cabling diagrams 4 ...
Page 340: ...7 40 Service Manual Assembly 21 Cabling diagrams 5 ...
Page 342: ...7 42 S ervice Manual THE FOLLOWING PAGE 7 43 HAS BEEN OMITTED FROM THIS MANUAL INTENTIONALLY ...
Page 347: ...7 48 S ervice Manual Pages 7 49 through 7 57 of this manual have been omitted intentionally ...
Page 348: ...7 58 Service Manual Assembly 35 High capacity feeder 1 ...
Page 350: ...7 60 Service Manual Assembly 36 High capacity feeder 2 ...
Page 354: ...7 64 S ervice Manual Pages 7 65 thru 7 70 ofthis manual were omitted intentionally ...
Page 362: ...I 8 Service Manual ...
Page 370: ...I 16 Service Manual ...


