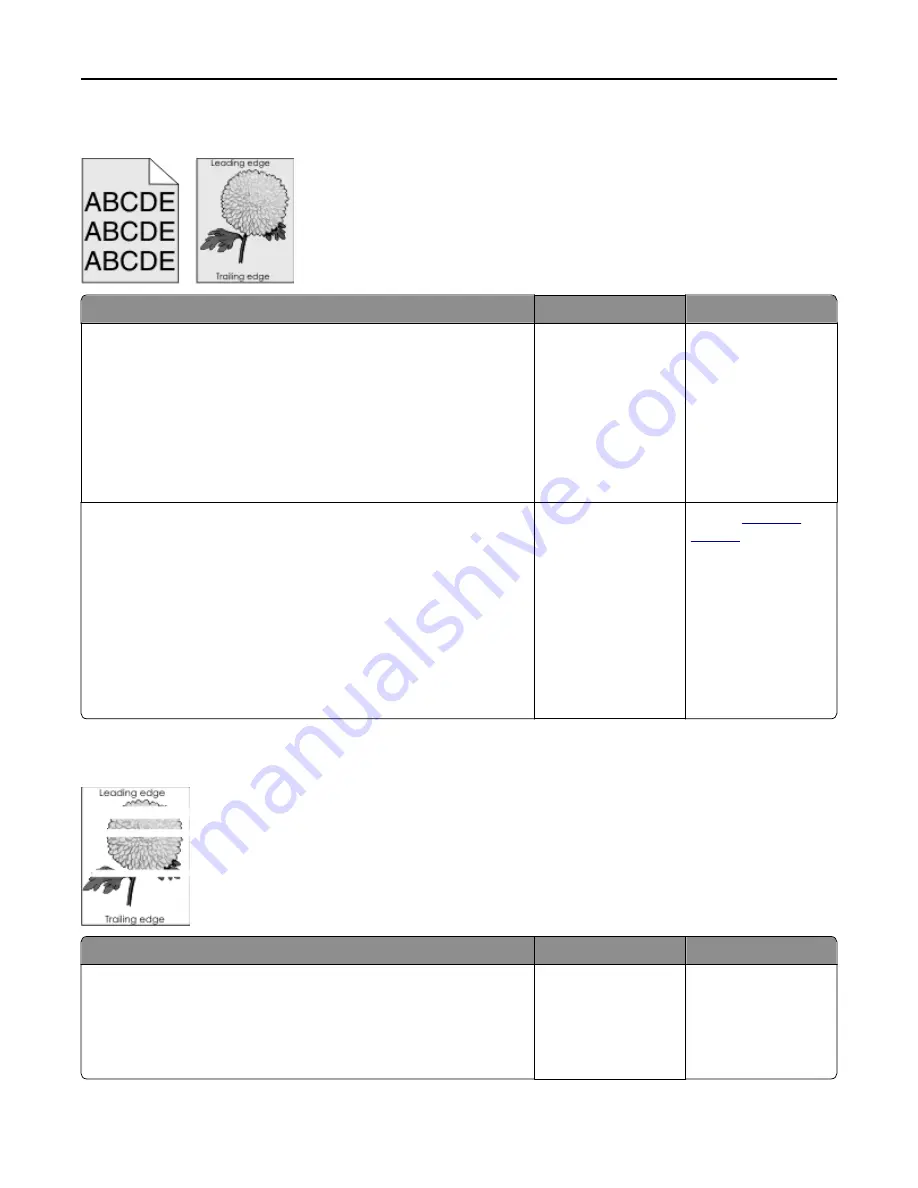
Gray background on prints
Action
Yes
No
Step 1
Reduce the toner darkness.
a
From the Quality menu on the printer control panel, reduce the toner
density.
Note:
4 is the factory default setting.
b
Resend the print job.
Did the gray background disappear?
The problem is solved. Go to step 2.
Step 2
a
Remove, and then reinstall the imaging kit.
Warning—Potential Damage:
Do not expose the imaging kit to
direct light for more than 10 minutes. Extended exposure to light
may cause print quality problems.
Warning—Potential Damage:
Do not touch the underside of the
imaging kit. This could damage the imaging kit.
b
Resend the print job.
Did the gray background disappear?
The problem is solved. Contact
customer
support
.
Horizontal voids appear on prints
Action
Yes
No
Step 1
a
Make sure your software program is using a correct fill pattern.
b
Resend the print job.
Do horizontal voids appear on prints?
Go to step 2.
The problem is solved.
Troubleshooting
182
Summary of Contents for eS305CP
Page 125: ...2 Open the top door 3 Remove the toner cartridges Maintaining the printer 125 ...
Page 130: ...16 Insert the waste toner bottle 17 Insert the right side cover Maintaining the printer 130 ...
Page 134: ...2 Open the top door 3 Remove the toner cartridges Maintaining the printer 134 ...
Page 138: ...14 Insert the waste toner bottle 15 Insert the right side cover Maintaining the printer 138 ...


