Use
To
Device
‑
Initiated E
‑
None
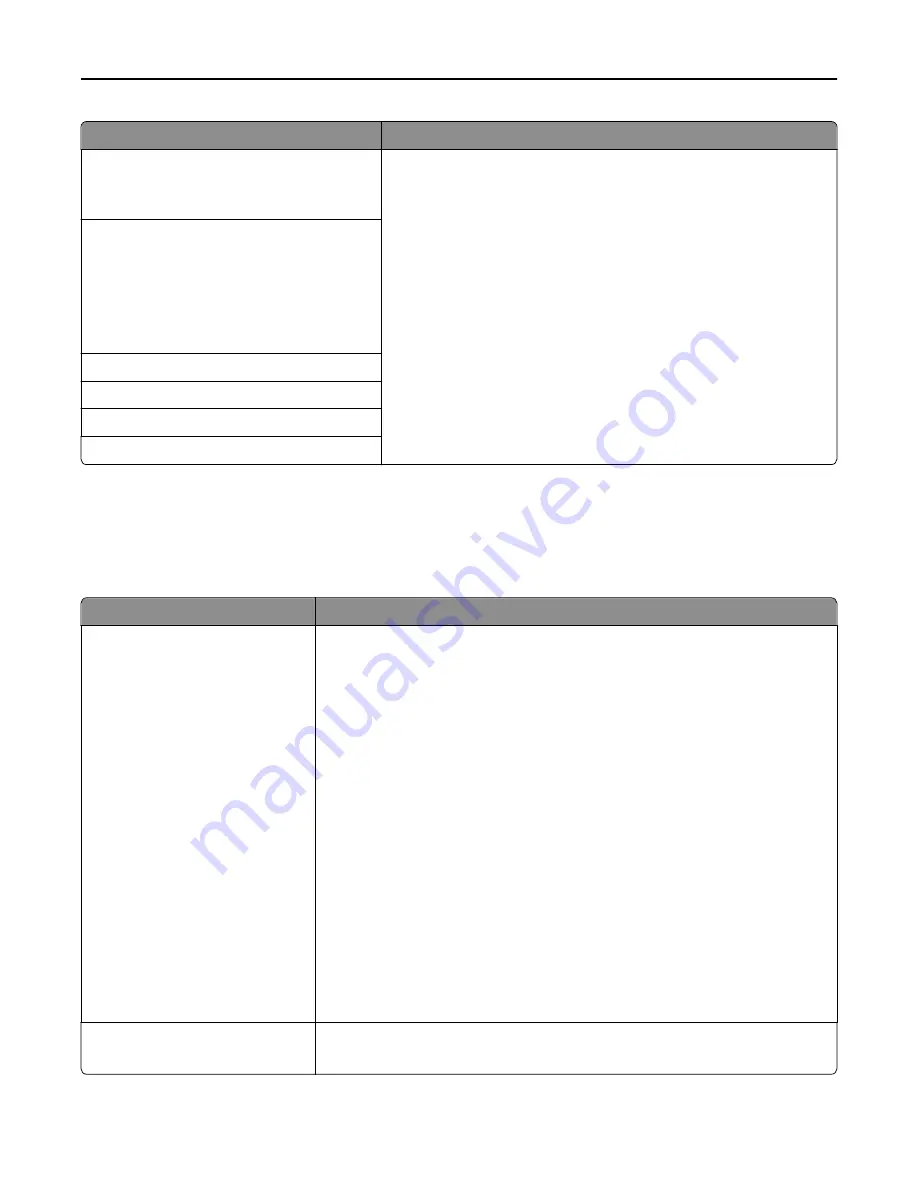
Use Device SMTP Credentials
Specify what credentials will be used when communicating to the SMTP
server.
Notes:
•
None is the factory default setting for Device
‑
Initiated E
‑
mail and
User
‑
Initiated E
‑
mail.
•
“Device Userid” and “Device password” are used to log in to the
SMTP server when Use Device SMTP Credentials is selected.
User
‑
Initiated E
‑
None
Use Device SMTP Credentials
Use Session User ID and Password
Use Session E
‑
mail address and Password
Prompt user
Device Userid
Device password
Kerberos 5 Realm
NTLM Domain
Security menu
Miscellaneous Security Settings menu
Use
To
Login Restrictions
Login failures
Failure time frame
Lockout time
Panel Login Timeout
Remote Login Timeout
Limit the number and time frames of failed login attempts from the printer control
panel before
all
users are locked out.
Notes:
•
“Login failures” specifies the number of failed login attempts before users are
locked out. You can choose from 1 to 10 attempts. The factory default setting
is 3.
•
“Failure time frame” specifies the time frame during which failed login
attempts can be made before users are locked out. You can choose from 1 to
60 minutes. The factory default setting is 5 minutes.
•
“Lockout time” specifies how long users are locked out after exceeding the
login failures limit. You can choose from 1 to 60 minutes. The factory default
setting is 5 minutes. The printer does not impose a lockout time if you set to 1
minute.
•
Panel Login Timeout specifies how long the printer remains idle on the home
screen before automatically logging the user off. You can choose from 1 to 900
seconds. The factory default setting is 30 seconds.
•
Remote Login Timeout specifies how long a remote interface remains idle
before automatically logging the user off. You can choose from 1 to 120
minutes. The factory default setting is 10 minutes.
Minimum PIN Length
1–16
Limit the digit length of the PIN.
Note:
4 is the factory default setting.
Understanding the printer menus
85
Summary of Contents for eS305CP
Page 125: ...2 Open the top door 3 Remove the toner cartridges Maintaining the printer 125 ...
Page 130: ...16 Insert the waste toner bottle 17 Insert the right side cover Maintaining the printer 130 ...
Page 134: ...2 Open the top door 3 Remove the toner cartridges Maintaining the printer 134 ...
Page 138: ...14 Insert the waste toner bottle 15 Insert the right side cover Maintaining the printer 138 ...


