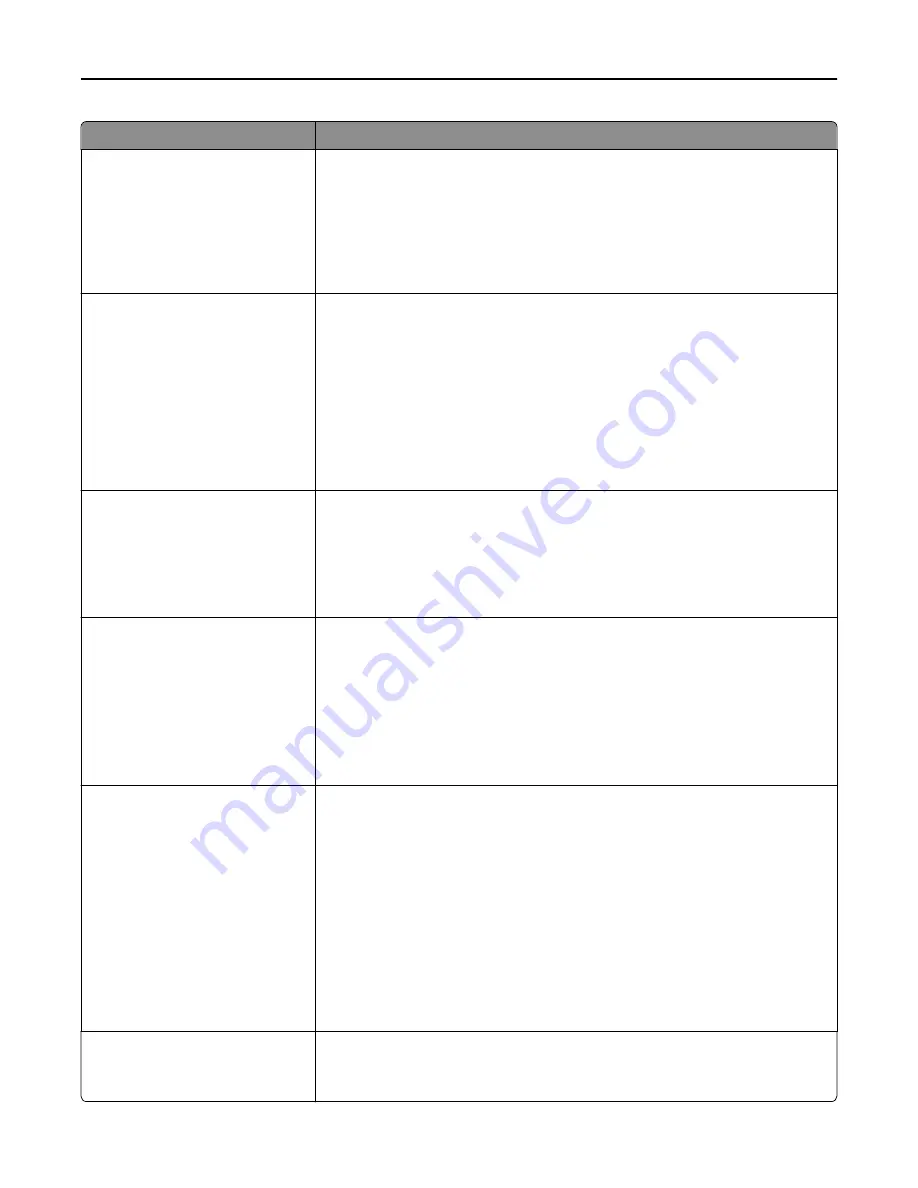
Use
To
Paper Saver Orientation
Auto
Landscape
Portrait
Specify the orientation of a multiple
‑
page document.
Notes:
•
Auto is the factory default setting. The printer chooses between portrait and
landscape.
•
This setting affects jobs only when Paper Saver is set to any value other than
Off.
Paper Saver
Off
2
‑
Up
3
‑
Up
4
‑
Up
6
‑
Up
9
‑
Up
12
‑
Up
16
‑
Up
Print multiple
‑
page images on one side of the paper.
Notes:
•
Off is the factory default setting.
•
The number selected is the number of page images that will print per side.
Paper Saver Border
None
Solid
Print a border on each page image when using Paper Saver Border.
Notes:
•
None is the factory default setting.
•
This setting affects jobs only when Paper Saver is set to any value other than
Off.
Paper Saver Ordering
Horizontal
Reverse Horizontal
Reverse Vertical
Vertical
Specify the positioning of multiple
‑
page images when using Paper Saver Ordering.
Notes:
•
Horizontal is the factory default setting.
•
Positioning depends on the number of page images and whether they are in
portrait or landscape orientation.
•
This setting affects jobs only when Paper Saver is set to any value other than
Off.
Separator Sheets
Off
Between Copies
Between Jobs
Between Pages
Specify whether blank separator sheets are inserted.
Notes:
•
Off is the factory default setting.
•
Between Copies inserts a blank sheet between each copy of a print job when
Collate is set to “(1,2,3) (1,2,3).” When Collate is set to “(1,1,1) (2,2,2),” then a
blank page is inserted between each set of printed pages, such as after all
page 1's and after all page 2's.
•
Between Jobs inserts a blank sheet between print jobs.
•
Between Pages inserts a blank sheet between each page of the print job. This
setting is useful when printing transparencies or inserting blank pages in a
document for notes.
Separator Sheet Source
Tray [x]
Multipurpose Feeder
Specify the paper source for separator sheets.
Note:
Tray 1 is the factory default setting.
Understanding the printer menus
98
Summary of Contents for eS305CP
Page 125: ...2 Open the top door 3 Remove the toner cartridges Maintaining the printer 125 ...
Page 130: ...16 Insert the waste toner bottle 17 Insert the right side cover Maintaining the printer 130 ...
Page 134: ...2 Open the top door 3 Remove the toner cartridges Maintaining the printer 134 ...
Page 138: ...14 Insert the waste toner bottle 15 Insert the right side cover Maintaining the printer 138 ...


