
80
Settings
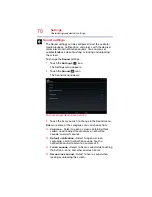
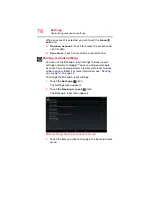
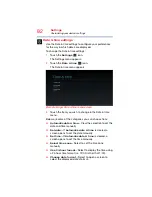
Customizing your device’s settings
2
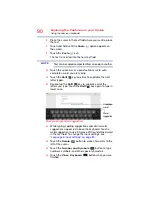
Touch the
Storage
(
) icon.
The Storage menu appears.
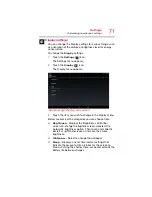
3
Touch the item you wish to change in the Storage menu.
You can also view and manage the amount of storage used
by your applications.
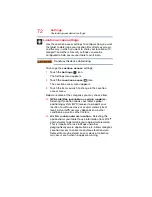
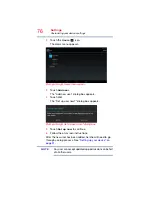
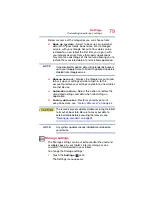
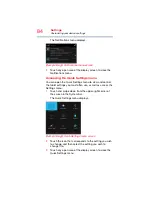
Language & input settings
You can select the language and configure various input
methods, such as the Google™ text-to-speech engine for
applications that support it.
To change the Language & input settings:
1
Touch the
Settings
(
) icon.
The Settings menu appears.
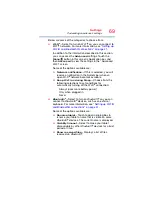
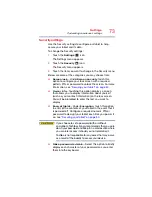
2
Touch the
Language & input
(
) icon.
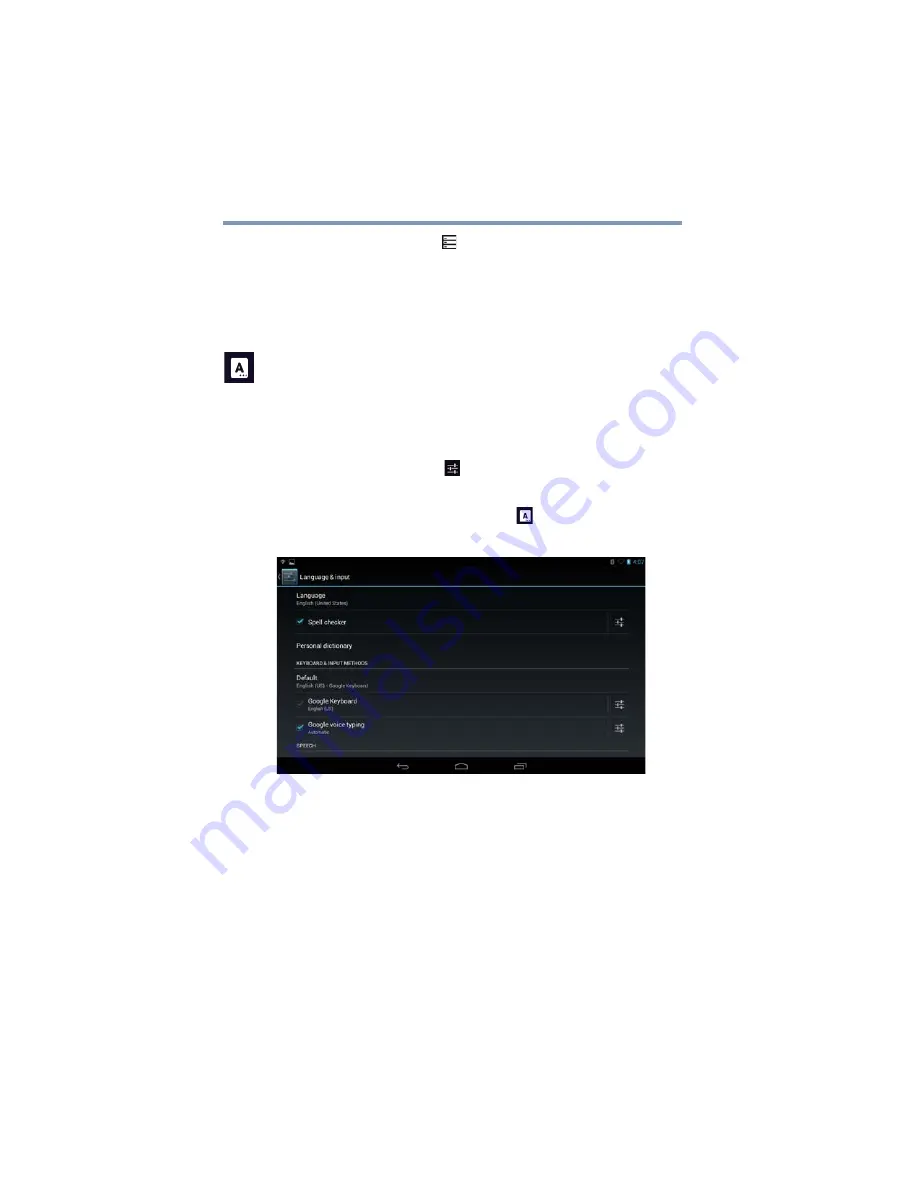
The Language & input menu appears.
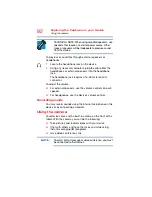
(Sample Image) Language & input menu screen
3
Touch the item you wish to change in the Language &
input menu.
Below are some of the categories you can choose from:
❖
Language
—Select to open the Language screen, and
then select your preferred language for use on your
tablet.
❖
Spell checker
—Select to enable/disable the auto-
spelling correction.