


92
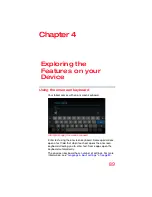
Exploring the Features on your Device
Using the built-in speakers
You can change the language you want to use by touching
the
Input Method
(
) button, or by going to the Settings
“Language & input settings” on page 80
.
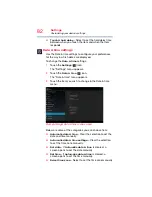
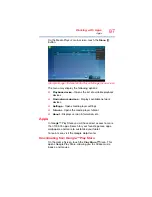
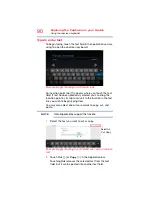
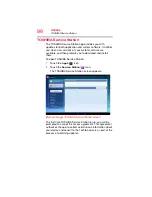
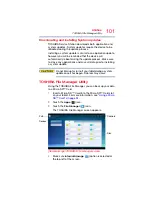
Speak to enter text
You can use the speech-recognition feature to input text to
the onscreen keyboard.
1
Touch the text field.
2
Touch the
Microphone
( ) key on the keyboard.
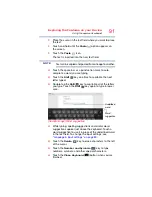
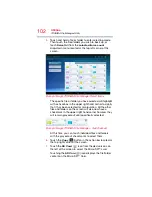
3
Speak your text when you are prompted to “Speak
now.”
The speech-recognition types the words you say.
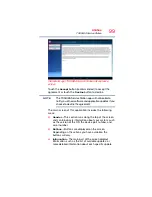
4
To enter punctuation, say “comma,” “period,”
“exclamation mark,” etc.
The text you enter by speech is underlined.
5
Touch the
Delete
(
) key to erase the underlined text,
or the
Send
(
) button to accept the text.
You can change the language you want to use by touching
the
Input Method
(
) button, or by going to the Settings
“Language & input settings” on page 80
.
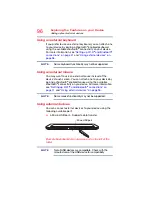
Using the built-in speakers
Your tablet is equipped with internal speakers. To increase or
decrease the volume, use the volume control buttons on the
side of your tablet.
You can silence your tablet, so that your notifications are
announced with a vibration instead of a tone. To place your
tablet into Silent mode, use the volume decrease button to
turn the volume down completely, and then press it once
again to place your tablet into Silent mode.