3-14
3
Service Procedures
T
O
REPLACE
A
DIMM
1.
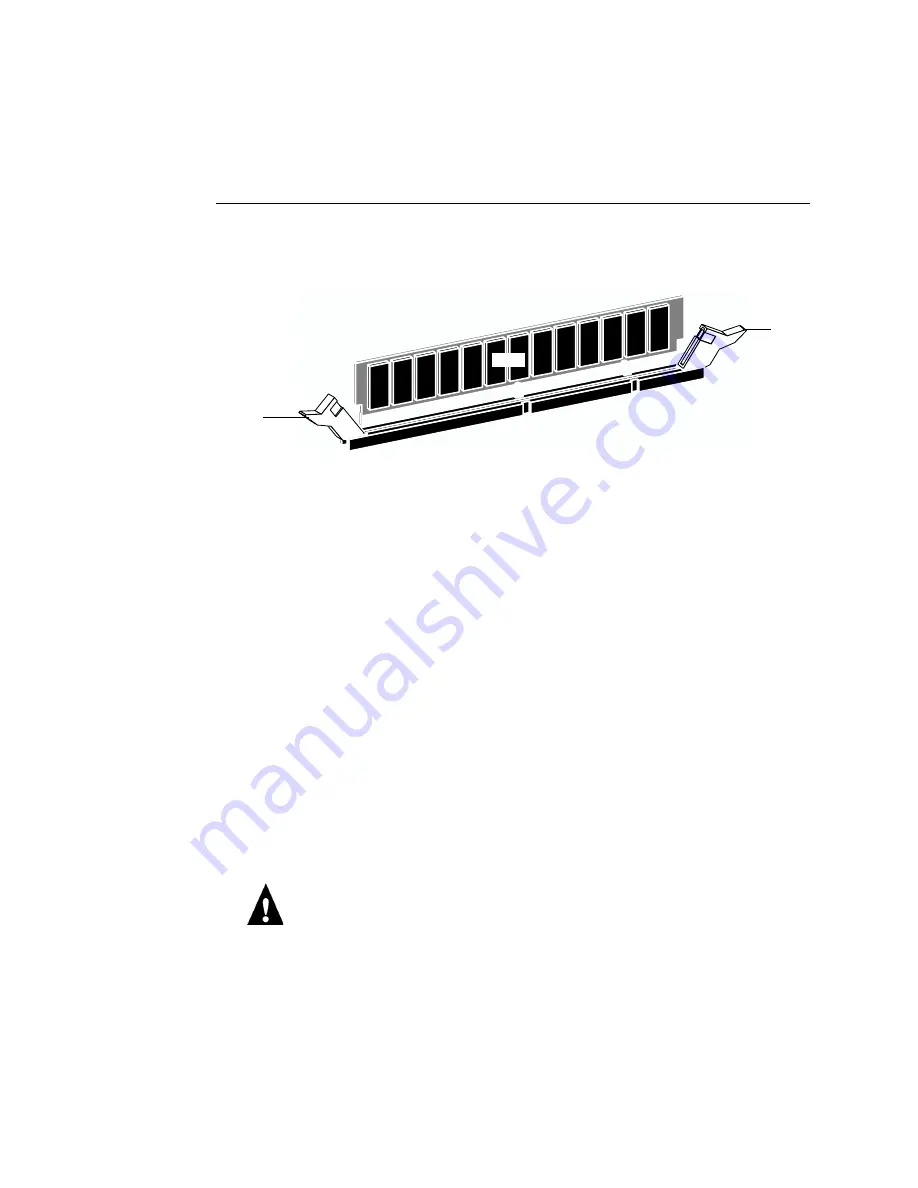
To release a DIMM, push outward on the lever on each side of the DIMM. See the
following figure.
F
IGURE
3-7
Releasing a DIMM
2.
Slide the DIMM out of the socket and set it aside.
3.
To install a DIMM, slide it into the socket. Push the DIMM into the socket until the levers
snap into place.
Make sure that the levers close securely around the ends of the DIMM and that the
DIMM is fully seated in its socket. Avoid flexing the board while you firmly seat the
DIMM in its socket.
The DIMM fits the socket only one way. The two notches on the bottom of the DIMM
should line up with the notches in the socket.
4.
Reassemble the unit and verify functionality.
See “Restoring GA-1121 functionality after service” on page 3-22.
To verify memory capacity, print a Configuration page to check the amount of memory
recorded.
Battery
The battery on the GA-1121 board is located at BT200. To replace it, use a 3V
manganese dioxide lithium coin cell battery (Panasonic CR2032 or equivalent).
CAUTION:
There is danger of explosion if the battery is replaced with the incorrect type.
Replace only with the same type recommended by the manufacturer. Dispose of used
batteries according to the manufacturer's instructions.
ACHTUNG:
Es besteht Explosionsgefahr, wenn die Batterie durch eine Batterie falschen Typs ersetzt wird. Als Ersatz dürfen
nur vom Hersteller empfohlene Batterien gleichen oder ähnlichen Typs verwendet werden. Verbrauchte Batterien müssen
entsprechend den Anweisungen des Herstellers entsorgt werden.
ATTENTION:
Il y a risque d'explosion si la pile est remplacée par un modèle qui ne convient pas. Remplacez-la uniquement par
le modèle recommandé par le constructeur. Débarrassez-vous des piles usées conformément aux instructions du constructeur.
ADVARSEL!:
Lithiumbatteri - Eksplosionsfare ved fejlagtig håndtering Udskiftning må kun ske med bat-teri af samme fabrikat
og type. Levér det brugte batteri tilbage til leverandøren.
Lever
DIMM
Lever


