3-25
3
System software
10.
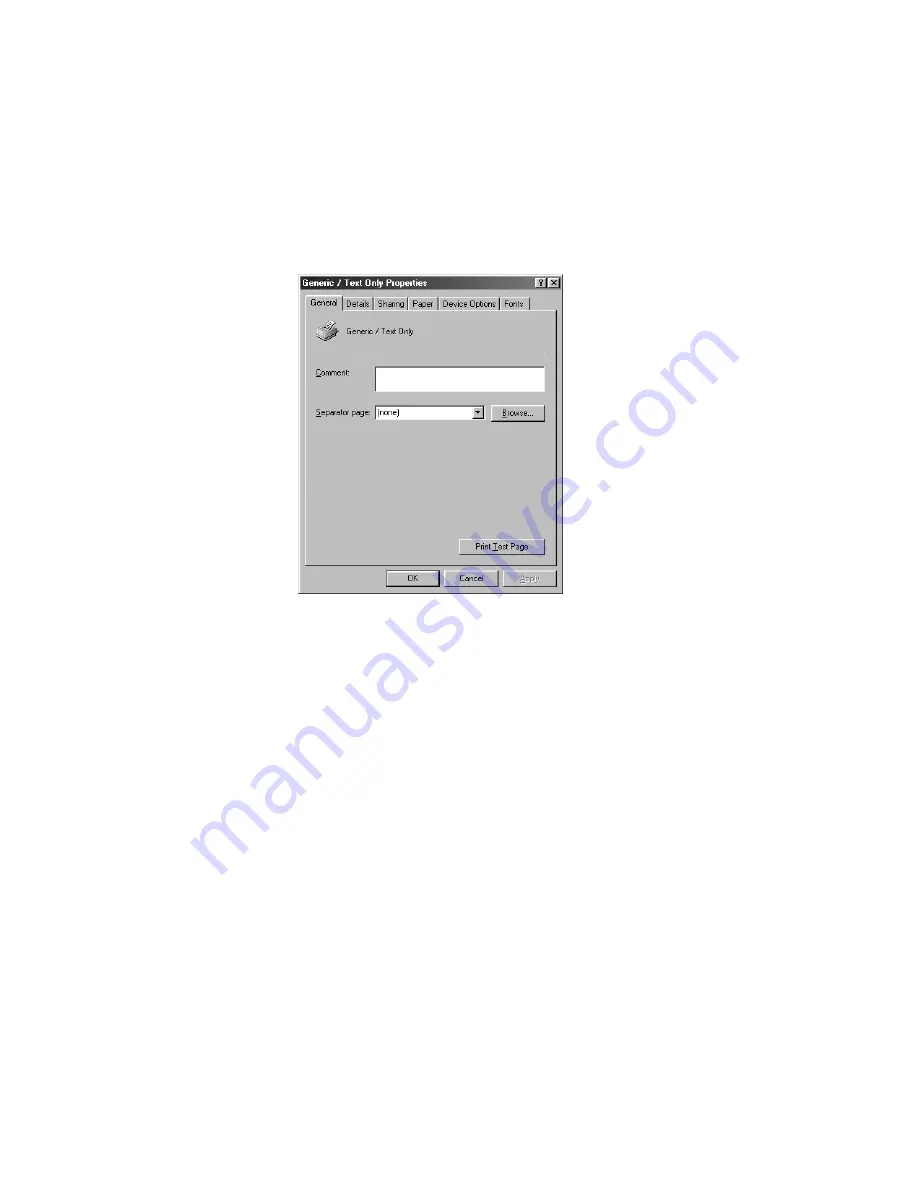
Click the Start button, point to Settings, and then click Printers. Right-click the icon for
the generic printer, and choose Properties from the menu that appears.
The Properties dialog box for the generic printer is displayed.
11.
Click the Details tab and make sure the field “Print to the following port:” reads exactly
as follows: LPT 1: (ECP Printer Port).
If this field reads
LPT 1: (Printer Port)
instead of
LPT 1: (ECP Printer Port)
, the LPT1 port
settings in the BIOS for ECP mode have not been configured. Reboot the PC to reenter
the BIOS and set the parallel Port Mode to ECP. Compatibility mode will work but the
installation will take much longer.
12.
Click Spool Settings. Specify settings as described below, and then click OK.
• Select “Spool print jobs so program finishes printing faster” and then select “Start
printing after first page is spooled.”
Selecting these options ensures no disruption from a parallel port timeout.
• If the option is available, select “Disable bi-directional support for this printer.”
• Choose RAW from the Spool data format menu.
13.
Click Port Settings, and select “Spool MS-DOS print jobs” and “Check port state before
printing.” Then click OK.
14.
Click Apply, then OK to activate the settings and exit from the Printer Properties screen.
The PC is properly configured. Now prepare for the installation.


