62
User Rank
The User Ranking structure allows the option to assign a privilege system (1-10 where one has the most rights) to users of the DVR
Software. For example. Since only one user is allowed to use the PTZ controls at any one time, an administrator with a higher rank
can kick another user out and take control of the PTZ.
The User Rank option affects:
SETUP ACCESS - The DVR Software can only have 1 user accessing Setup at any given time. A user with a higher rank will
kick another user out and then open Setup. NOTE: User settings will NOT be saved when a user with a higher ranking logs in.
PTZ CONTROL - The DVR SOFTWARE can only have 1 user using the PTZ controls at any given time. A user with a higher
rank will kick another user out and then open the PTZ controls.
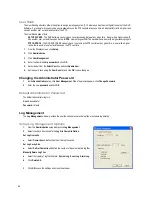
1.
From the Display screen, click Setup.
2.
Click Administrative.
3.
Click User Management.
4.
Enter the Administrator password and click OK.
5.
Select a user from the Select User box and click Update User.
6.
Set the user’s rank using the User Rank list and click OK to save changes.
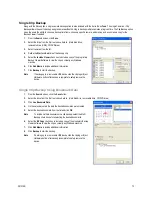
Changing the Administrator Password
1.
Inside Administrative setup, click User Management. When the prompt appears, click Change Password.
2.
Enter the new password and click OK.
Default Administrator Password
The default administrator login is:
User: Administrator
Password: <blank>
Log Management
The
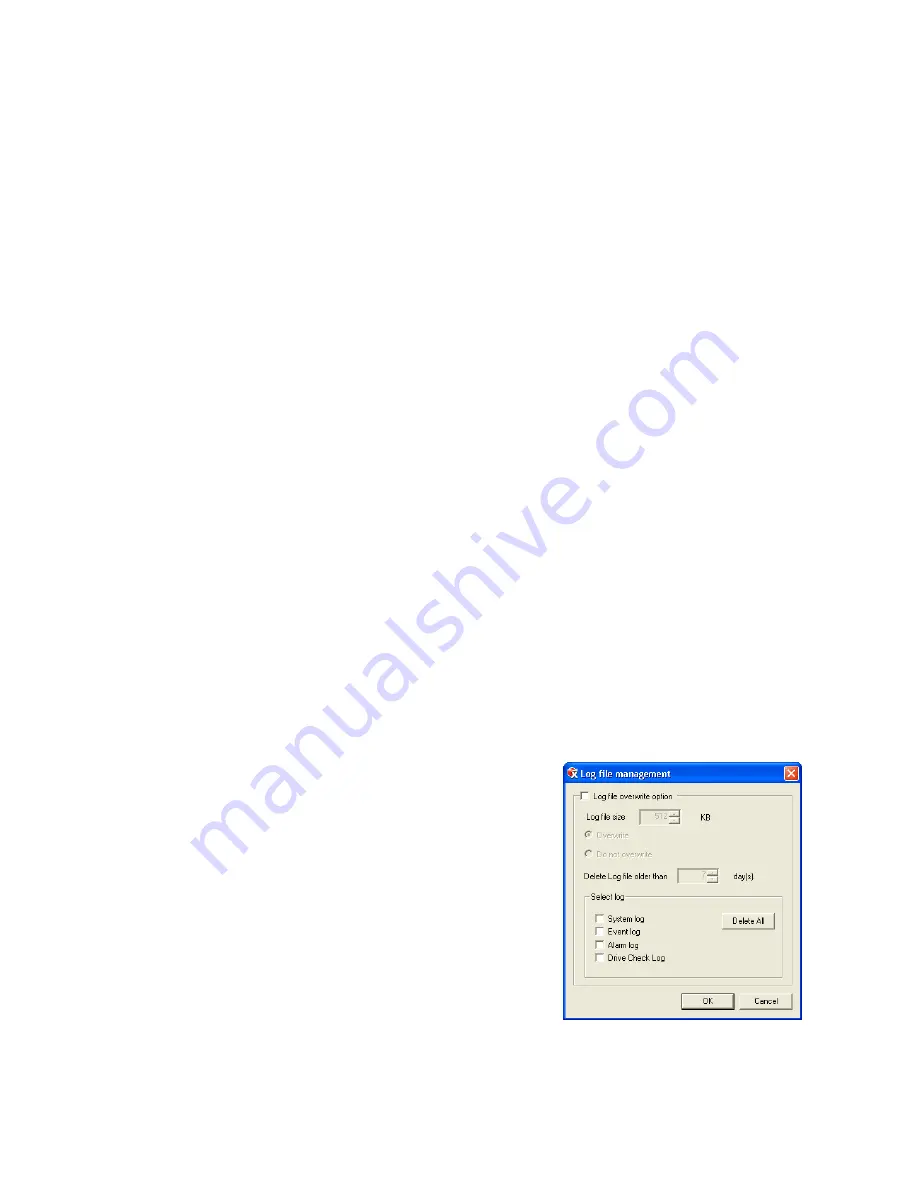
Log Management window provides the user the options to overwrite log files or schedule log deletion.
Setup Log Management Options
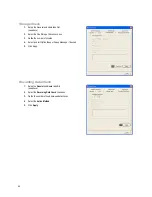
1.
From the Administrative setup display click Log Management.
2.
Select the check box to enable the Log File Overwrite Option.
Set Log Overwrite
a.
Select Overwrite and define the size of the log file cache.
Set Log Cache Size
a.
Select Do Not Overwrite and define the number of days to maintain log files.
Manually Delete Log Files
a.
Select the type(s) of log file to delete. System Log, Event Log, Alarm Log.
b.
Click Delete All.
3.
Click OK to save the settings and close the window.
Summary of Contents for IPS8-1T - IP/Network NVR, 1TB HD
Page 2: ...ii ...
Page 10: ...x ...
Page 16: ...xvi ...
Page 18: ...18 ...
Page 24: ...24 ...
Page 30: ...30 ...
Page 38: ...38 ...
Page 80: ...80 NOTES ...
Page 88: ...88 NOTES ...
Page 94: ...94 NOTES ...
Page 97: ...29101AD 97 LDAP INTEGRATION This chapter includes the following information Installing LDAP ...
Page 100: ...100 NOTES ...
Page 104: ...104 ...


