– 6 –
Outdoor Unit
Installation Manual
EN
Outdoor Unit
Installation Manual
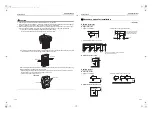
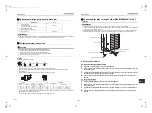
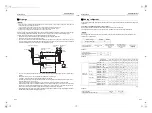
Obstacles in both front and rear of unit
Open above and to the right and left of the unit.
The height of an obstacle in both the front and rear of the unit, should be lower than the height of the outdoor unit.
Serial installation in front and rear
Open above and to the right and left of the unit.
The height of an obstacle in both the front and rear of the unit should be lower than the height of the outdoor unit.
▼
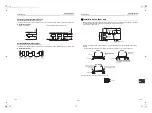
Standard installation
1. Single unit installation
2. Serial installation of two or more units
▼
Standard installation
15
0 or
mo
re
1,000 or m
ore
250 or more
250 or
more
1,000 or m
ore
200
o
r
mor
e
1,000 or
more
300 or
more
1,500 or
more
2,000 or
more
200 or
more
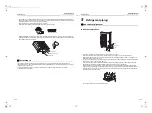
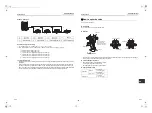
Installation of outdoor unit
• Before installation, check the strength and horizontalness of the base so that abnormal sounds do not emanate.
• According to the following base diagram, fix the base firmly with the anchor bolts.
(Anchor bolt, nut: M10 x 4 pairs)
• As shown in the figure below, install vibration-proof rubber pads to directly support the bottom surface of the
fixing leg.
* When installing the foundation for an outdoor unit with downward piping, consider the piping work.
Set the out margin of the anchor bolt to 15 mm or less.
Drain hole
Drain nipple mounting
hole
Knockout
hole
150
600
40
430
40
0
36
5
150
GOOD
Fixing leg
Foundation
GOOD
NO GOOD
Foundation
Foundation
If only the end of the
fixing leg is supported,
it may deform.
Do not support the outdoor
unit only with the fixing leg.
Bottom plate of
outdoor unit
Support the bottom surface of the
fixing leg that is in contact with and
underneath the bottom plate of the
outdoor unit.
Absorb vibration with
vibration-proof rubber
pads
15 or less
11-EN
12-EN
+00EH99883601_00Ta.book Page 6 Thursday, September 8, 2011 4:34 PM


