41
41
1 7
3
5
2
8
9
6
4
10
ON / OFF
FAN
TEMP.
SWING/FIX
TIME
MODE
VENT
UNIT
SET
CL
FILTER
RESET TEST
TIMER SET
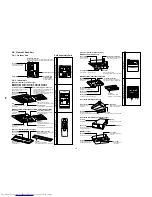
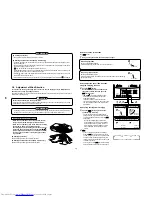
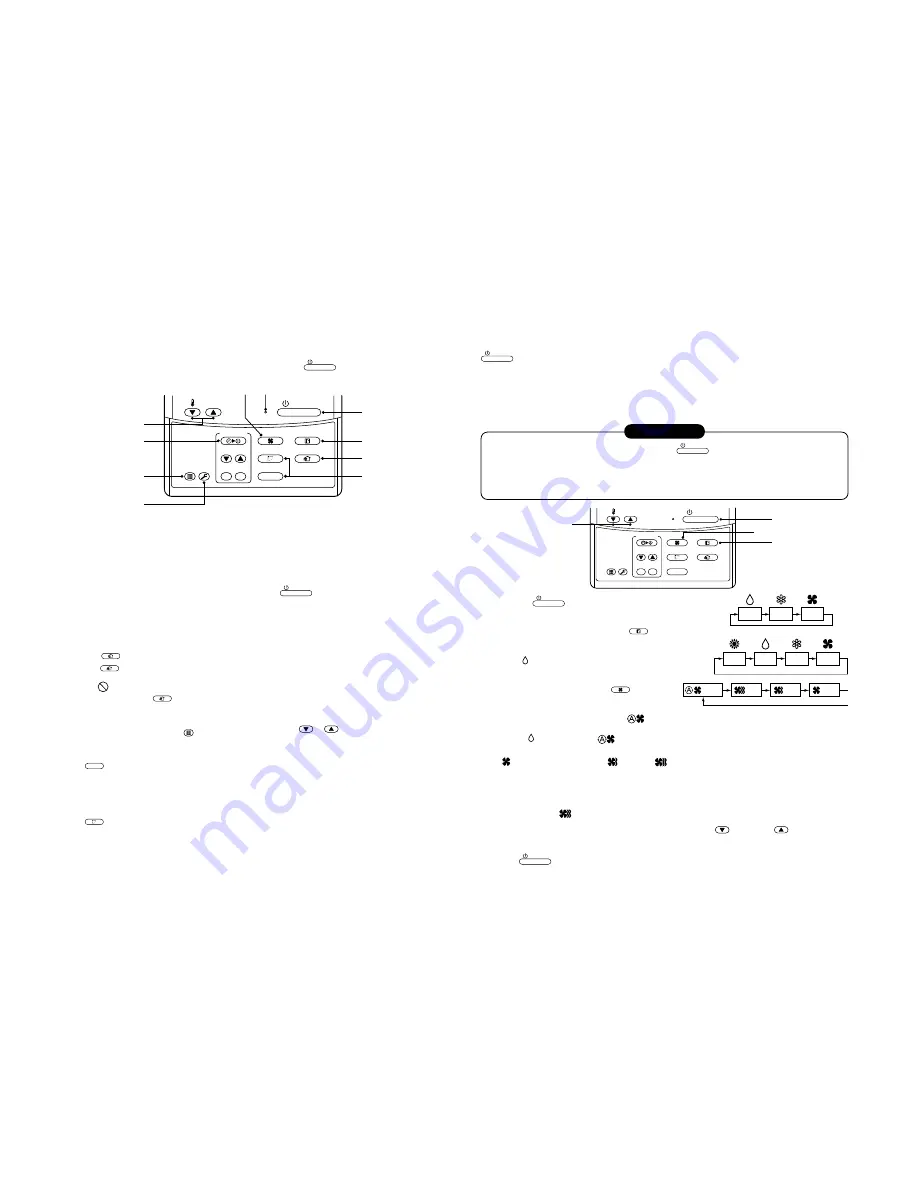
Operation section
Push each button to select a desired operation.
This remote controller can operate a maximum of 8 indoor units.
• Before the unit can begin operation, it is firstly necessary to set the units operating parameters. After this
has been completed the air conditioner can be used by pushing the
ON / OFF
button only.
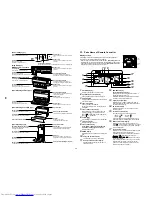
1
Air volume select button
Selects the desired air volume mode.
For the Concealed Duct High Static Pressure
type models this function is unavailable.
2
Timer set button
The TIMER SET button is used when the timer
is set up.
3
Check button
The CHECK button is used to check the units
operation. During normal operation, do not use
this button.
4
Fan
VENT
button
The
VENT
button is used when a fan which is
sold on the market is connected.
• If
is displayed on the remote controller
when pushing the
VENT
button, a fan is not
connected.
5
Filter reset button
Resets (Erases) the “FILTER
” display.
6
Air flow direction and Swing function
UNIT
:
If there are multiple indoor units that are con-
trolled by a single remote controller, simply
select each unit in turn for which you wish to
adjust the air flow direction.
SWING/FIX
:
Set up the auto swing and the angle of the flap.
• This function is not provided on the Concealed
Duct Standard Type, High Static Pressure
Type, Floor standing Cabinet Type, Floor
Standing Concealed Type, or Slim Duct Type.
7
Operation lamp
The light will be ON when the unit is in opera-
tion and OFF when the unit is not being used.
Note) The light will flash if a protective device
has been operated or if the timer function has
an error.
8
ON / OFF
button
When the button is pushed, the operation
starts. If the button is pressed again, the unit
operation will stop.
When the unit operation has stopped, the
operation lamp and all of the displays will
disappear.
9
Operation select button
Selects the desired operation mode.
10
Set up temperature button
Adjusts the room temperature.
Set the desired set temperature by pushing
the
or
buttons.
OPTION :
Remote controller sensor
In normal installations the temperature of the room
is sensed by a temperature sensor on the indoor
unit. However it is possible to have the sensor
within your remote controller. For further details
please contact your local dealer.
• In cases where one remote controller controls the
multiple indoor units, the setup operation is
unavailable in group control.
1
3
2
4
ON / OFF
FAN
TEMP.
SWING/FIX
TIME
MODE
VENT
UNIT
SET
CL
FILTER
RESET TEST
TIMER SET
HEAT
DRY
COOL
FAN
Heat-pump model
DRY
COOL
FAN
Cooling only model
(Dehumidity)
LOW
MED.
HIGH
AUTO
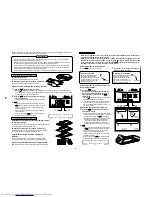
3-8. Correct Usage
When you use the air conditioner for the first time or when you change the SET DATA value, follow the proce-
dure shown below. For consequent uses the display on the remote controller can be turned on by pushing the
ON / OFF
button only.
Preparation
Turn on the main power supply and/or the leakage breaker.
• When the power supply is turned on, a partition line is shown on the display part of the remote controller.
Note) When the power supply is turned on, the remote controller will not accept any operational inputs until
approximately 1 minute has passed. This is not a failure of the unit.
REQUIREMENT
• While using the air conditioner, only operate it with the
ON / OFF
button. Do not turn it off with the main
power switch or the leakage breaker.
• Do not turn off the leakage breaker while the air conditioner is in use.
• Turn on the leakage breaker 12 hours or more before the air conditioner is to begin operation or if the
system has not been in use for long periods of time.
1
Push the
ON / OFF
button.
The operation lamp goes on, and the operation will start.
2
Select an operation mode with the
MODE
button.
One push of the button, and the display
changes in the order shown on the right.
• “DRY mode” function is not provided on the
Concealed Duct High Static Pressure Type.
3
Select the air volume with the
FAN
button.
One push of the button, and the display
changes in the order shown on the right.
• When the air volume is set to “AUTO
”, the air volume will differ according to the room tempera-
ture.
• In DRY mode, the “AUTO
” symbol will be displayed and the air volume will be LOW.
• In heating operation, if the room temperature is not heated sufficiently with the air volume set at “LOW
” operation, select the “MED.
” or “HIGH
” operation.
• The temperature sensor for the indoor unit is located near to the air inlet opening and therefore will
differ slightly from the actual room temperature. This difference may be increased/decreased depending
on the type of room and its design. (Automatic air speed cannot be selected in FAN mode.)
• The Air Volume function is not provided on the “Concealed Duct High Static Pressure Type” instead the
air speed “HIGH
” symbol is displayed.
4
Determine the set up temperature by pushing the “TEMP.
” or “TEMP.
” button.
Stop
Push the
ON / OFF
button.
The operation lamp goes off and the unit will stop.

