– 56 –
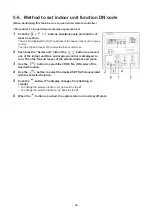
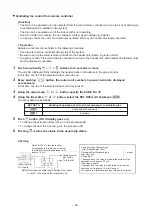
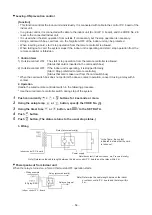
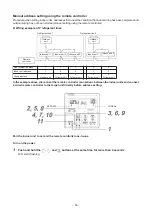
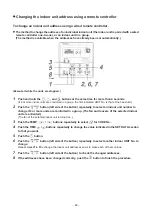
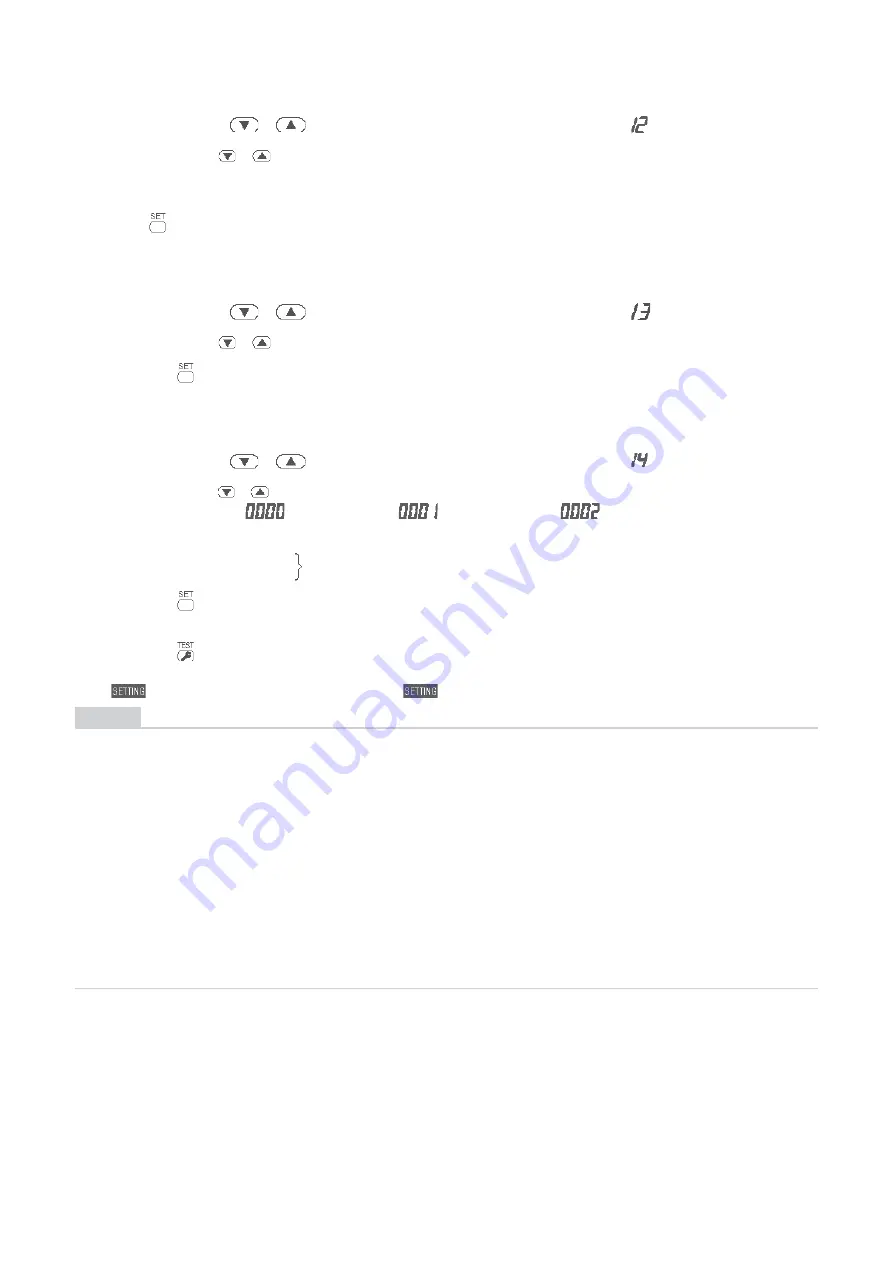
<Line (system) address>
2
Push the TEMP.
/
buttons repeatedly to set the CODE No. to
.
3
Push the TIME
/
buttons repeatedly to set a system address.
(Match the address with the address on the interface P.C. board of the header outdoor unit in the same
refrigerant line.)
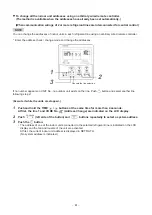
4
Push
button.
(It is OK if the display turns on.)
<Indoor unit address>
5
Push the TEMP.
/
buttons repeatedly to set the CODE No. to
.
6
Push the TIME
/
buttons repeatedly to set an indoor unit address.
7
Push the
button.
(It is OK if the display turns on.)
<Group address>
8
Push the TEMP.
/
buttons repeatedly to set the CODE No. to
.
9
Push the TIME
/
buttons repeatedly to set a group address. If the indoor unit is individual,
set the address to
; header unit,
; follower unit,
.
10
Push the
button.
(It is OK if the display turns on.)
11
Push the
button.
The address setting is complete.
(
flashes. You can control the unit after
has disappeared.)
NOTE
1. Do not use address numbers 29 or 30 when setting system addresses using the remote controller.
These 2 address numbers cannot be used on outdoor units and the CODE No. [E04] (Indoor /
outdoor communication error) will appear if they are mistakenly used.
2. If you set addresses to indoor units in 2 or more refrigerate lines manually using the remote
controller and will control them centrally, set the header outdoor unit of each line as below.
• Set a system address for the header outdoor unit of each line with SW13 and 14 of their interface P.C. boards.
• Turn off dip switch 2 of SW30 on the interface P.C. boards of all the header outdoor units connected to the
same central control, except the unit that has the lowest address. (For unifying the termination of the wiring
for the central control of indoor and outdoor units)
• Connect the relay connectors between the [U1, U2] and [U3, U4] terminals on the header outdoor unit of each
refrigerate line.
• After finishing all the settings above, set the address of the central control devices. (For the setting of the
central control address, refer to the installation manuals of the central control devices.)
Individual
: 0000
Header unit
: 0001
In case of group
control
Follower unit
: 0002
Summary of Contents for MMC-AP0154H-E(-TR)
Page 145: ... 145 ...
Page 149: ... 149 9 2 1 Way cassette type SH 4 2 0 P A 8 1 0 P A 5 1 0 P A ...
Page 156: ... 156 MMU AP0056MH ...
Page 159: ... 159 9 4 Slim duct type MMD AP0054SPH AP0074SPH AP0094SPH AP0124SPH AP0154SPH AP0184SPH ...
Page 162: ... 162 MMD AP0056MH ...
Page 165: ... 165 9 5 Concealed duct standard type MMD AP0074BH AP0094BH AP0124BH AP0154BH AP0184BH ...
Page 166: ... 166 ...
Page 169: ... 169 MMD AP0244BH AP0274BH AP0304BH AP0364BH AP0484BH ...
Page 170: ... 170 ...
Page 173: ... 173 MMD AP0564BH ...
Page 174: ... 174 ...
Page 177: ... 177 E Parts ...
Page 179: ... 179 9 6 Concealed duct high static pressure type MMD AP0184H AP0244H AP0274H AP0364H AP0484H ...
Page 183: ... 183 MMD AP0724H AP0964H ...
Page 184: ... 184 ...
Page 187: ... 187 9 7 Ceiling type MMC AP0154H AP0184H AP0244H AP0274H ...
Page 190: ... 190 MMC AP0364H AP0484H ...
Page 194: ... 194 9 8 Floor standing type MMF AP0154H AP0184H AP0244H AP0274H ...
Page 195: ... 195 MMF AP0154H AP0184H AP0244H AP0274H ...
Page 198: ... 198 MMF AP0364H AP0484H AP0564H ...
Page 199: ... 199 MMF AP0364H AP0484H AP0564H ...
Page 203: ... 203 9 9 Floor standing concealed type MML AP0074BH AP0094BH AP0124BH AP0154BH AP0184BH ...
Page 206: ... 206 MML AP0244BH ...
Page 209: ... 209 9 10 Floor standing cabinet type MML AP0074H AP0094H AP0124H AP0154H AP0184H ...
Page 210: ... 210 MML AP0074H AP0094H AP0124H AP0154H AP0184H ...
Page 213: ... 213 MML AP0244H ...
Page 214: ... 214 MML AP0244H ...


