– 74 –
No.
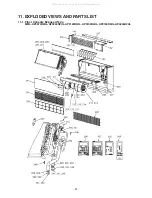
Spare parts
Work procedure
Remarks
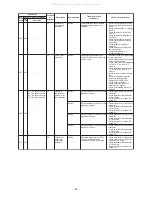
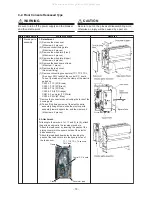
Refrigerating
cycle
assembly
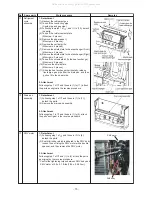
1. Detachment
(1) Recover the refrigerating gas.
(2) Remove the connecting pipes.
(Liquid pipe and gas pipe)
(3) Following to works in 1 of
and (1) to (7), detach
the parts.
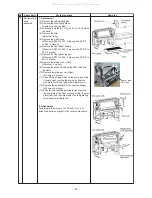
(4) Remove the filter.
(No screw fixing)
(5) Remove the wire guard.
(M4 screw AP007 to 009 : 3 pieces, and AP012
to 024 : 4 pieces)
(6) Remove the front panel (lower).
(M4 screw AP007 to 009 : 3 pieces, and AP012 to
024 : 4 pieces)
(7) Remove the front panel (upper).
(M4 screw AP007 to 009 : 3 pieces, and AP012 to
024 : 4 pieces)
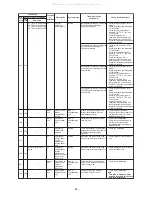
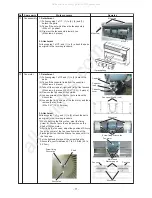
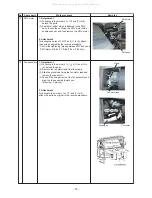
(8) Remove the piping cover (Left).
(M4 screw: 2 pieces)
(9) Remove the sensor lead and the PMV lead from
the clamp.
(10) Remove the piping cover (Right).
(M4 screw: 3 pieces)
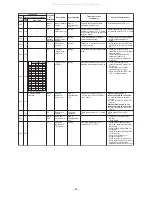
(11) Take off the screws which fix the drain pan, slide
it toward right, remove the drain pan from the
side plate (Left), and then draw it toward you.
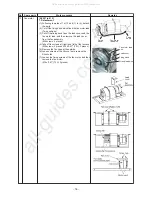
(12) Remove the dashboard of the heat exchanger.
(M4 screw: 4 pieces)
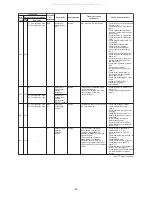
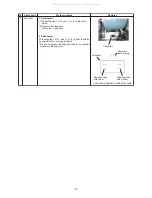
(13) Slide the heat exchanger toward right, remove
the end plate of the heat exchanger from the side
plate (left), and then draw away the refrigerating
cycle assembly toward you.
2. Attachment
Following to the works in 1 of
, and (1) to (13),
attach the parts as original in the reverse procedure.
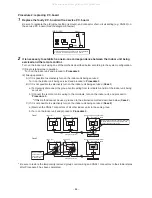
Sensor lead,
PMV lead
Clamp
Clamp
Clamp
All manuals and user guides at all-guides.com


