GR
NL
PT
ES
IT
DE
FR
RU
SI
SK
LV
CS
TR
EN
REQUIREMENT
• For the operation procedure, be sure to follow the Owner’s Manual.
• Finish the forced cooling operation in a short time because it applies excessive strength to the air conditioner.
• A test operation of forced heating is unavailable. Perform a test operation by heating operation using the switches
of the remote controller.
However heating operation may be not carried out according to the temperature conditions.
•
Check wiring/piping of indoor and outdoor units
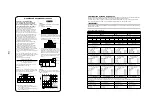
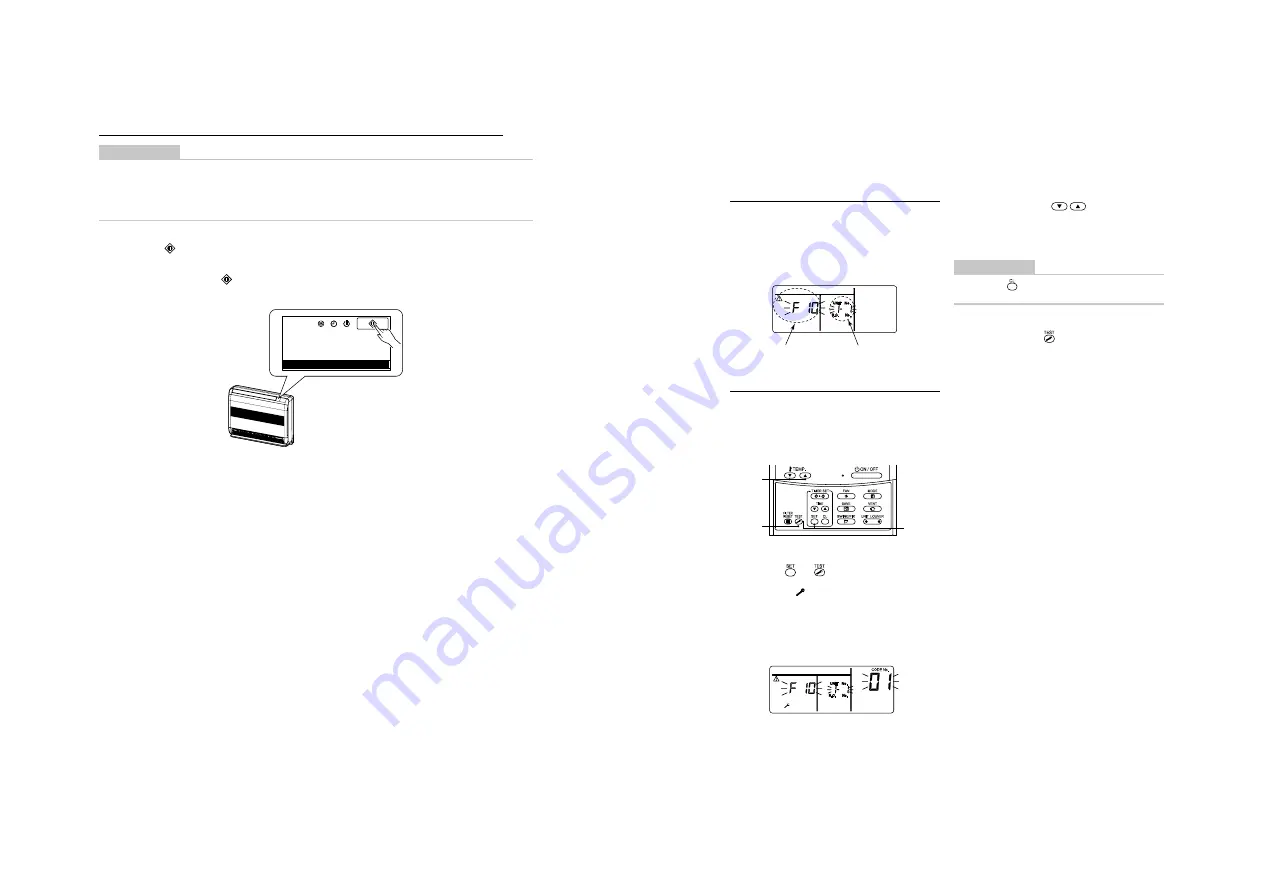
1. When pushing
button for 10 seconds or more, “Pi!” sound is heard and the operation changes to a forced
cooling operation. After approx. 3 minutes, a cooling operation starts forcedly.
Check cool air starts blowing. If the operation does not start, check wiring again.
2. To stop a test operation, push
button once again (Approx. 1 second).
The louver closes and the operation stops.
In case of wireless remote controller (Forced test operation is performed in a different way.)
• Check transmission of remote controller
1. Push “START/STOP” button of the remote controller to check an operation can also start by the remote controller.
• “Cooling” operation by the remote controller may be unavailable according to the temperature conditions.
Check wiring/piping of the indoor and outdoor units in forced cooling operation.
1
2
3
Check code
Indoor UNIT No. in which an
error occurred
11
11
TROUBLE SHOOTING
TROUBLE SHOOTING
A wired remote controller is necessary for this function. This function cannot be operate with a wireless remote
controller.
Confi rmation and check
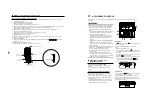
When a trouble occurred in the air conditioner, the check
code and the indoor UNIT No. appear on the display part
of the remote controller.
The check code is only displayed during the operation.
If the display disappears, operate the air conditioner
according to the following “Confi rmation of error history”
for confi rmation.
Confi rmation of error history
When a trouble occurred on the air conditioner, the
trouble history can be confi rmed with the following
procedure. (The trouble history is stored in memory
up to 4 troubles.)
The history can be confi rmed from both operating status
and stop status.
Procedure
1
When pushing
and
buttons at the same time
for 4 seconds or more, the following display appears.
If [Service check]
is displayed, the mode enters
in the trouble history mode.
• [
01
: Order of trouble history] is displayed in CODE No.
window.
• [Check code] is displayed in CHECK window.
• [Indoor unit address in which an error occurred] is
displayed in UNIT No.
Procedure
2
Every pushing of “TEMP.”
button used to
set temperature, the trouble history stored in memory is
displayed in order.
The numbers in CODE No. indicate CODE No. [
01
]
(latest)
→
[
04
] (oldest).
REQUIREMENT
Do not push
button because all the trouble
history of the indoor unit will be deleted.
Procedure
3
After confi rmation, push
button to return to the usual
display.
10
7


