111
No.
6
Part name
Drain cap
Procedure
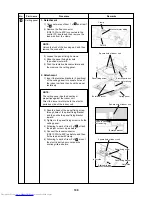
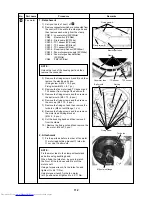
1. Detachment
1) Carry out work of item 1 of 1 .
2) Loosen screws (3 positions) fixing the drain
cap (outside) and then turn the drain cap to
the arrow mark direction to remove it.
NOTE :
The drain cap is hung down because a strap
is attached to it (outside).
3) Loosen the cap by turn the drain cap
(inside) for approx. 1 turn to OPEN
→
direction and then drain the drain water
accumulated in the drain pan.
NOTE :
Be sure to catch drain water using a bucket,
etc. when loosening the drain cap.
The insulating materials are adhered to the
drain cap (outside) and opening part of the
drain pan; be careful that they are not come off.
If they are come off, stick them as before
using double-faces tape, etc.
4) Turn the drain cap once again to OPEN
→
direction to remove it.
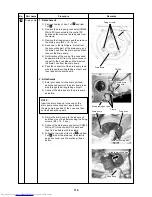
2. Attachment
1) Insert the drain cap (inside), turn it to
CLOSE
→
direction until the position where
“Clashed sound” is heard and it cannot be
turned more over
(Position where
mark of the drain pan
matches with
mark of the drain cap
(inside)) and then fix it.
NOTE :
When attaching the drain cap (inside),
remove dirt attached to the packing.
And tighten in it noting so that the cap is not
slantingly set.
If attaching the drain cap as dust or dirt is
attached or the cap is set slantingly, water
leakage is caused.
2) Turn the drain cap (outside) to
→
direction
and then attach it using the fixing screw as
original.
3) Following to work of item 2 of 1 , mount
the suction grille as before.
Remarks
Drain pan mark
Drain pan mark
Drain cap mark
Drain cap mark
Drain cap (outside)
Strap
Drain cap (inside)
Drain cap fixing screws
CLOSE
OPEN
CLOSE
OPEN
CLOSE
OPEN
CLOSE
OPEN


