129
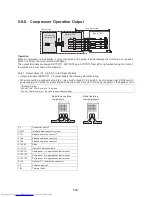
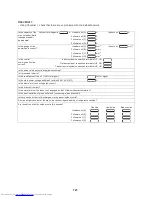
Switch setting (setting example when controlling 2 or more refrigerant lines centrally)
Outdoor units (setting manually)
*The items in bold font must be set manually.
CAUTION
Relay connector connection
Never connect relay connectors between the [U1, U2] and [U3, U4] terminals before completing address setting of all
the refrigerant lines. Otherwise, the addresses cannot be set correctly.
Outdoor unit’s interface
P.C. board
Header unit
Follower unit
Header unit
Follower unit
Header unit
Factory default
SW13, 14
(Line (system) address)
1
(No setting
required)
2
(No setting
required)
3
1
Dip switch 2 of SW30
(Terminator of indoor/
outdoor communication
line and central control
line)
ON
(No setting
required)
Set to OFF
after setting
addresses.
(No setting
required)
Set to OFF
after setting
addresses.
ON
Relay connector
Connect after
setting
addresses.
Open
Connect after
setting
addresses.
Open
Connect after
setting
addresses.
Open
Line (system) address
1
1
2
2
3
Indoor unit address
1
2
1
2
1
Group address
0
0
1
2
0
A
U1 U2
U3 U4
U3 U4
U3 U4
U3 U4
U3 U4
U5 U6
U1 U2 U5 U6
U1 U2 U5 U6
U1 U2 U5 U6
U1 U2
U1 U2
U1 U2
U1 U2
U1 U2
U1 U2
U5 U6
B
A B
A B
A B
A B
Central
remote
controller
Relay
connector
Relay
connector
Relay
connector
Header unit
Header unit
Header unit
Follower unit
Follower unit
Remote
controller
Remote
controller
Remote
controller
Remote
controller
Individual
Group
Indoor units
(automatic setting)


