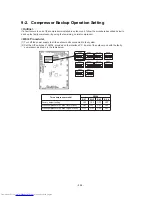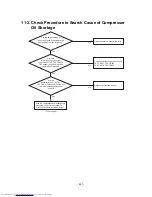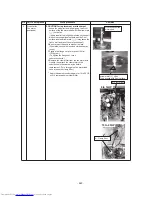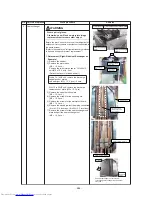
10-3. Work procedure after Repair
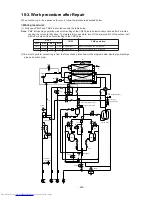
When vacuuming in the repaired outdoor unit, follow the procedure described below.
<Work procedure>
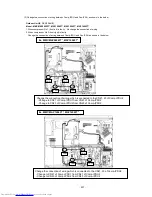
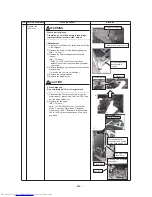
(1) Fully open PMV1 and PMV4 in accordance with the table below.
Note:
PMV full-opening operation via short-circuiting of the CN30 pins is automatically undone after 2 minutes,
causing the valves to fully close. To maintain fully open state, turn off the power switch of the outdoor unit
within 2 minutes of the short-circuiting of the CN30 pins.
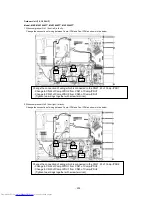
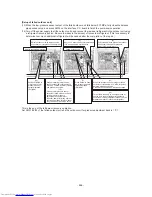
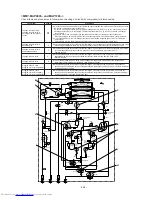
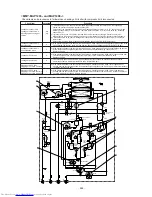
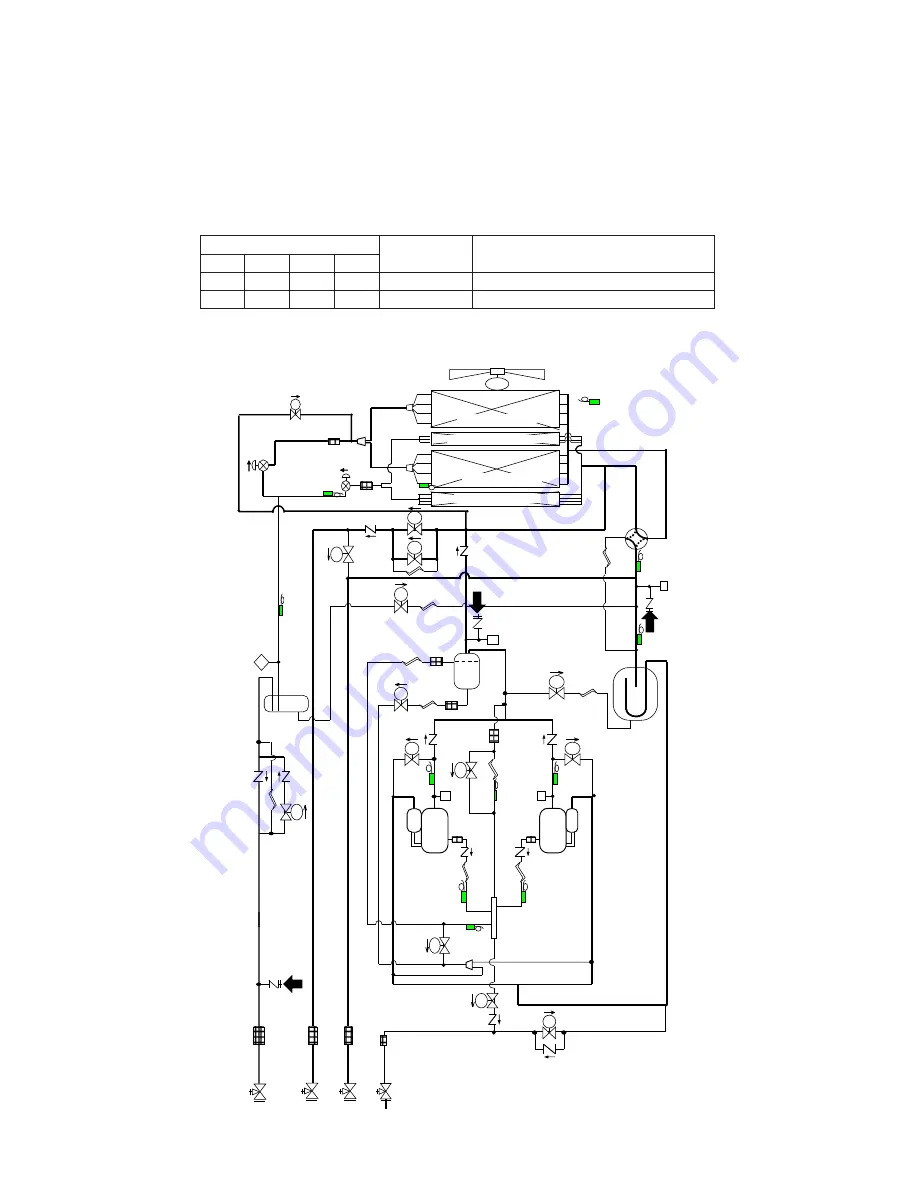
(2) Be sure to perform vacuuming in from the three check joints shown in the diagram below (liquid pipe, discharge
pipe and suction pipe).
SW12
CN30
PMV operation
Bit 1
Bit 2
Bit 3
Bit 4
OFF
OFF
OFF
OFF
Short-circuit
PMV1 fully open for 2 minutes.
ON
OFF
OFF
OFF
Short-circuit
PMV4 fully opens for 2 minutes.
−
2
50
−
TL1
TS1
SV2
TE1
SV3D
SV3B
SV3A
TD1
TK4
TK5
Fan
Liquid Tank
TE2
SV6
TO
SV3C
Fusible
plug
Fan motor
SV
SV5
SV
TD2
SV42
TK2
SV
SV41
TK1
SV
SV
S
SV
0
SV
SV
FP
TS2
PMV4
SV
(SV14)
PMV1
FM
SV
SV
SV11
SV52
SV
SV
SV3E
Right side
Main heat exchanger
Left side
Main heat exchanger
Right side sub heat exchanger
Left side sub heat exchanger
High-pressure sensor
Check joint (High-pressure)
Low-pressure sensor
Check joint
(Low-pressure)
Accumlator
Comp1
Comp2
Oil header
Check joint
(
Liquid pipe
)
Summary of Contents for MMY-MAP0806FT7(J)P
Page 32: ... 31 1 2 Single port FS Unit RBM Y1123FE FE2 RBM Y1803FE FE2 ...
Page 33: ... 32 RBM Y2803FE FE2 ...
Page 302: ...MMY MAP0806FT8 J P E MAP1006FT8 J P E MMY MAP0806FT8 J P TR MAP1006FT8 J P TR 301 ...
Page 307: ... 306 MMY MAP1206FT8 J P E MAP1406FT8 J P E MMY MAP1206FT8 J P TR MAP1406FT8 J P TR ...

