■
Cooling / Heating operations
Each unit can be controlled individually. However,
indoor units connected to the same outdoor unit
cannot perform cooling and heating simultaneously.
When you attempt simultaneous operation, indoor
units performing cooling are stopped, and the running
preparation indicator
is displayed on the remote
controller.
An indoor unit performing heating continues running.
When you attempt an operation without the con
fi
gured
settings, the running preparation indicator
is
displayed on the remote controller and operation stops.
If operation is
fi
xed to cooling or heating by the air
conditioner administrator, only the con
fi
gured settings
apply to the operation.
■
Characteristics of heating
(For heat-pump model only)
• Air does not come out immediately after heating
starts. Heated air comes out after 3 to 5 minutes
(depending on the room/outside temperatures), after
the indoor heat exchanger warms up.
• When the outside temperature increases, the
outdoor unit may stop.
■
Prohibition of NFC function
(NFC for SMMS wave tool)
NFC communications is enabled at the time of
shipping from the factory, but it is possible to disable
the test run and the automatic address setting with a
smart phone.
Please consult dealer from where you purchased it for
more details.
8
Louver
direction
NOTE
To improve the cooling/heating performance, change
the louver angle for each operation.
The characteristics of air: Cool air falls, and warm
air rises.
CAUTION
Point the louver horizontally during cooling
If pointing downward for cooling, dew may form on the
surface of the air discharge or louver and may drop
down.
NOTE
• If pointing horizontally for cooling, dew may form on
the surface of the cabinet or louver and may drop
down.
• If pointing horizontally for heating, the room
temperature may be uneven.
• Do not handle the louver manually. Doing so may
cause a failure. Use the SWING/FIX button on the
remote controller to adjust the angle.
■
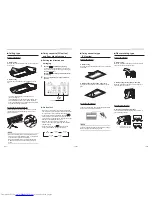
4-way cassette type, 2-way
cassette type, 1-way cassette
type, ceiling type
◆
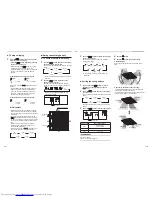
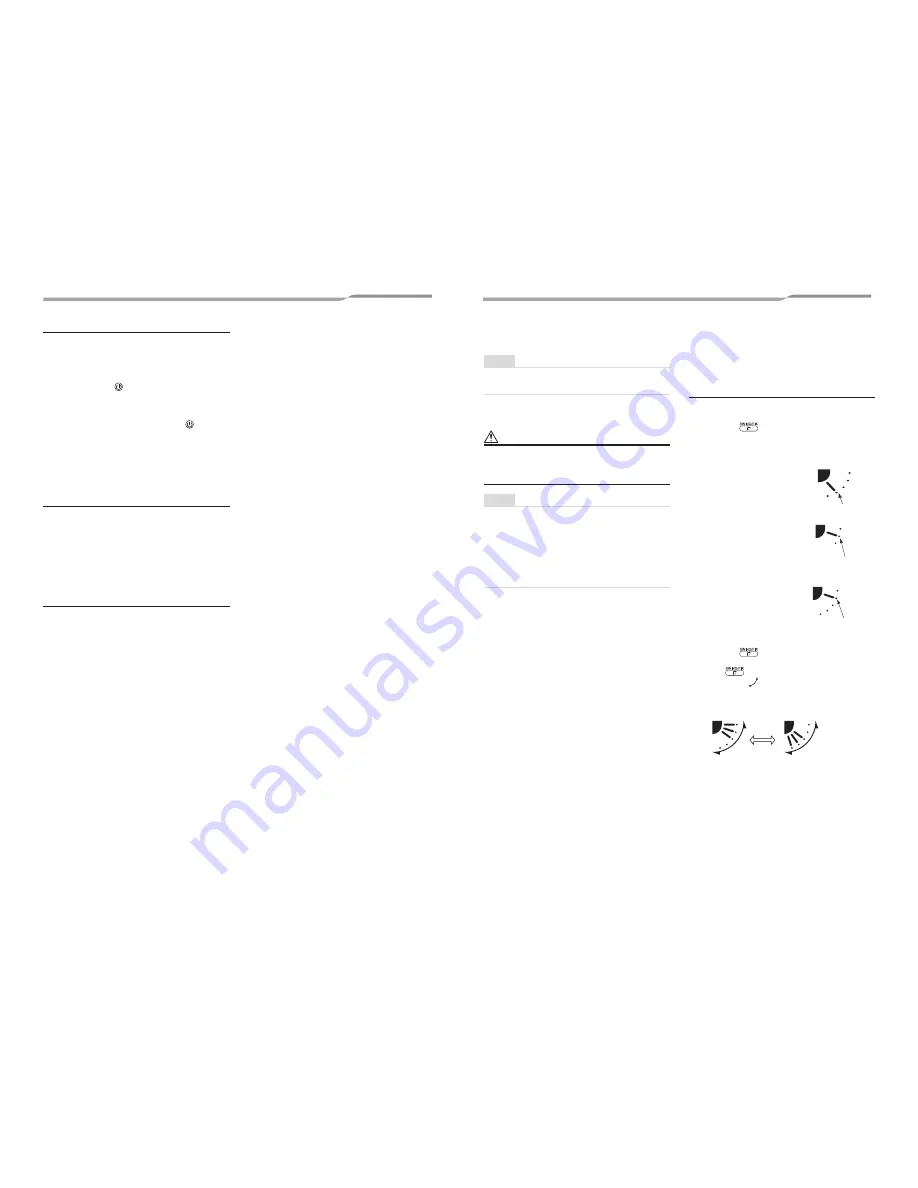
To set the louver direction
1
Push the
button during running.
The louver direction changes with each push of
the button.
▼
For heating (For heat-pump model only)
Point the louver downward.
If not pointing downward, hot
air may not reach the
fl
oor.
▼
For cooling
Point the louver horizontally.
If pointing downward, dew
may form on the surface of
the air discharge port and
may drop down.
▼
For fan
Select a wind direction.
◆
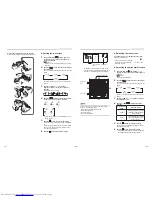
To start swinging
1
Push the
button repeatedly to set the
louver direction to the lowest position, then
push
again.
The SWING
indicator is displayed and the
louver begins swinging.
▼
In all operations
Initial setting
Initial setting
Initial setting
Repeat
– 14 –
27-EN
28-EN


