FILE NO. SVM-04032
– 49 –
8-4-8. Drainage
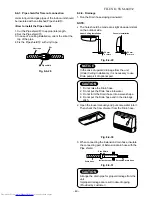
1. Run the Drain hose sloping downward.
NOTE:
•
The hole should be made at a slight downward slant
on the outdoor side.
Fig. 8-4-29
NOTICE
In the case of upward drainage from the unit,
(Under Ceiling Installation), it is necessary to use
Drain pump kit of optional part.
CAUTION
1. Do not raise the Drain hose.
2. Do not put the Drain hose into water.
3. Do not form the Drain hose into a wave shape.
4. Do not put the Drain hose end in the drainage
ditch.
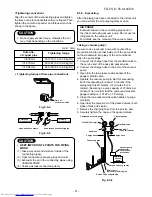
2. Open the louver manually and put some water into it.
Then check the flow of water from the Drain hose.
Fig. 8-4-30
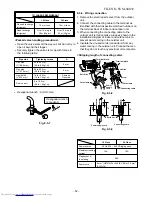
3. When connecting the Extension drain hose, insulate
the connecting part of Extension drain hose with the
Pipe shield.
Fig. 8-4-31
CAUTION
Arrange the drain pipe for proper drainage from the
unit.
Improper drainage can result in dew-dropping.
(Provided by customer)
Extension drain hose
Inside the room
Drain hose
Pipe Shield
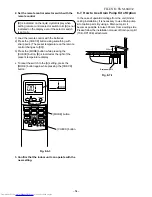
8-4-7. Pipe shield for flare nut connection
Joints in liquid and gas pipes of the indoor unit should
be insulated with an attached Pipe shield
#
.
<How to install the Pipe shield>
1. Cut the Pipe shield
#
to appropriate length.
2. Set the Pipe shield
#
.
3. In case of a ceiling installation, orient the slit at the
top of the pipe.
4. Fix the Pipe shield
#
with vinyl tape.
Fig. 8-4-28
#
#
#
#
#
Pipe shield
Vinyl tape
Slit
Under Ceiling Installation
Console Installation
50 mm
or more
50 mm
or more


