– 125 –
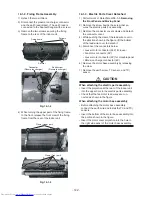
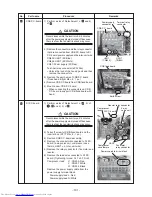
27mm
The support shaft
at the rear centre of the unit
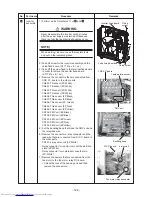
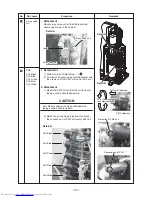
12-1-8. Cross Flow Fan
1) Perform work of Detachment
11-1-1. Removing
the Front Panel and Moving Panel
and
11-1-2.
Fixing Frame Assembly
.
2) Remove the two fixing screws (10 mm) at the left
of the heat exchanger end plate, and then
remove the two fixing screws (12 mm) of the
bearing base assembly.
3) Remove the bearing base while lifting the heat
exchanger.
4) Remove the cross flow fan while lifting the heat
exchanger.
1
Keep 27mm distance between the support shaft
at the rear centre of the unit and the immediate
right joint-section of the cross flow fan.
Detail A
Fig. 12-1-12
Fig. 12-1-11
CAUTION
Check and perform items 1 and 2 in the following
right side.
Fig. 12-1-13
2
Check that the fan motor shaft end projects by
9 mm above the screw boss of the cross flow fan.
If the motor shaft end is below the screw boss, the
cross flow fan may have been assembled improperly.
Check again whether the cross flow fan have been
assembled properly.
Detail B
Fig. 12-1-14
3
Be sure to tighten the hexagon socket set screw
so that it touches the D-cut surface of the fan
motor shaft.
Screws (12 mm)
Bearing base
Screws
(10 mm)
Heat exchanger
A
B
Fan motor shaft
Fan motor shaft
9mm
Set screw of the cross flow fan
Set screw of the cross flow fan
Fan motor shaft
9mm
Set screw of the cross flow fan


