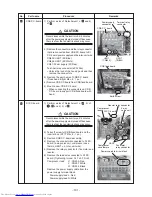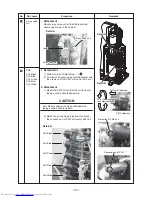
– 126 –
12-2. Plasma Ion Charger
12-2-1. Common Procedure
1) Perform work of Detachment
12-1-1. Removing
the Front Panel and Moving Panel
for the indoor
unit.
2) Detach the two air filters.
12-2-2. Protective Board
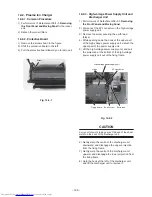
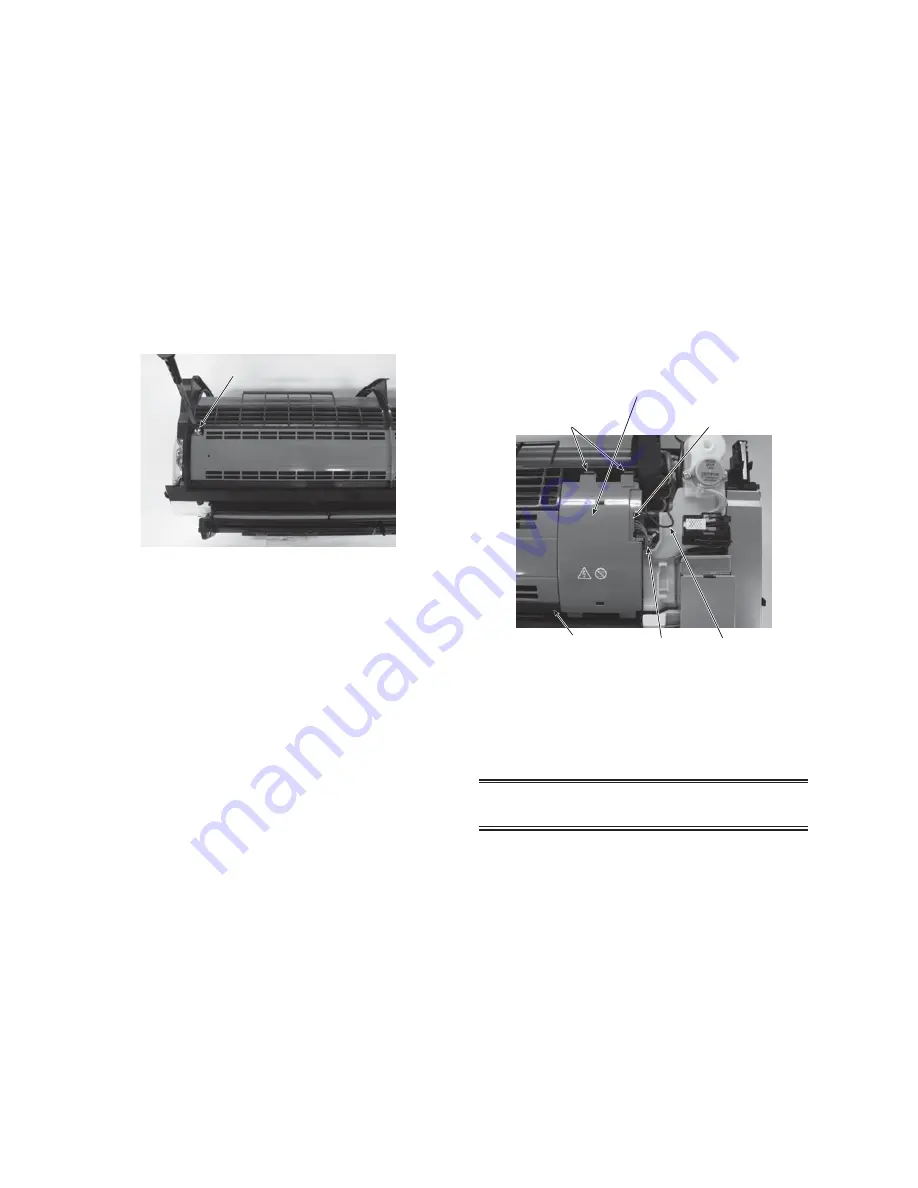
1) Remove the screw shown in the figure.
2) Shift the protective board to the left.
3) Pull the protective board toward you to remove it.
12-2-3. High-voltage Power Supply Unit and
Discharger Unit
1) Perform work of Detachment
12-1-1. Removing
the Front Panel and Moving Panel
.
2) Disconnect the 4P connector on the high-voltage
power supply unit.
3) Remove the screw securing the earth lead
(black).
4) While pushing down the hook at the upper part
of the high-voltage power supply unit, detach the
upper part of the power supply unit.
5) Lift the high-voltage power supply unit, and pull
the projection at the bottom of the high-voltage
power supply unit out of the fixing frame.
Fig. 12-2-1
Fig. 12-2-2
CAUTION
Carry out this work taking care of the end of the sheet
metal on the back of the discharger unit.
6) Gently warp the centre of the discharger unit
downward, and disengage the upper projection
from the fixing frame.
7) Gently warp the centre of the discharger unit
upward, and disengage the lower projection from
the fixing frame.
8) Hold the hook at the left of the discharger unit,
and lift the discharger unit to remove it.
Screw
Hook
High-voltage power supply unit
4P connector
Earth lead
Earth screw
Fixing frame


