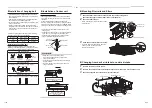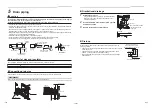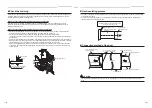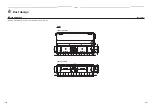
– 18 –
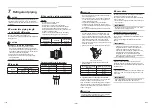
External static pressure
When using the wireless remote controller
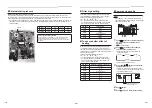
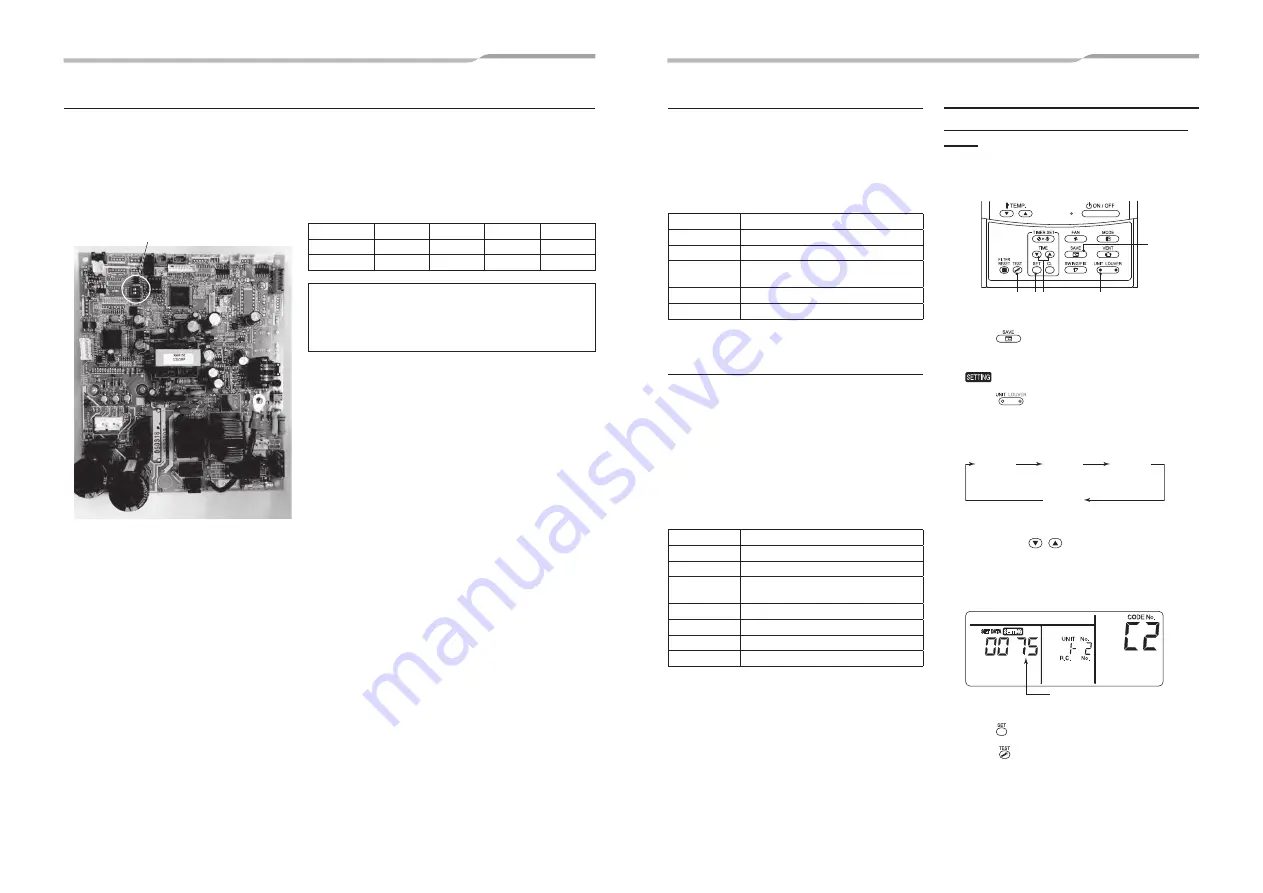
To set up the external static pressure, use the DIP switch on the circuit board of the wireless reception part.
For details, refer to the instruction manual of the wireless remote controller kit. Alternatively, use the switch on the
indoor micro computer circuit board as shown in the following
fi
gure and table.
* Once switched, the settings "0001", "0003", and "0006" can be changed, but to reset to "0000", you need to set
the switch to the normal (default) position and use a separately-sold wired remote controller to overwrite the
data with "0000".
SW501
SW501-1
OFF
ON
OFF
ON
SW501-2
OFF
OFF
ON
ON
SET DATA
0000
0001
0003
0006
To reset to the factory default
Switch off SW501-1 and SW501-2, connect a separately-sold
wired remote controller, and then perform the procedure for
installing a separately-sold
fi
lter on this page to set the [5d] data
to "0000"
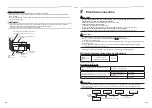
Filter sign setting
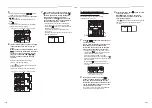
According to the installation condition, the
fi
lter sign
term (Noti
fi
cation of
fi
lter cleaning) can be changed.
Follow to the basic operation procedure
(
1
→
2
→
3
→
4
→
5
→
6
).
y
For the CODE No. in Procedure
3
, specify [01].
y
For the [SET DATA] in Procedure
4
, select the SET
DATA of
fi
lter sign term from the following table.
SET DATA
Filter sign term
0000
None
0001
150 H
0002
2500 H
(Factory default)
0003
5000 H
0004
10000 H
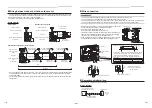
To secure better effect of
heating
When it is dif
fi
cult to obtain satisfactory heating due
to installation place of the indoor unit or structure of
the room, the detection temperature of heating can be
raised. Also use a circulator or other device to circulate
heat air near the ceiling.
Follow to the basic operation procedure
(
1
→
2
→
3
→
4
→
5
→
6
).
y
For the CODE No. in Procedure
3
, specify [06].
y
For the SET DATA in Procedure
4
, select the SET
DATA of shift value of detection temperature to be
set up from the following table.
SET DATA
Detection temperature shift value
0000
No shift
0001
+1°C
0002
+2°C
(Factory default)
0003
+3°C
0004
+4°C
0005
+5°C
0006
+6°C
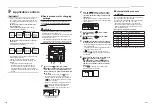
Power saving mode
Performing settings of the power saving
mode
* When RAV-SP***2AT / RAV-SM***3AT or older is
used, the displayed setting changes, but the actual
power level is always “75%”.
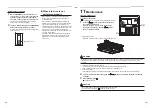
1
5
2
43
1
Push
button for at least 4 seconds or
more when the air conditioner is not
working.
, symbol
fl
ashes.
2
Push
(left side of the button) to
select an indoor unit to be set.
y
Each time the button is pushed, UNIT No.
change as follows:
UNIT No.
1-1
UNIT No.
1-2
UNIT No.
1-4
UNIT No.
1-3
The fan of the selected unit runs.
3
Push TIME
buttons, to adjust the
setting of power level.
y
Each push of the button changes the power
level by 1% within the range from 100% to 50%.
y
The factory default is 75%
Setting of power level in
power saving mode
4
Push button.
5
Push button to complete the setting.
36-EN
35-EN
Summary of Contents for RAV-GM901BTP-E
Page 29: ... 28 56 EN 55 EN ...


