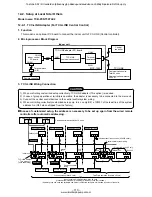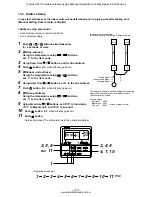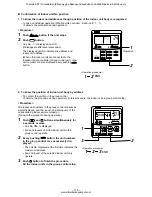
– 124 –
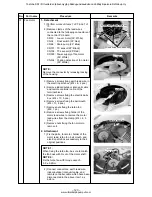
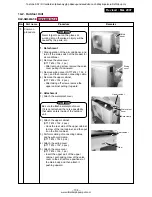
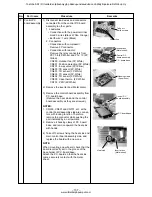
Screws fixing earth lead wires
Drain cap
Screws fixing drain pan
Screws fixing earth lead wires
Drain cap
Screws fixing drain pan
No.
Part name
Drain pan
Procedure
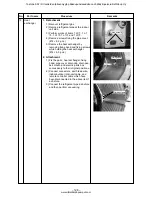
1. Detachment
1) Perform works of items 1 of
, 1 of
, 1
of
and 1 of
.
2) Remove clamps of the lead wires con-
nected to the following connectors of the
control P.C. board.
CN34
: Float switch (3P: Red)
CN68
: Drain pump (3P: Blue)
CN101 : TC sensor (2P: Black)
CN102 : TCJ sensor (2P: Red)
CN333 : Power supply of fan motor
(5P: White)
CN334 : Position detection of fan motor
(5P: White)
NOTE :
Remove the connector by releasing locking
of the housing.
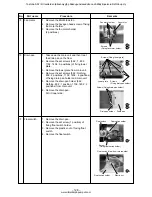
3) Remove screws fixing earth lead wire in
the electric parts box. (Ø4 × 6, 2 pcs.)
4) Remove indoor/outdoor inter-unit cable
and remote controller cable of the
terminal block.
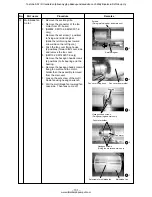
5) Remove screws fixing the electric parts
box. (Ø4 × 10, 5 pcs.)
6) Remove screws fixing the bell mouth.
(Ø4 × 10, 6 pcs.)
7) Remove the drain cap, and drain water
accumulated in the drain pan.
NOTE 1 :
When removing the drain cap, be sure to
prepare a bucket to catch the drained water.
NOTE 2 :
Thermal insulator is adhered to the drain
cap. Be careful not to peel off the insulator.
If the insulator has been peeled, adhere it
with double-face tape, etc. as before.
8) Remove screws fixing the drain pan.
(Ø4 × 8, 4 pcs.)
2. Attachment
1) Fix the parts, drain cap, drain pan, bell
mouth, and electric parts box succes-
sively to their original positions.
2) Connect connectors, earth lead wire,
indoor/outdoor inter-unit cable, and
remote controller cable which have been
disconnected in the above item 1 as
before.
Remarks
Toshiba SDI / DI tuotteiden jälleenmyyjä pääkaupunkiseudulla on Jäähdytinpalvelu RefGroup Oy
www.ilmalämpöpumput.com


