– 8 –
EN
EN
ID
15-EN
16-EN
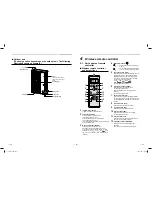
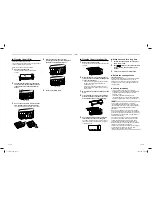
4-2. Adjusting clock
◆
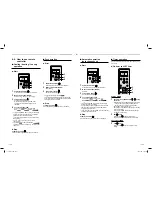
Setting the clock
Before you start operating the air conditioner, set the
clock of the remote controller using the procedures
given in this section. The clock panel on the remote
controller will indicate the time regardless of whether
the air conditioner is in use or not.
■
Initial setting
When batteries are inserted in the remote controller
the clock panel will indicate AM 0:00 and will flash.
PRESET
QUIET
SWING
TIMER
ON
FILTER
CHK
CLOCK
OFF
CLR
SLEEP
SET
FIX
H
i-POWER
COMFORT
SLEEP
MODE
TEMP
FAN
2
1
1
TIMER
ON
or
OFF
button
Press the TIMER
ON
or
OFF
button to set the current
time.
Each press of the TIMER button changes the time
in one minute steps.
Pressing the TIMER button continually changes
the time in ten minute steps.
2
SET
SET
button
Press the SET
SET
button.
The current time is indicated and the clock starts.
■
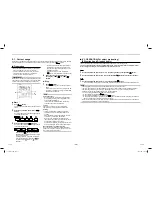
Clock adjusting
PRESET
QUIET
SWING
TIMER
ON
FILTER
CHK
CLOCK
OFF
CLR
SLEEP
SET
FIX
Hi-POWER
COMFORT
SLEEP
MODE
TEMP
FAN
3
2
1
1
CLOCK button
Press the CLOCK by tip of a pencil.
The CLOCK display
fl
ashes.
2
TIMER
ON
or
OFF
button
Press the TIMER
ON
or
OFF
button to set the current
time.
Each press of the TIMER button changes the time
by one minute.
Pressing the TIMER button continually changes
the time by ten minutes.
3
SET
SET
button
Press the SET
SET
button.
The current time is indicated and the clock starts.
4-3.
Handling the remote
controller
CAUTION
• The air conditioner will not operate if curtains,
doors or other materials block the signals from the
remote controller to the indoor unit.
• Prevent any liquid from falling into the remote
controller.
Do not expose the remote controller to direct
sunlight or heat.
• If the infrared signal receiver on the indoor unit is
exposed to direct sunlight, the air conditioner may
not function properly.
Use curtains to prevent the sunlight from reaching
the receiver.
• If the room using the air conditioner has
fl
uorescent
lighting with electronic starters, signals may not be
properly received. If you are planning to use such
fl
uorescent lamps, consult your local dealer.
• If other electrical appliances react to the remote
controller move these appliances or consult your
local dealer.
■
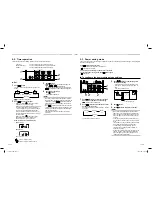
Location of the remote
controller
• Keep the remote controller where its signals can
reach the receiver of the indoor unit (a distance of 7
m is allowed).
• When you select the timer operation, the remote
controller automatically transmits a signal to the
indoor unit at the speci
fi
ed time.
If you keep the remote controller in a position that
hinders proper signal transmission, a time lag of up
to 15 minutes may occur.
7 m
■
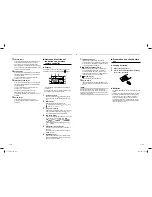
Remote controller holder
◆
Installing the remote controller
holder
Before you actually install the remote controller holder
on a wall or pillar, check whether the remote controller
signals can be received by the indoor unit.
◆
Mounting and removing the
remote controller
To mount the remote controller hold it parallel to the
remote controller holder and push it in fully. To remove
the remote controller slide the remote controller
upwards and out from the holder.
1111056504_EN.indd 8
1111056504_EN.indd 8
9/22/57 BE 3:39 PM
9/22/57 BE 3:39 PM


