– 145 –
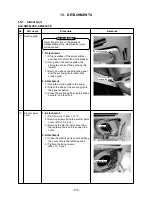
No.
1
Item
Electric parts box
Procedure
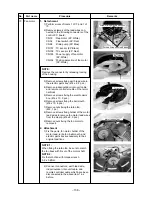
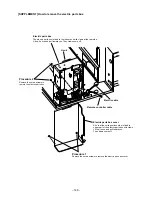
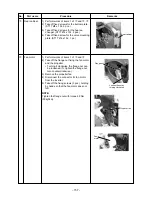
1) Remove the electric parts box.
(Supplement: Refer to How to remove
the electric parts box.)
In this time, remove connectors of TA
sensor, TC sensor, and TCJ sensor, if
necessary.)
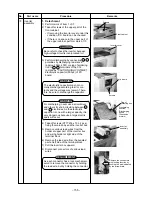
AID-P710BH, P800BH, P1120BH
Be sure to turn off the power supply before disassembling work.
1) Remove connector of the fan motor.
2) Using a hexagonal wrench, loosen
coupling fixing screws at 2 positions,
and then slide the fan motor to reverse
side.
3) Remove set screws (6 positions) of the
fan case (left).
4) Remove fan motor mounting metal
(screws at 2 positions) while holding
the fan motor with hands.
5) Remove capacitor fixing screw
(1 position).
6) Take down the fan motor and the fan
case (left).
7) Loosen set screw of the Silocco fan.
8) Replace the fan motor.
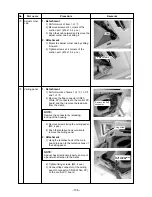
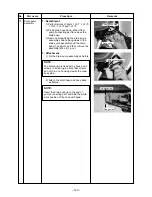
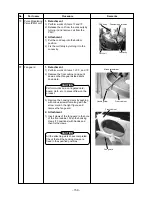
1) Take down the indoor unit and then
treat the drain pan on the floor.
2) Remove screws fixing the drain pan
and then replace the drain pan.
1) Take down the indoor unit and then
treat the heat exchanger on the floor.
2) Remove screws fixing the drain pan
and then remove the drain pan.
3) Remove the shielding plate. (Screws at
4 positions)
4) Remove screws (at 5 positions) fixing
the heat exchanger, and then replace
the heat exchanger.
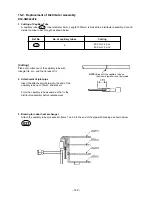
1) Remove the check port cover.
2) Remove the shielding plate.
(At 4 positions)
3) Pull out the sensors inserted into pipe
of the heat exchanger.
Electric
parts box
Electric parts
fixing screw
Silocco
fan (right)
Capacitor
Fan motor
Fan case (left)
Drain pan
Heat exchanger
Shielding plate
Shielding plate
Check port
cover
2
3
4
5
Fan
Drain pan
Heat exchanger
TC sensor
(Sensor side)
Summary of Contents for RAV-SM560AT-E
Page 187: ......

