Appendix-2
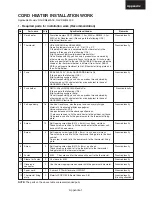
2. Required tools for installation work
No.
1
2
3
4
5
6
7
8
9
Part name
Plus screwdriver
Wrench
Motor drill
Faston crimping tool
Close-end connector
crimping tool
Cutting plier
Stripper
Cutter knife
Insulation tape
Specifications
Drill diameter:
Ø3.2 and Ø5.0
Fixing jig for #250
Usage
It is used for disassembling and assembling of each cabinet.
It is used for disassembling and assembling of compressor fixing nuts.
It is used to make the additional holes on the base or the back cabinet.
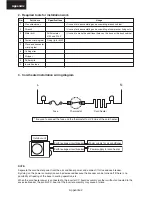
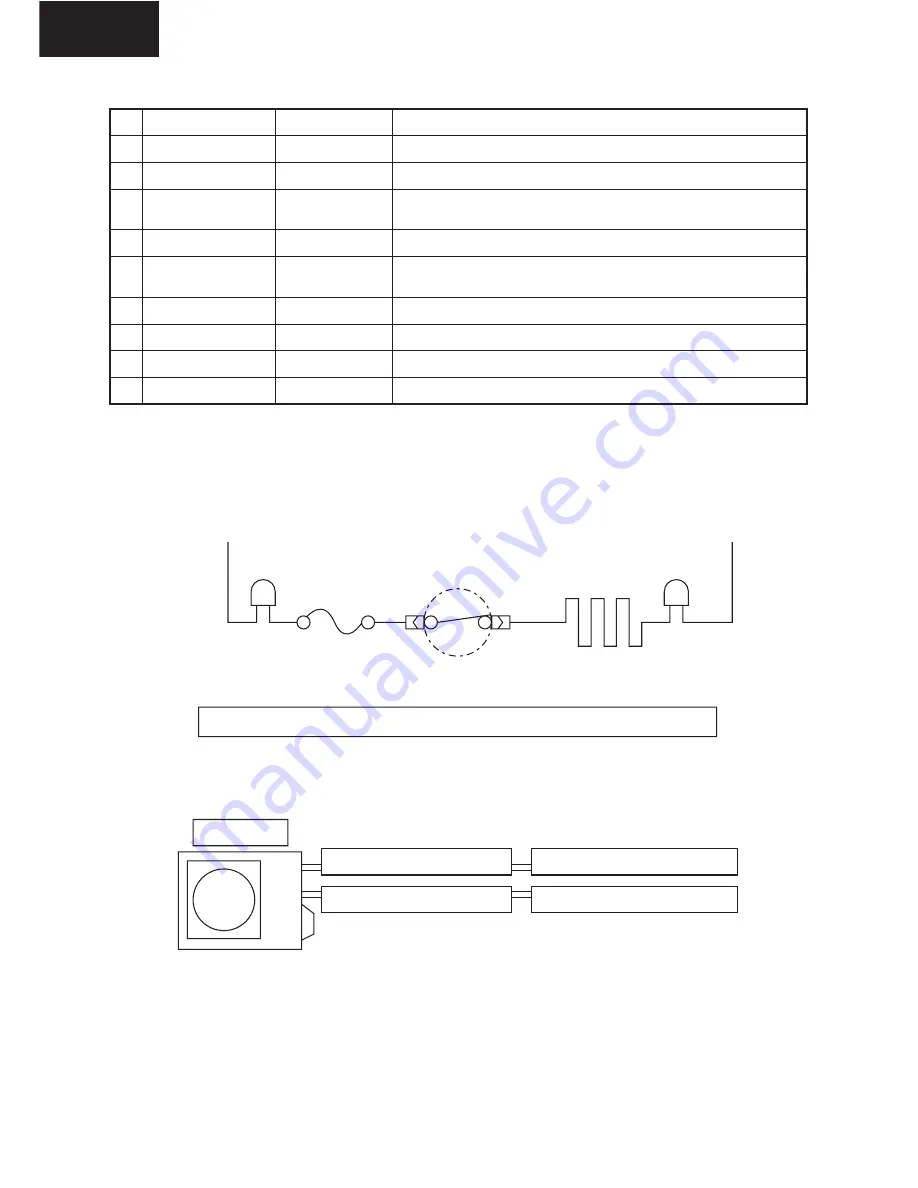
3. Cord heater installation wiring diagram
L
N
Fuse
Thermostat
Cord heater
Outdoor unit
Earth leakage circuit breaker
Power supply for air conditioner
Earth leakage circuit breaker
Power supply for cord heater
* Be sure to connect the fuse and the thermostat to LIVE side of the cord heater.
NOTE:
Separate the cord heater power from the air conditioner power, and connect it to its exclusive breaker.
By doing so, the power consumption can be decreased because the breaker can be turned off if there is no
possibility of freezing of the base in cooling operation, etc.
When the cord heater power is connected to the inverter P.C. board assembly or others without connected to the
exclusive breaker, the control P.C. board of the inverter assembly may cause a failure.
Appendix
Summary of Contents for RAV-SM560AT-E
Page 187: ......


