TOSHIBA
44
Operations (cont'd)
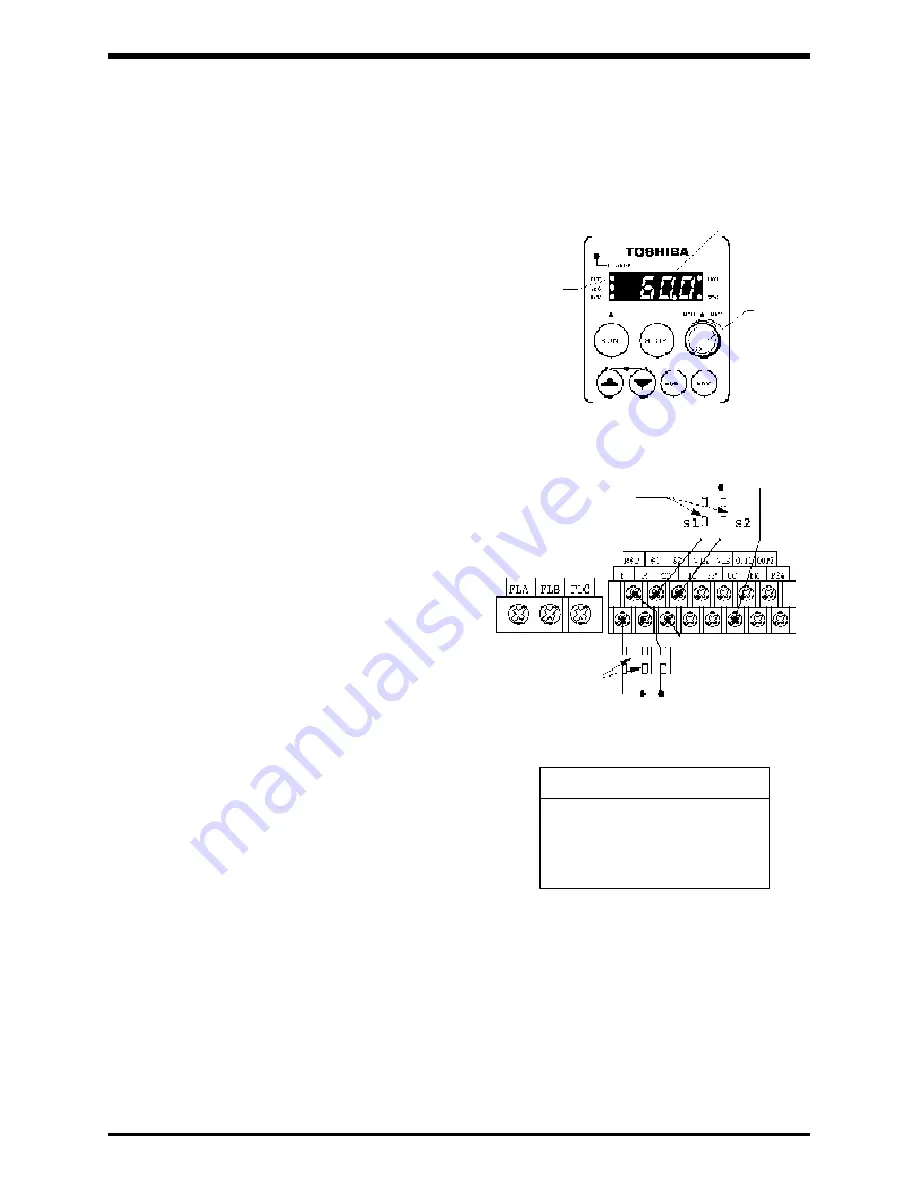
1) Connect the wires to the motor and power source.
(See “CONNECTING OF THE MAIN CIRCUITS.”)
2) Connect a start/stop switch between the control
terminal F and CC (for forward rotation) or
between R and CC (for reverse rotation).
(See “CONNECTING OF THE CONTROL
SIGNALS.”)
3) Connect a frequency selector switch between
the control terminals S1 and S2 and CC.
4) Turn on the power.
5) Set the desired frequency using the
parameter
5r1
.
5r2
.
5r3
.
6) The frequency alternates when the switches
connected to S1 and S2 is turned on (closed)
and turned off (opened). Select the
desired frequency.
7) If both S1 and S2 are turned off, the frequency
set with the parameter
Fm0
d is selected.
(Built-in potentiometer by default)
Set this frequency to 0. (When the built-in
potentiometer is used for control, turn it fully
counterclockwise.)
8) “
0.0
” is displayed on the display unit.
9) Turn on the forward or reverse switch.
10) If both S1 and S2 are off and the command
is set to 0, increase the command level.
11) The RUN lamp goes on. The motor starts and
its rotation speed increases gradually.
12) The operation frequency is displayed on the display unit.
13) To stop operation, turn off the forward or reverse switch.
14) The motor speed decreases according to the deceleration pattern.
15) The RUN lamp goes out.
Selecting a Preset Speed Frequencies, and Operating using an External Start Signal
(3) (6) (7) (10)
(11) (15)
(8) (12)
(3) (8)
S1
S1
S1
S1
S2
S2
S2
S2
OFF
ON
OFF
ON
OFF
OFF
ON
ON
Sr1
Sr2
Sr3
Preset speed selection chart
(2) (9) (13)
Forward
Error reset
Reverse
Notes:
1) A maximum of fifteen internal speed set values are available by changing the
functions of the control terminals.


