Let's Start at the Very Beginning
Create Master Diskettes or Purchase the CD-ROM
39
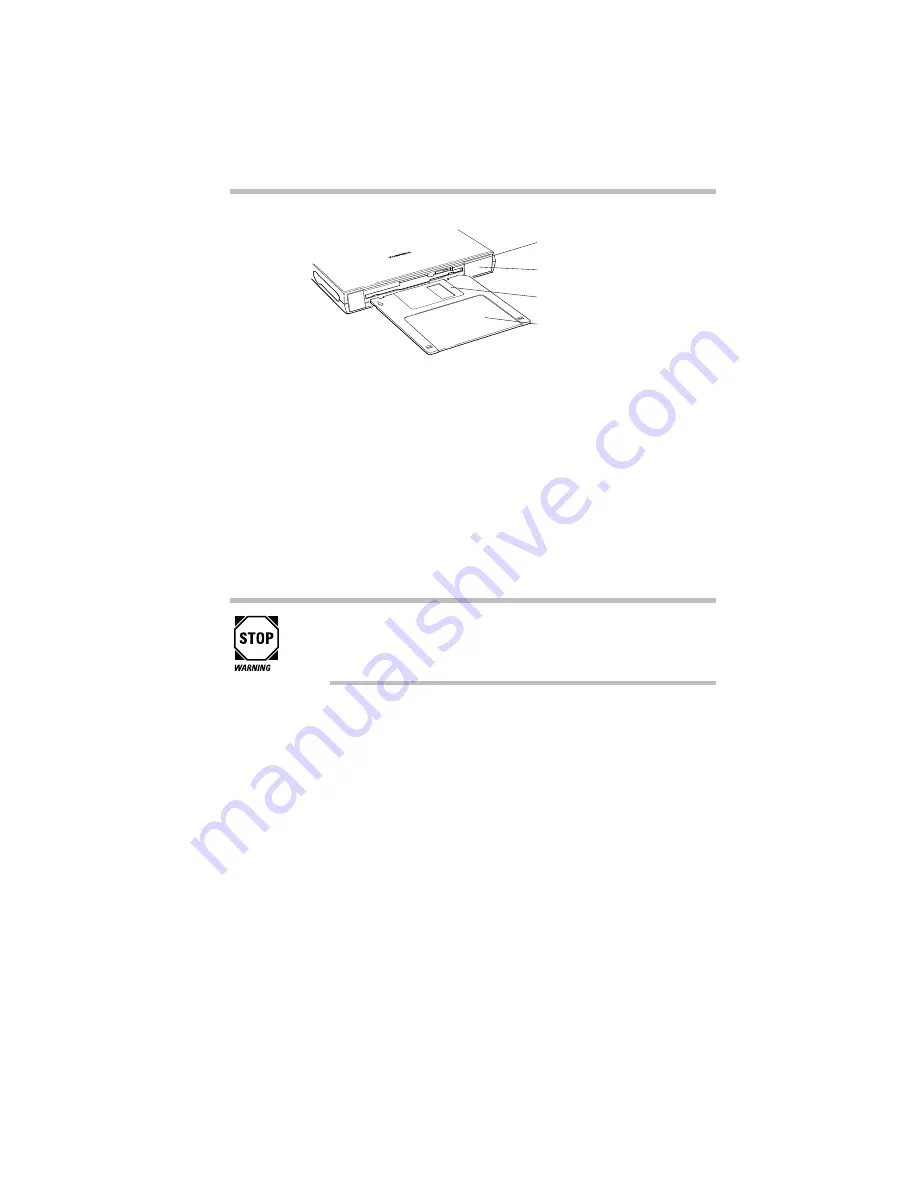
Inserting a diskette
8 Insert the appropriately labeled blank formatted diskette
into the diskette drive.
9 In the MDC Disk Creation Confirmation screen, choose a
Write method and click Create Disk.
Master Disk Creator begins copying files to the diskette and
displays a meter monitoring the copying process.
10 When Master Disk Creator prompts you to, press the disk
eject button to remove the diskette.
If the diskette drive light is on, do not remove a diskette.
Doing so could destroy the information on the diskette and
damage the diskette and/or the drive.
11 Write-protect the diskette by moving the tab on the back of
the diskette to expose the write-protect hole.
Write-protecting a diskette prevents you from erasing or over-
writing the information on the diskette.
12 Continue inserting and removing diskettes according to
the instructions on the screen.
Since creating program diskettes will take some time, now is a
good time to fill in your registration card if you haven't yet
done so. It also gives you time to skim through the remainder
of this manual and fill in the reader response card. Toshiba wel-
comes your comments and suggestions for improving the qual-
ity of the documentation.
Label
Protective cover
Diskette drive
Disk eject button
Summary of Contents for Satellite 200 Series
Page 48: ...Let s Start at the Very Beginning UsingTheElectronicGuide 49 ...
Page 117: ...Before You Go to a Computer Store BuyingHardware 121 ...
Page 174: ...Little Cards That Do Big Things RemovingaPCCard 181 ...
Page 201: ...Connecting to the World DiscoveringToshiba sOn lineResources 209 ...
Page 248: ...Making Life Easier ChangingtheDisplayMode 259 ...
Page 255: ...What s Really Going On WhatReallyHappensWhenYouTurntheComputerOn 267 ...
Page 290: ...If Something Goes Wrong IfYouNeedFurtherAssistance 303 ...
Page 321: ...Hardware Setup TheHardwareConfigurationOptionsDialogBox 339 ...
Page 336: ...TSETUP OTHERS 355 ...
Page 356: ...Specifications 379 ...
Page 364: ...Input OutputPortAddressAssignments Part III Appendixes 389 ...


