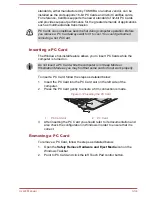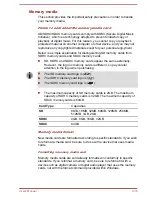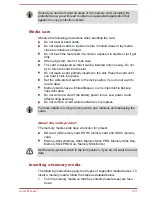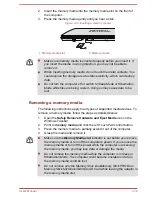
Additional memory module
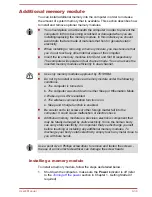
You can install additional memory into the computer in order to increase
the amount of system memory that is available. This section describes how
to install and remove optional memory modules.
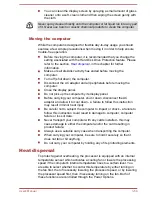
You should place a mat beneath the computer in order to prevent the
computer's lid from becoming scratched or damaged when you are
installing/replacing the memory module. In this instance you should
avoid mats that are made of materials that hold or generate static
electricity.
When installing or removing a memory module, you must ensure that
you do not touch any other internal areas of the computer.
Insert the two memory modules into Slot A and Slot B respectively.
The computer will operate in dual channel mode. You can access the
inserted memory modules efficiently in dual channel.
Use only memory modules approved by TOSHIBA.
Do not try to install or remove a memory module under the following
conditions.
a. The computer is turned on.
b. The computer was shut down in either Sleep or Hibernation Mode.
c. Wake-up on LAN is enabled.
d. The wireless communication function is on.
e. Sleep and Charge function is enabled.
Be careful not to let screws or other foreign matter fall into the
computer. It could cause malfunction or electric shock.
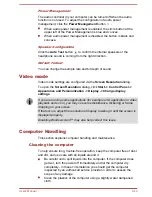
Additional memory module is a precision electronic component that
may be fatally damaged by static electricity. Since the human body
can carry static electricity, it is important that you discharge yourself
before touching or installing any additional memory modules. To
discharge your body’s static electricity, simply touch any metal close to
you with bare hands.
Use a point size 0 Phillips screwdriver to remove and fasten the screws -
the use of an incorrect screwdriver can damage the screw heads.
Installing a memory module
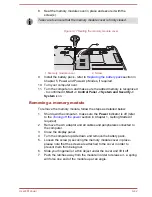
To install a memory module, follow the steps as detailed below:
1.
Shut down the computer - make sure the
Power
indicator is off (refer
to the
Turning off the power
section in Chapter 1, Getting Started if
required).
User's Manual
3-39
Summary of Contents for Satellite Pro S850
Page 1: ...User s Manual Satellite Pro S850 Series ...
Page 178: ...User s Manual D 9 ...


