


4 Replacement Procedures
Fehler! Verwenden Sie die Registerkarte 'Start', um
標題
2 dem Text
zuzuweisen, der hier angezeigt werden soll. Fehler! Verwenden Sie die Registerkarte 'Start', um
標題
2 dem
Text zuzuweisen, der hier angezeigt werden soll.
Satellite/Satellite PRO T230 Maintenance Manual
4-6
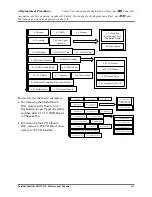
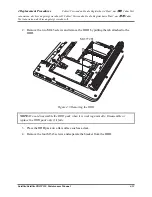
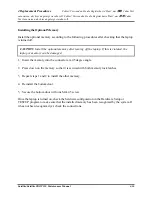
Disassembly Procedures
The cable connectors come in these two basic types:
Pressure plate connectors
Normal pin connectors
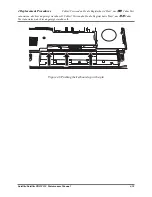
To remove a pressure plate connector, pull up the tabs on either side of the connector's plastic
pressure plate and gently pull the cable out of the connector. To reconnect the cable to the
pressure plate's connector, raise the pressure plate up to a satisfactory height and slide the cable
into the connector. Secure the cable in the correct position by pressing down the sides of the
pressure plate so that the plate is flush with the sides of the connector. Grasp and pull the cable
gently to check that the cable is connected firmly. If the cable came off the connector, reinsert
the cable by raising the pressure plate up to a satisfactory height.
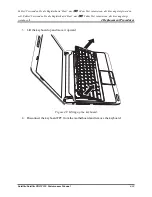
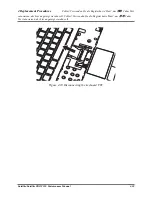
Normal pin connectors are used for all the other types of cables. These connectors can be
installed or removed by simply inserting them or pulling them out.
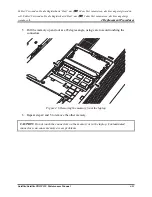
Assembly Procedures
You have to reassemble the laptop after you have disassembled the laptop and fixed the
component that caused the problem.
When reassembling the laptop, keep the following general guidelines in mind:
Take your time to carry out the suggested instructions completely. Hurried reassembly
can often cause problems.
Check that all the cable and connectors are fastened securely.
Before securing the FRUs or other parts, check that the cables are not caught by the
screws or FRUs.
Check that all the latches are closed securely.
Check that all the required screws are used to secure the FRUs. Using wrong screws can
damage the threads or heads of the screws or does not ensure that the FRUs are secure.
After installing a FRU, make sure that the FRU and laptop work normally.
Summary of Contents for Satellite PRO T230
Page 14: ...Chapter 1 Hardware Overview ...
Page 17: ......
Page 32: ...Chapter 2 Troubleshooting Procedures ...
Page 33: ......
Page 85: ...Chapter 3 Tests and Diagnostic ...
Page 111: ...3 Tests and Diagnostics Satellite Satellite PRO T230 Series Maintenance Manual 27 ...
Page 117: ...3 Tests and Diagnostics Satellite Satellite PRO T230 Series Maintenance Manual 33 ...
Page 127: ...3 Tests and Diagnostics Satellite Satellite PRO T230 Series Maintenance Manual 43 ...
Page 133: ...Chapter 4 Replacement Procedures ...
Page 215: ...Satellite Satellite PRO T230 T230D Maintenance Manual B 3 ...
Page 257: ...Figure LA keyboard Satellite Satellite PRO T230 T230D Maintenance Manual E 17 ...


